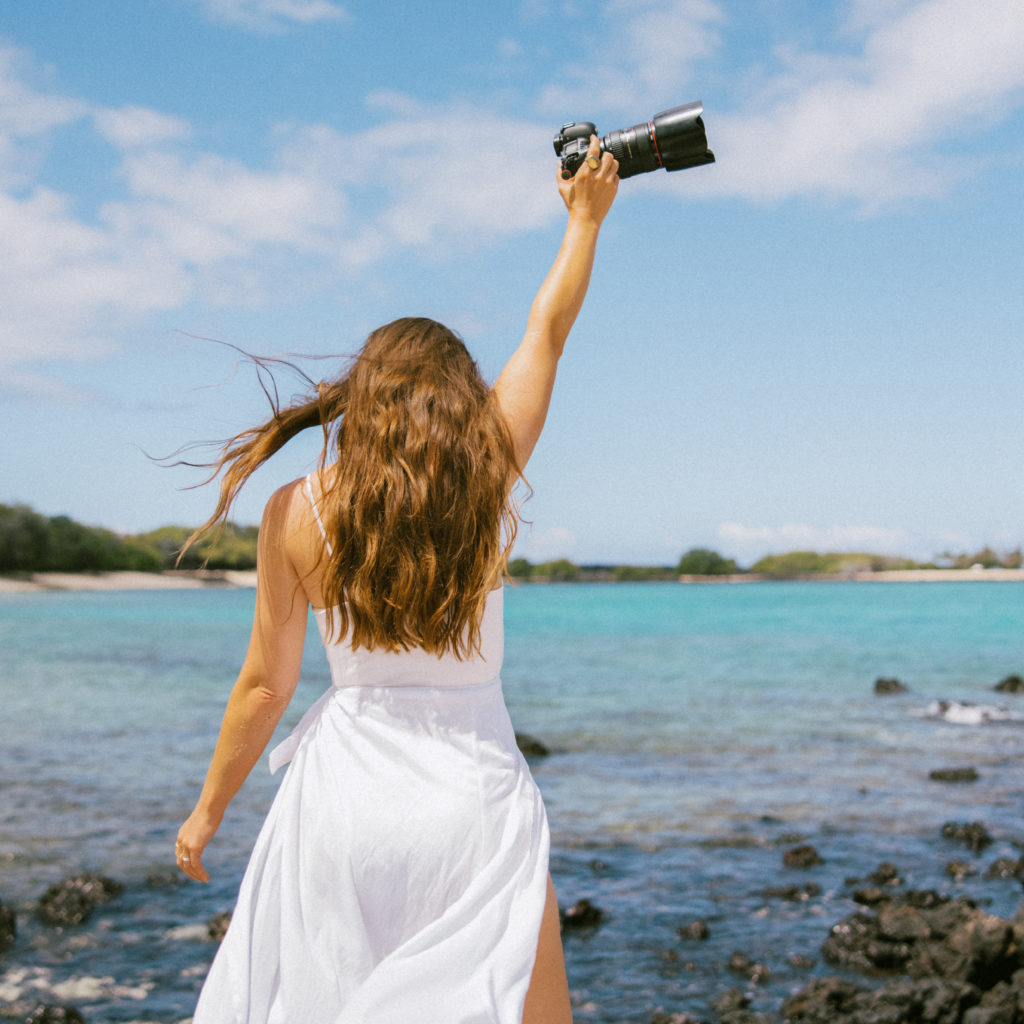
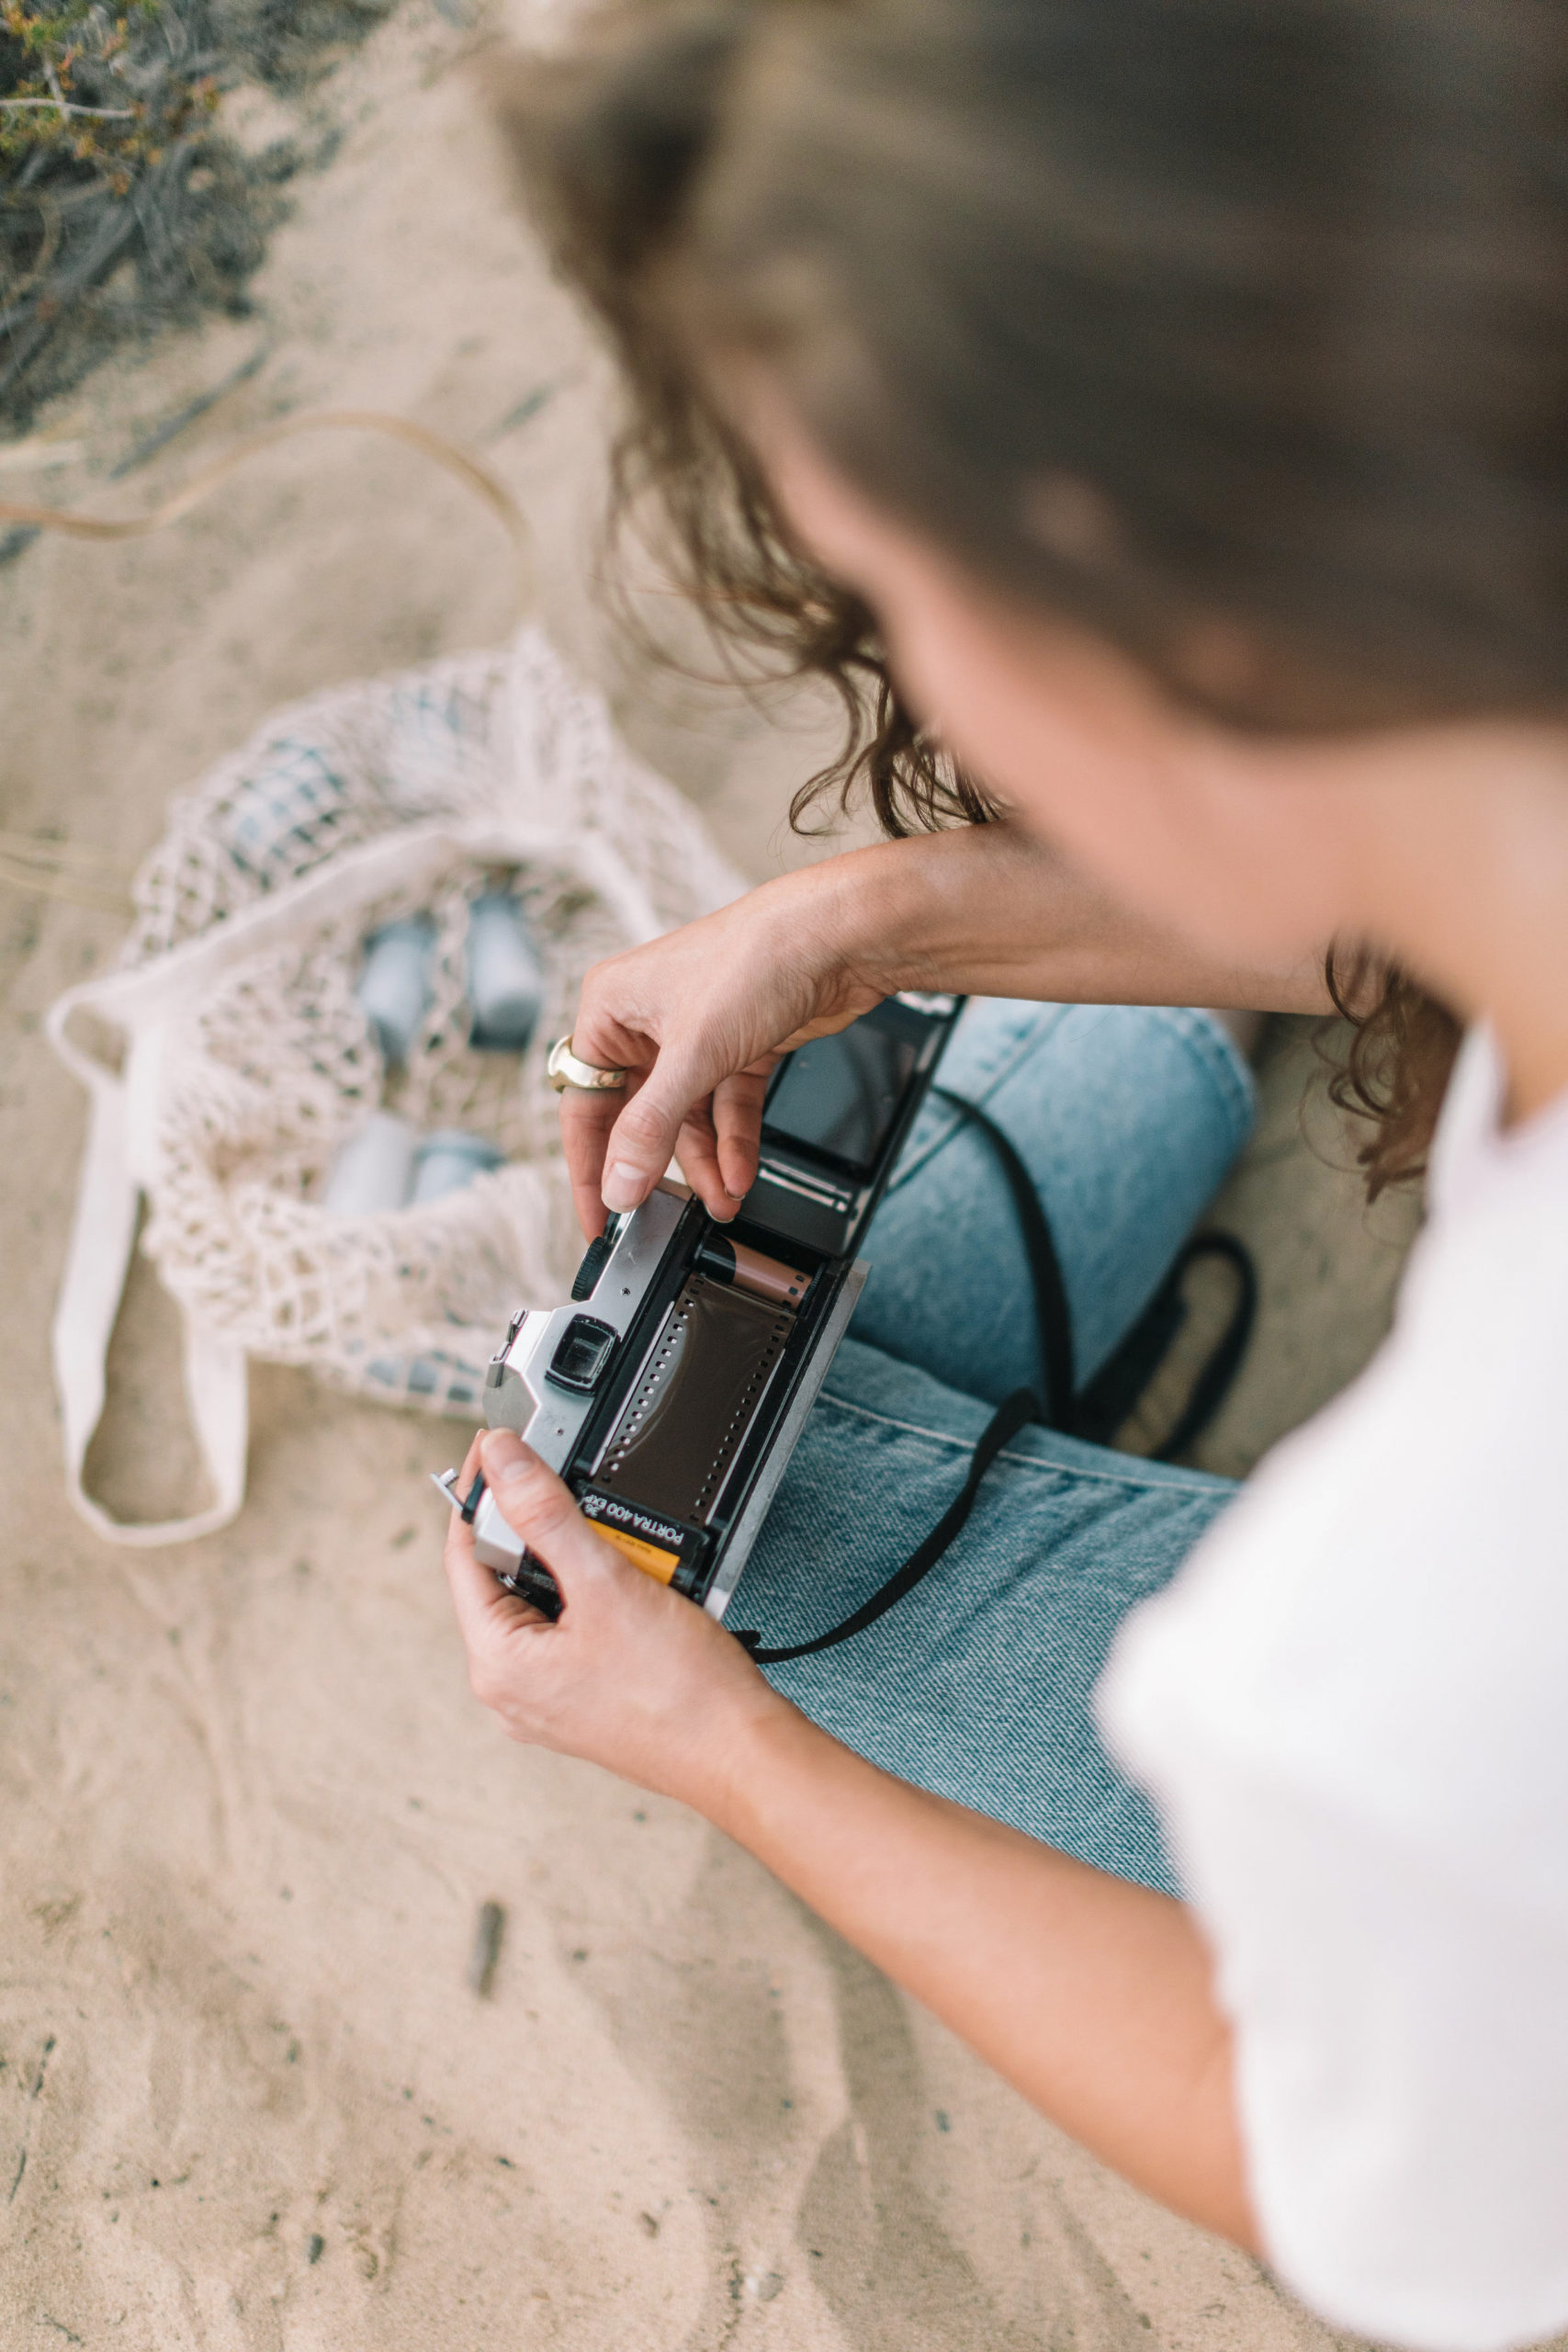
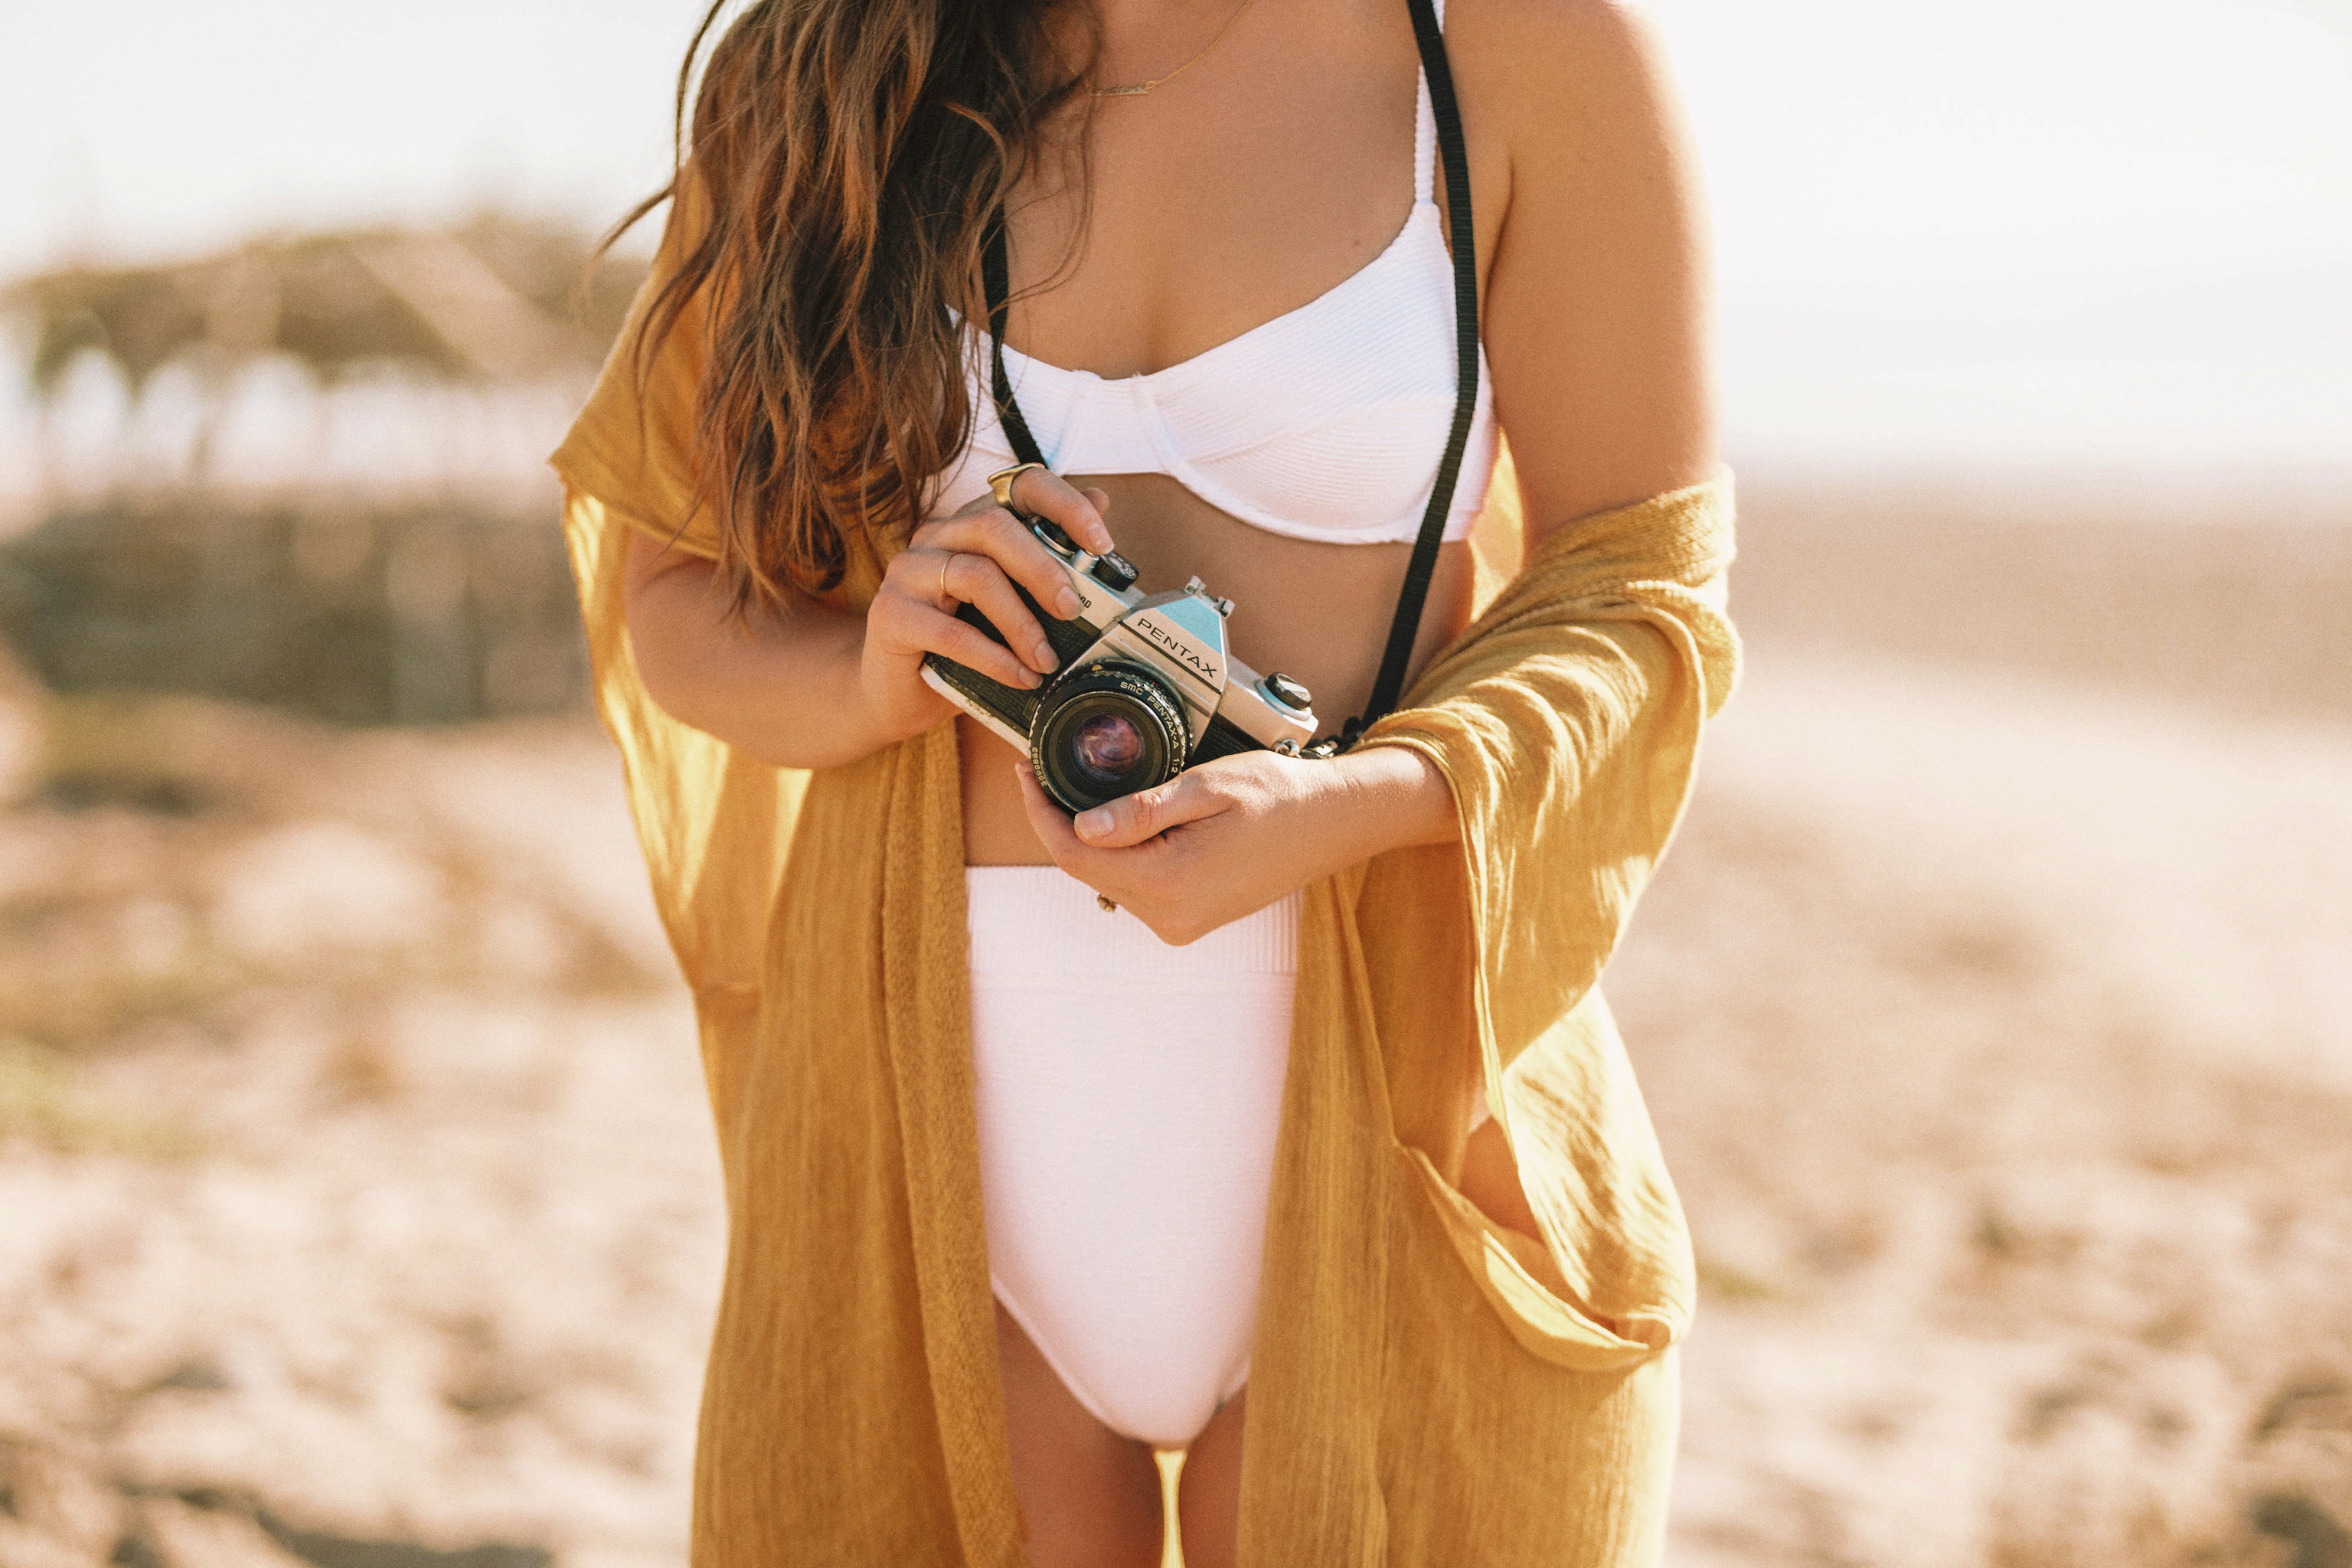
Did you just get a brand new camera for the first time? Or maybe even the 10th time?
If so, and if you’re anything like me, then today is a GOOD day!
I’m convinced that there are few things in life as exciting and full of possibility as getting a new camera. Ah, my heart rate just sped up thinking about how incredible it felt when I got my first one — my very own, non-rented-from-photography-school-one — and how freakin’ overjoyed I was.
So, if you’ve recently gotten your hands on a new camera (maybe you pulled the trigger on the shiny new one you’ve been eyeing, or maybe you’ve decided to finally open up that dusty box at the top of your closet), I’ve got you covered!
See, I know firsthand that, while exciting, turning on a new camera for the first time can also be kiiiinda overwhelming (sooo many buttons and dials)! I remember the first time I ever used a DSLR — so dang excited to finally learn how to get beautiful photos with blurry backgrounds… AKA, my photo fantasy at the time.
Did I know HOW to use the camera? Well, no. Did I understand anything about image quality? Absolutely not.
So, that camera was put to tons of use, trust me … from capturing ~artsy~ photos of the Listerine bottles on my bathroom counter to having portrait sessions of my little sister’s rubber duckies. I did it all, and I constantly found myself wondering why the image quality of my photos wasn’t exactly all that I’d hoped and dreamed it would be.
4 Simple Camera Settings for Maximum Image Quality.
If you’re feeling the same, I’m breaking down the 4 simple camera settings you can adjust to give yourself a killer foundation for beautiful photos with the highest possible image quality.
Here’s how.
1. Set the image quality to RAW.
First things first, I want you to go into your camera’s menu and switch your image quality setting from JPEG to RAW (yes, really!). Shooting in RAW is absolutely essential for any photographer who wants to capture the highest quality images in camera while they’re being captured. RAW files are capable of capturing more than 260,000 times more color and light information than JPEG images. And no, that is not a typo. By simply switching from JPEG to RAW, you are jumping from millions of possible colors in your images to billions or even trillions of colors depending on your camera. The end result? More natural, vibrant colors, smoother tones, and better files to edit with.
Trust me here, there is no need to shoot in jpeg. Ever. Write that down. Memorize it. Get a tattoo of it. Jpeg images don’t capture the highest quality, no matter what you might have been taught — since they’re compressed and don’t have a large dynamic range, they lose quality while you’re editing them, too.
And, if you’re shooting excellent photos, is there anything worse than accidentally lowering the image quality without realizing it?! No. Set your camera to RAW and watch your photos come to life.
Side note: there is post-production software that you’ll need when shooting in raw, but it’s super easy to install and use. Totally worth it, promise.
2. Set the color space to Adobe RGB.
Next up, I always recommend that you set your color space to Adobe RGB, instead of the default setting which is sRGB. If you’re like “??? what the heck is color space, Nicole?!” I’ve got you.
To put it simply, the color space setting on your camera dictates the number of colors your camera can use when it captures a photo. Adobe RGB contains 30% more colors than sRGB which translates to juicy, glorious life-like colors just as you saw them.
It’s a simple tweak that a lot of people don’t know about, but it has a ton of impact.
3. Switch your camera mode to manual.
Alright, are you ready for my #1 most important tip ever?! Switch. Your. Camera. To. Manual.
Now. 🙂
Here’s why: shooting in auto, while it seeeeeeems easier, cuts you so short! Manual mode, on the other hand, gives you tons of creative freedom, lets you control each and every aspect of your photo session, and gives you so many options to try out new things when first starting your photography business.
If I knew how to shoot in manual back when I first started I could have gotten REALLLLL creative with those Listerine bottles and rubber duckies.
Now, if manual mode stresses you out, don’t let it! We have a killer cheat sheet you can download right here that will teach you all you need to know. And, here’s the truth: manual mode is the only mode that really and truly lets you learn your camera from the inside out. Don’t sell yourself and your talent short by shooting in auto.
Now the most important tip…
4. Have. Fun. (Seriously!)
OK so this isn’t exactly a camera setting … BUT … If you’re diving into photography and not having fun at the same time, there’s no point — and I’m being so, so serious here. A new camera means new possibilities, right?! It means opportunities, and playing around, and trying new things — so have. some. fun. There’s just something so, so special about a new camera for showing you what you’re capable of, if you just let it.
Bonus tip? Save the box. Seriously. It’s always, always going to boost the resale value of your camera if you ever decide to sell and upgrade, and it’s also nice to have anyways.
—
Alright, you — you. have. got. this. I can SEE the possibilities of your new camera in front of me, and I’m so excited for you! I know that setting up a new camera can feel overwhelming, but instead look at it as the start of something new and beautiful and exciting. Ask questions, play around, try new things, and give yourself the credit you deserve. You have so many memories and photos waiting to come alive with this new camera, I just know it.
Now, go make some magic!
Looking for some extra help on your photography journey? The doors to my signature course, The Photographer’s Path, are reopening on August 2023! You can sign up for the waitlist here to make sure you’re the first to get your hands on a special never before released bonus that is going to level up your photography biz from the start! ( <– There might have been a hint in there)
I can’t wait to help you grow on your photography journey!





















COMMENTS