
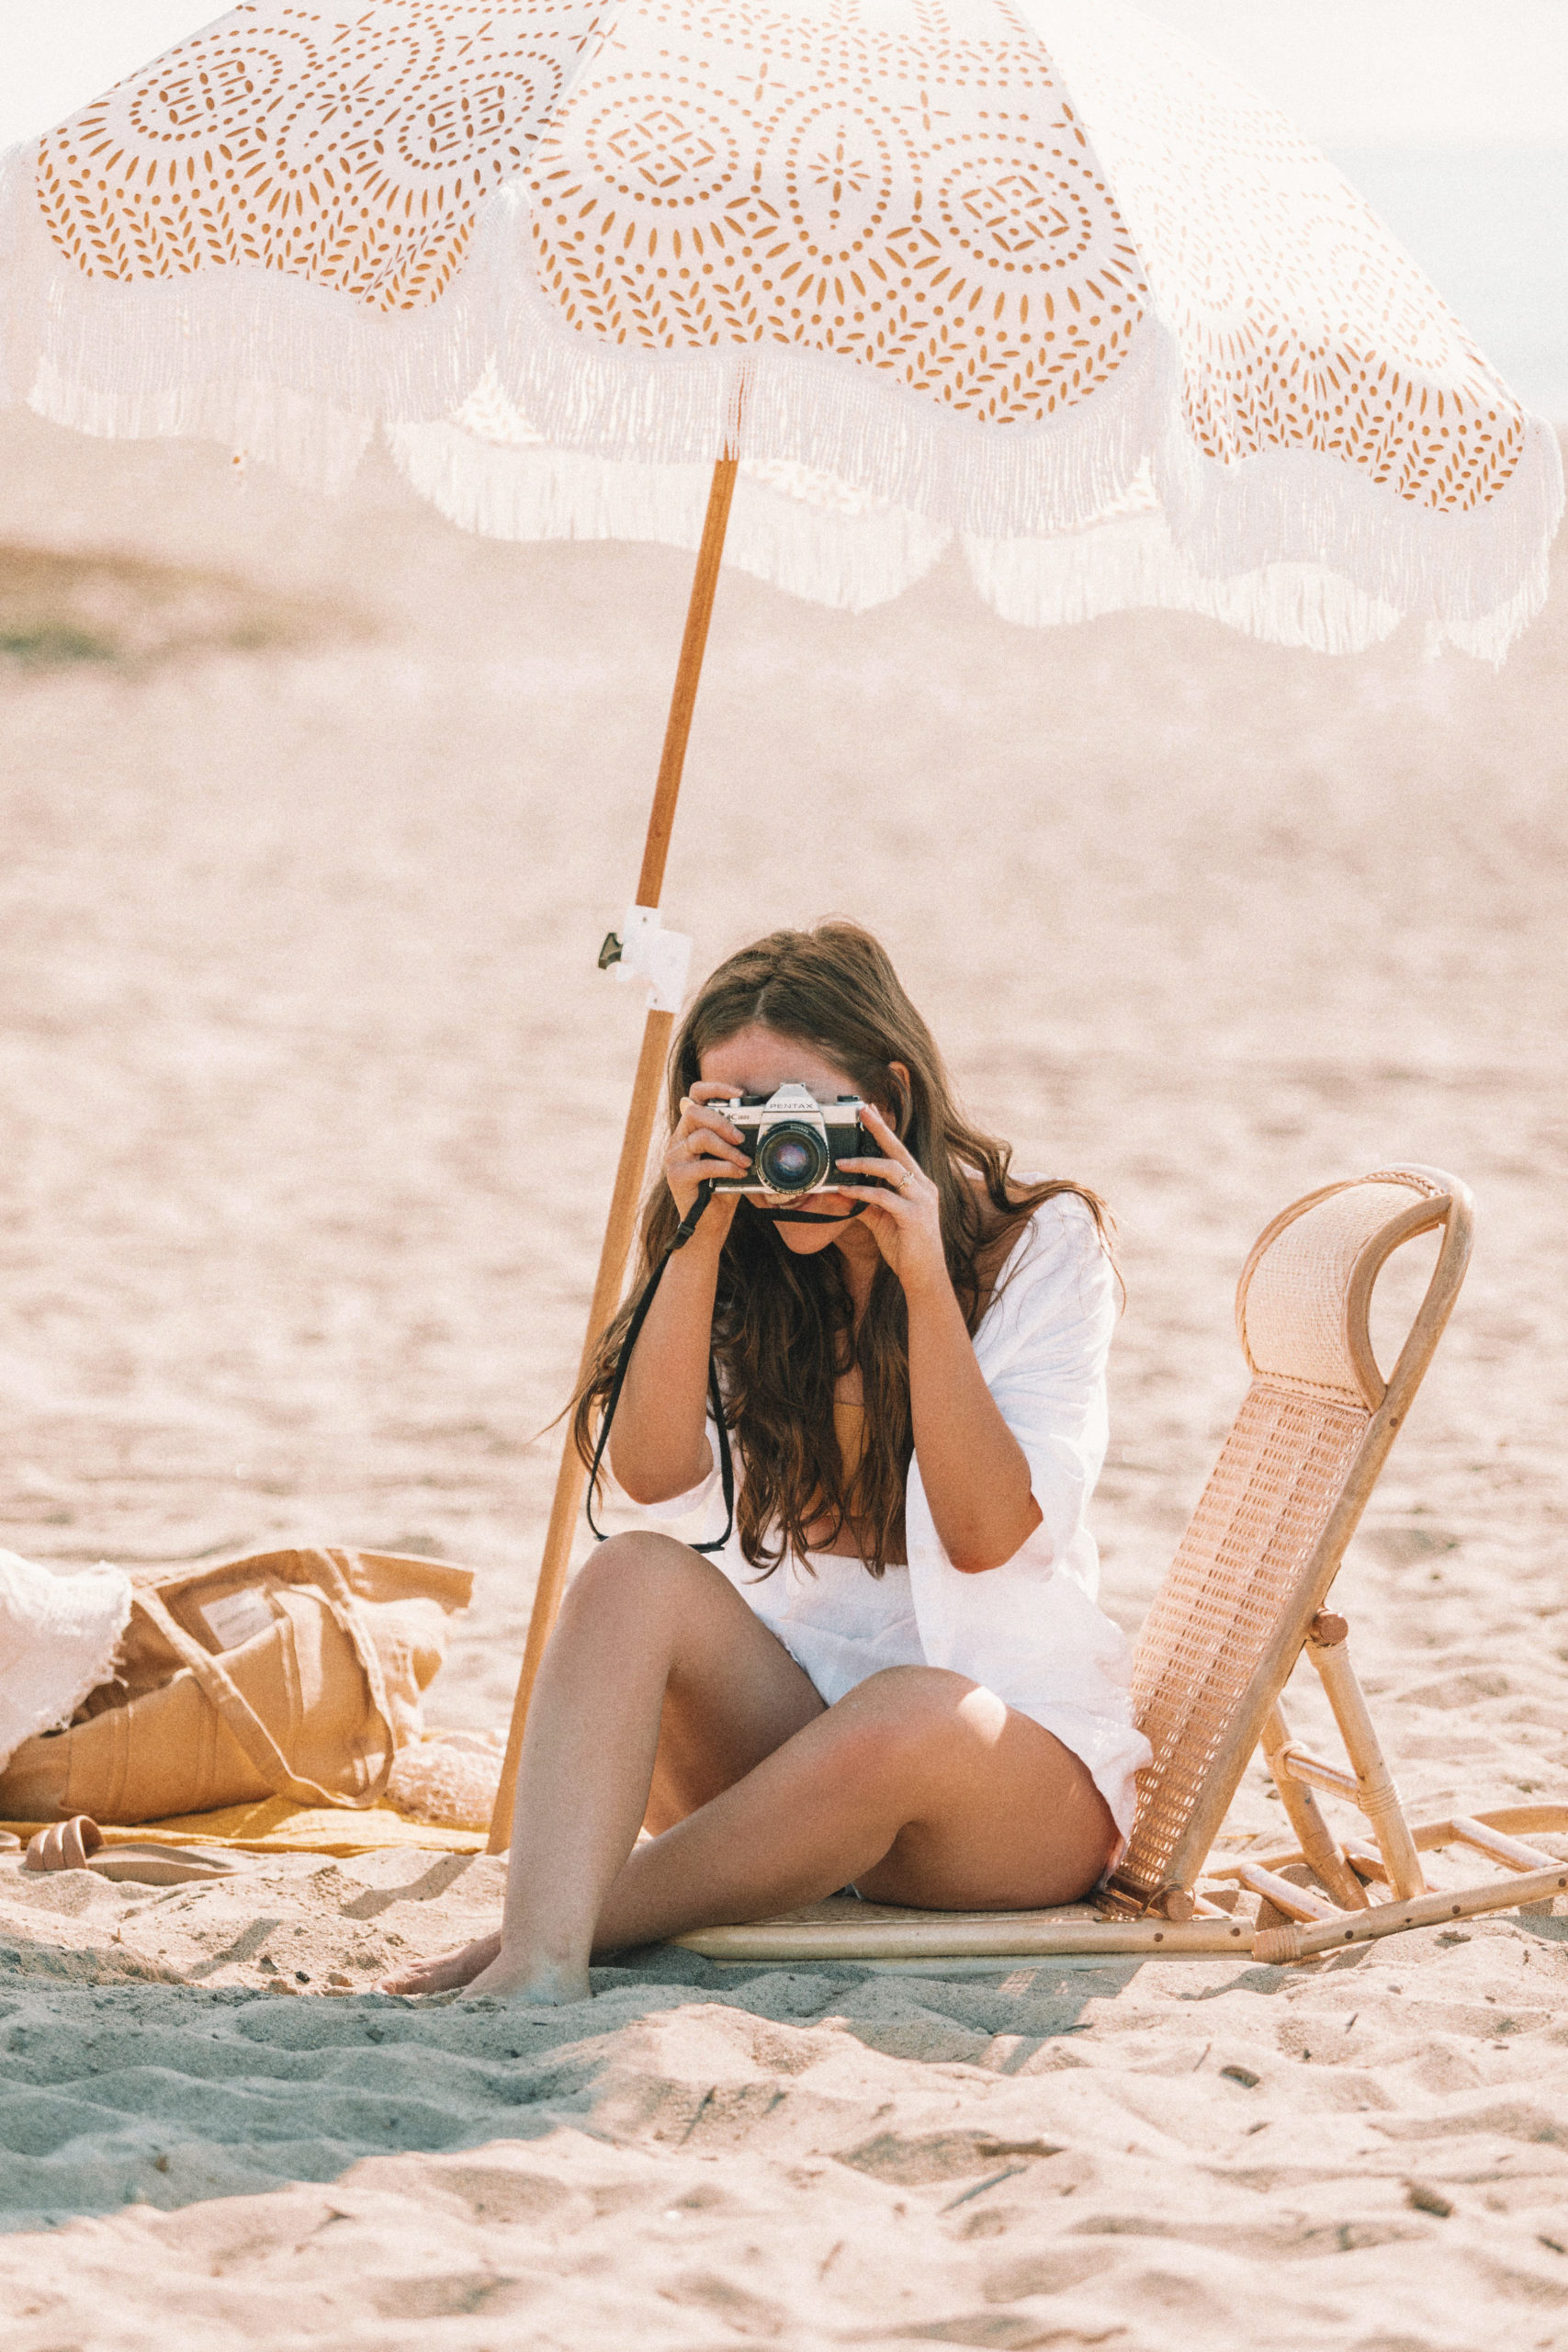
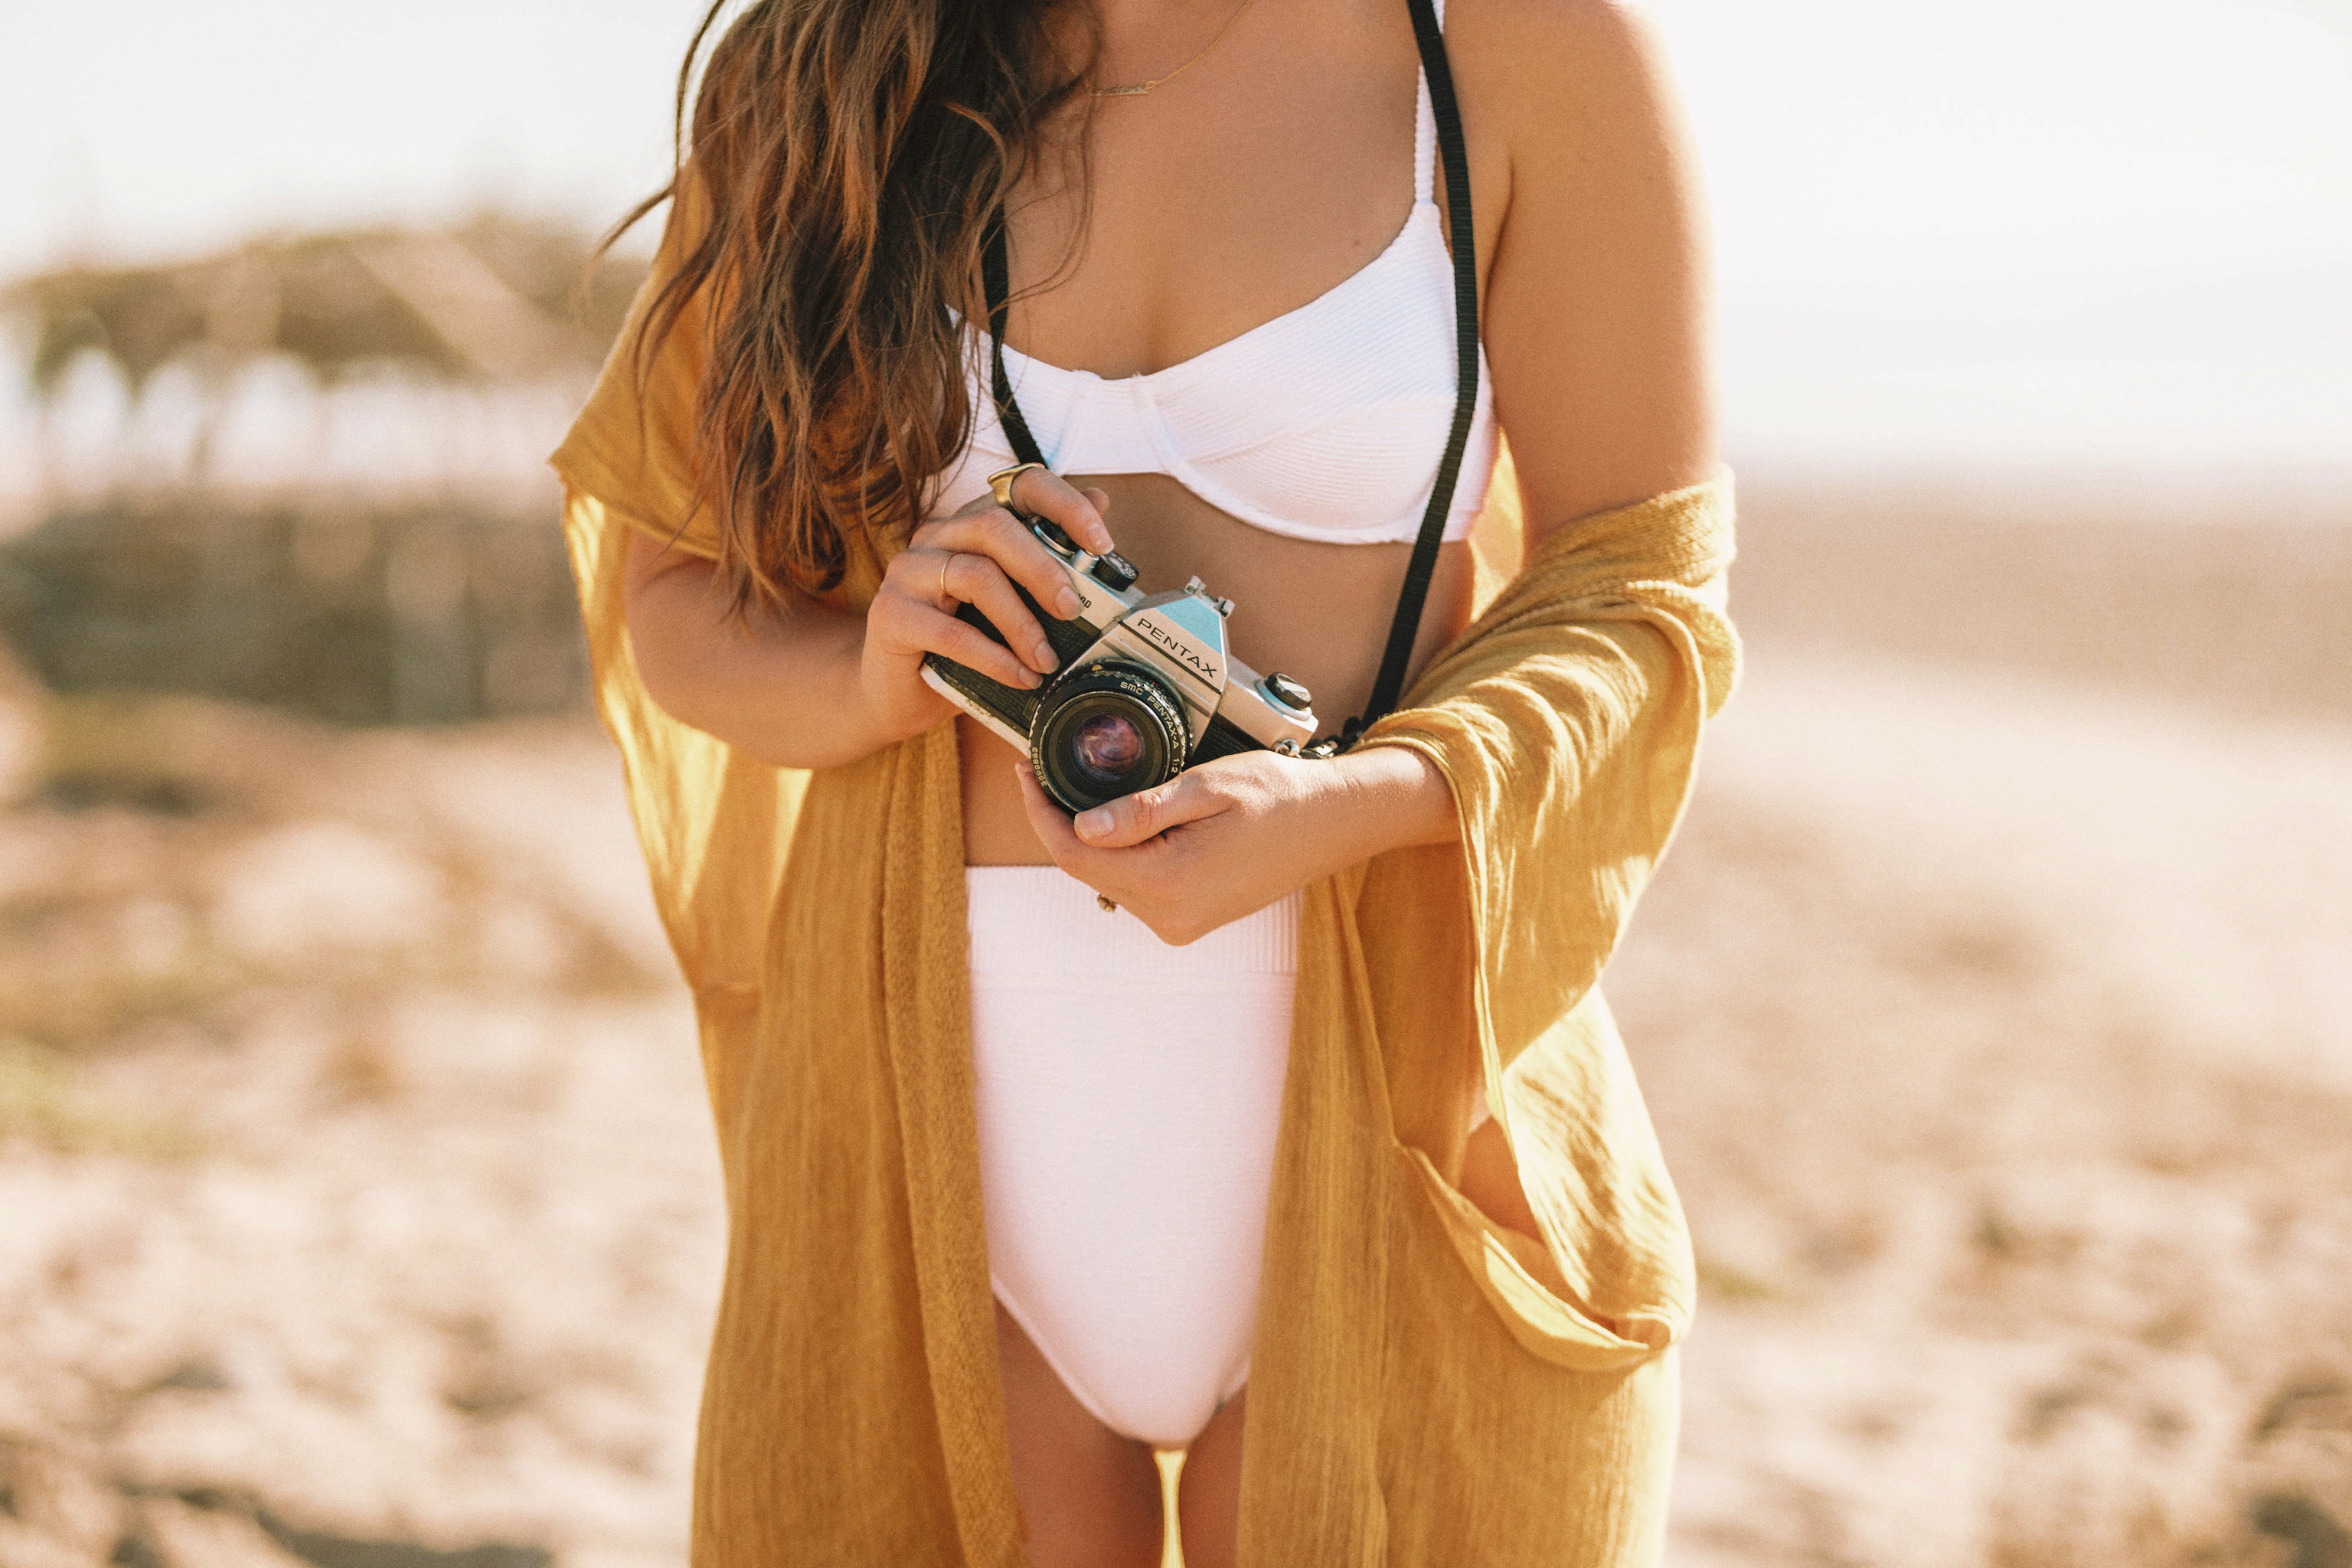
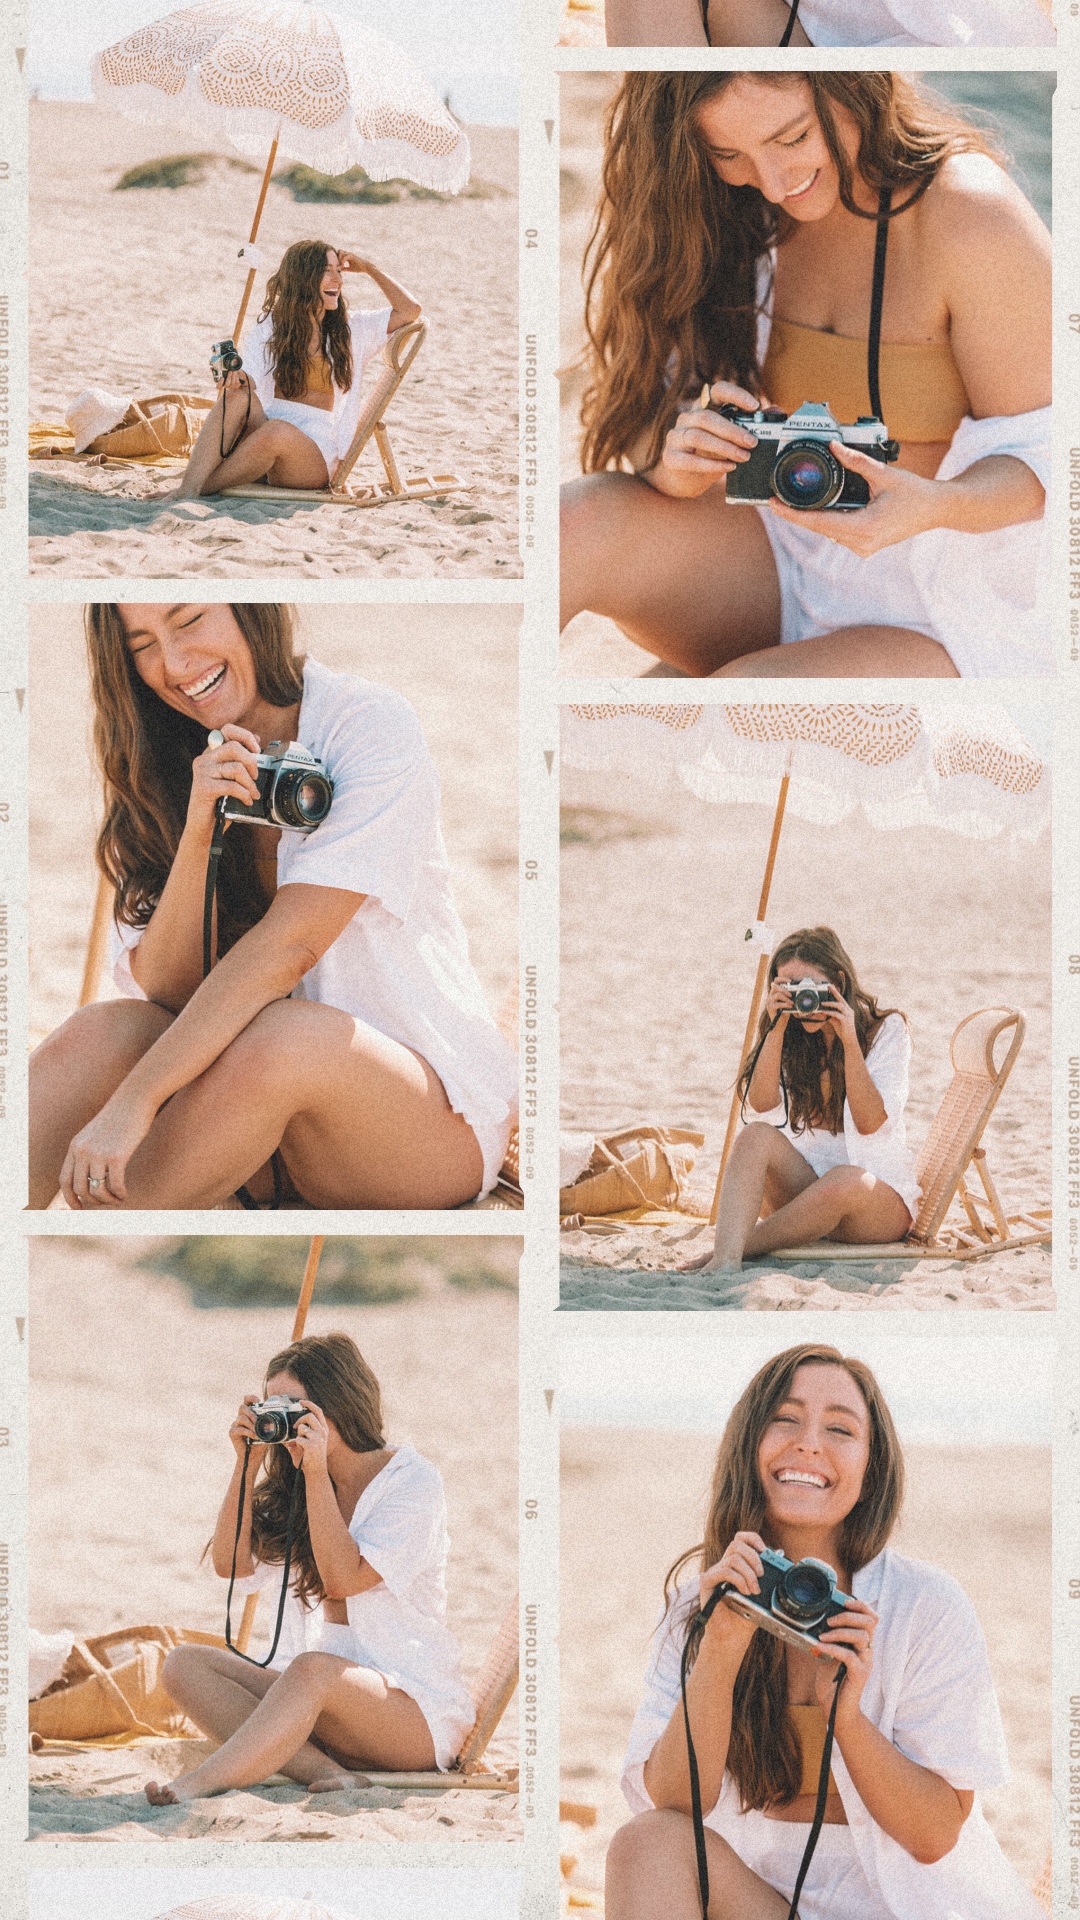
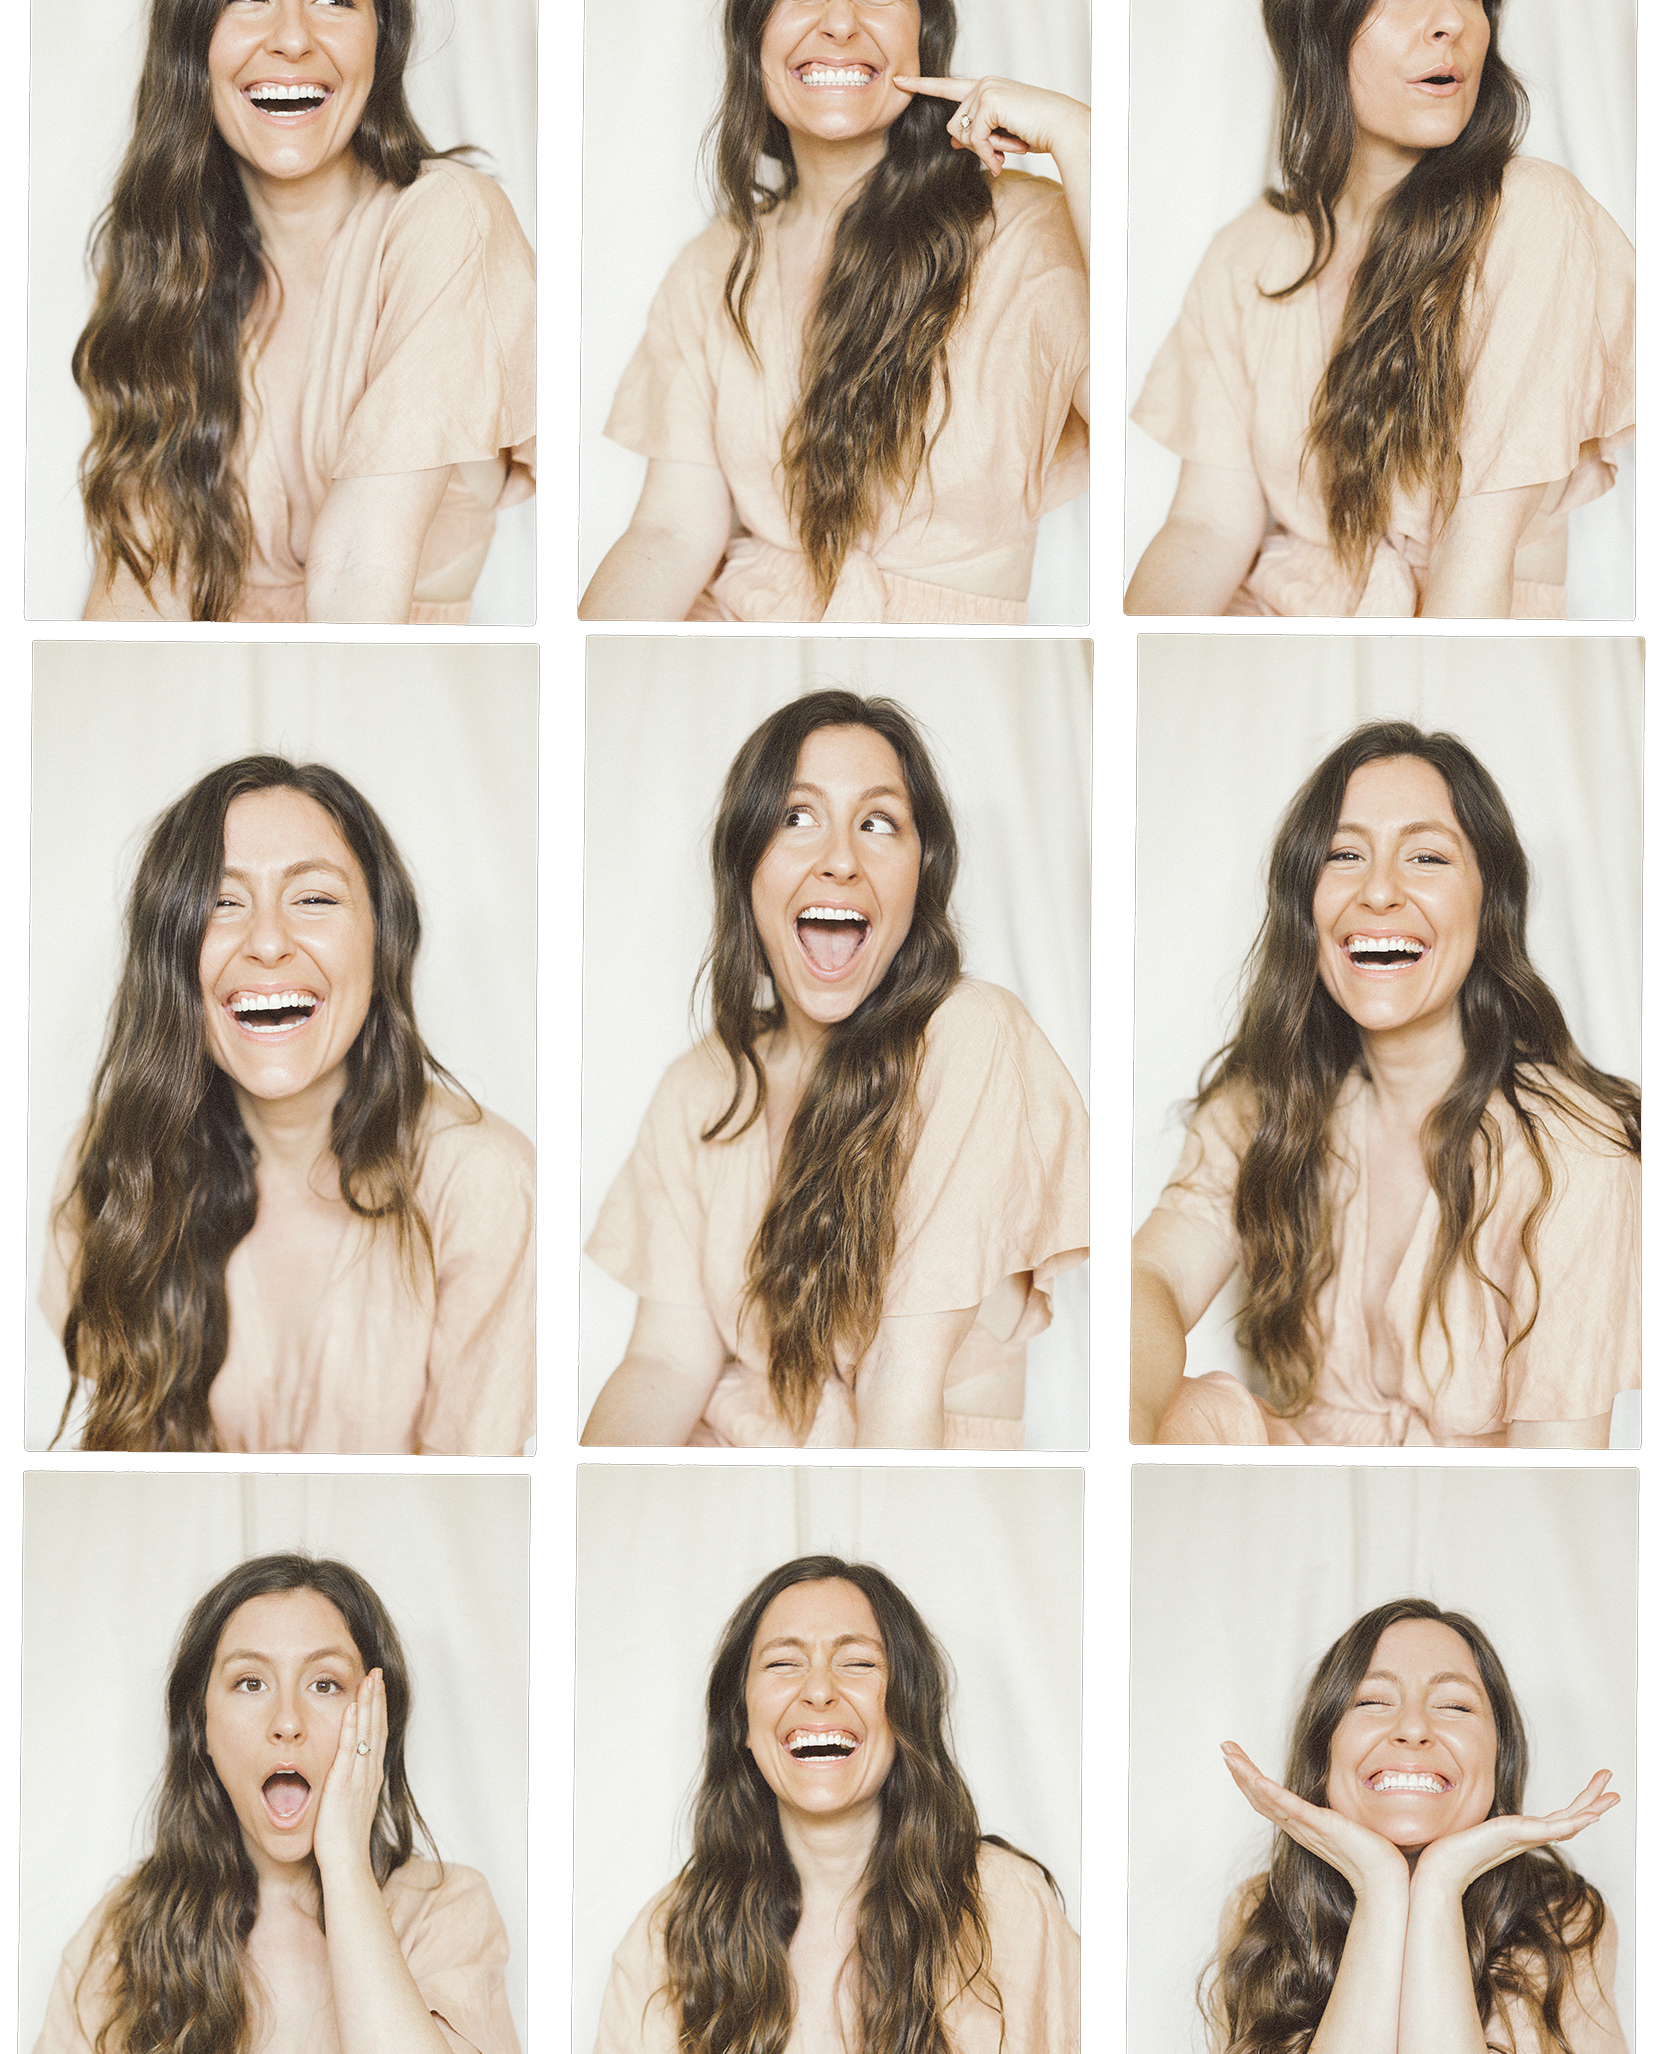
You know that feeling you get when you finish up a shoot and are uploading all of the files from your memory card onto your computer, anxiously awaiting your first glimpse of the images you created? That little spark of excitement that builds up in your heart until you start scrolling through the shots and notice that—oh, dear god—all of your favorite shots aren’t even in focus! There’s not a single sharp photograph in sight and there’s not a thing you can do about it. [Insert big ol’ tears and sobbing sounds.]
The good news is that, at one point or another, we’ve all been there—literally every-single-one-of-us. But, like most things in the world of photography, there are a few tricks that all photographers should keep up their sleeves to help avoid these types of devastating little mishaps, whatever the issue might be. Let me explain.
The other day I received a text from a dear friend who started out as a client, Katrina Scott (the co-founder of Tone It Up):
“Nicole— I think my shutter speed is too slow? Everything is blurry. I just keep cranking the wheel on my camera back and forth until the exposure looks ok, but I don’t think I’m doing it right. Can you show me how to use my camera?!”
As soon as I finished reading her message, I already had a ton of different questions for her: What kind of blur are you experiencing? What’s your aperture set at? What’s your shutter speed? And with all of these questions ringing through my head, I suddenly thought, “Ok, I need to write a blog post about this!” So, today I want us to try something that I think will be a little bit fun and different: we’re going to reverse engineer the solutions to some common photo blunders that keep us from getting those crispy, sharp images we love.
Now, let’s get a head start and dive into some tips that are sure to help you get the sharp images you’re looking for based on a specific problem you might find yourself up against. So, let me set the scene for some of the most common problems we face, and offer you a few ways to work around them:
Problem:
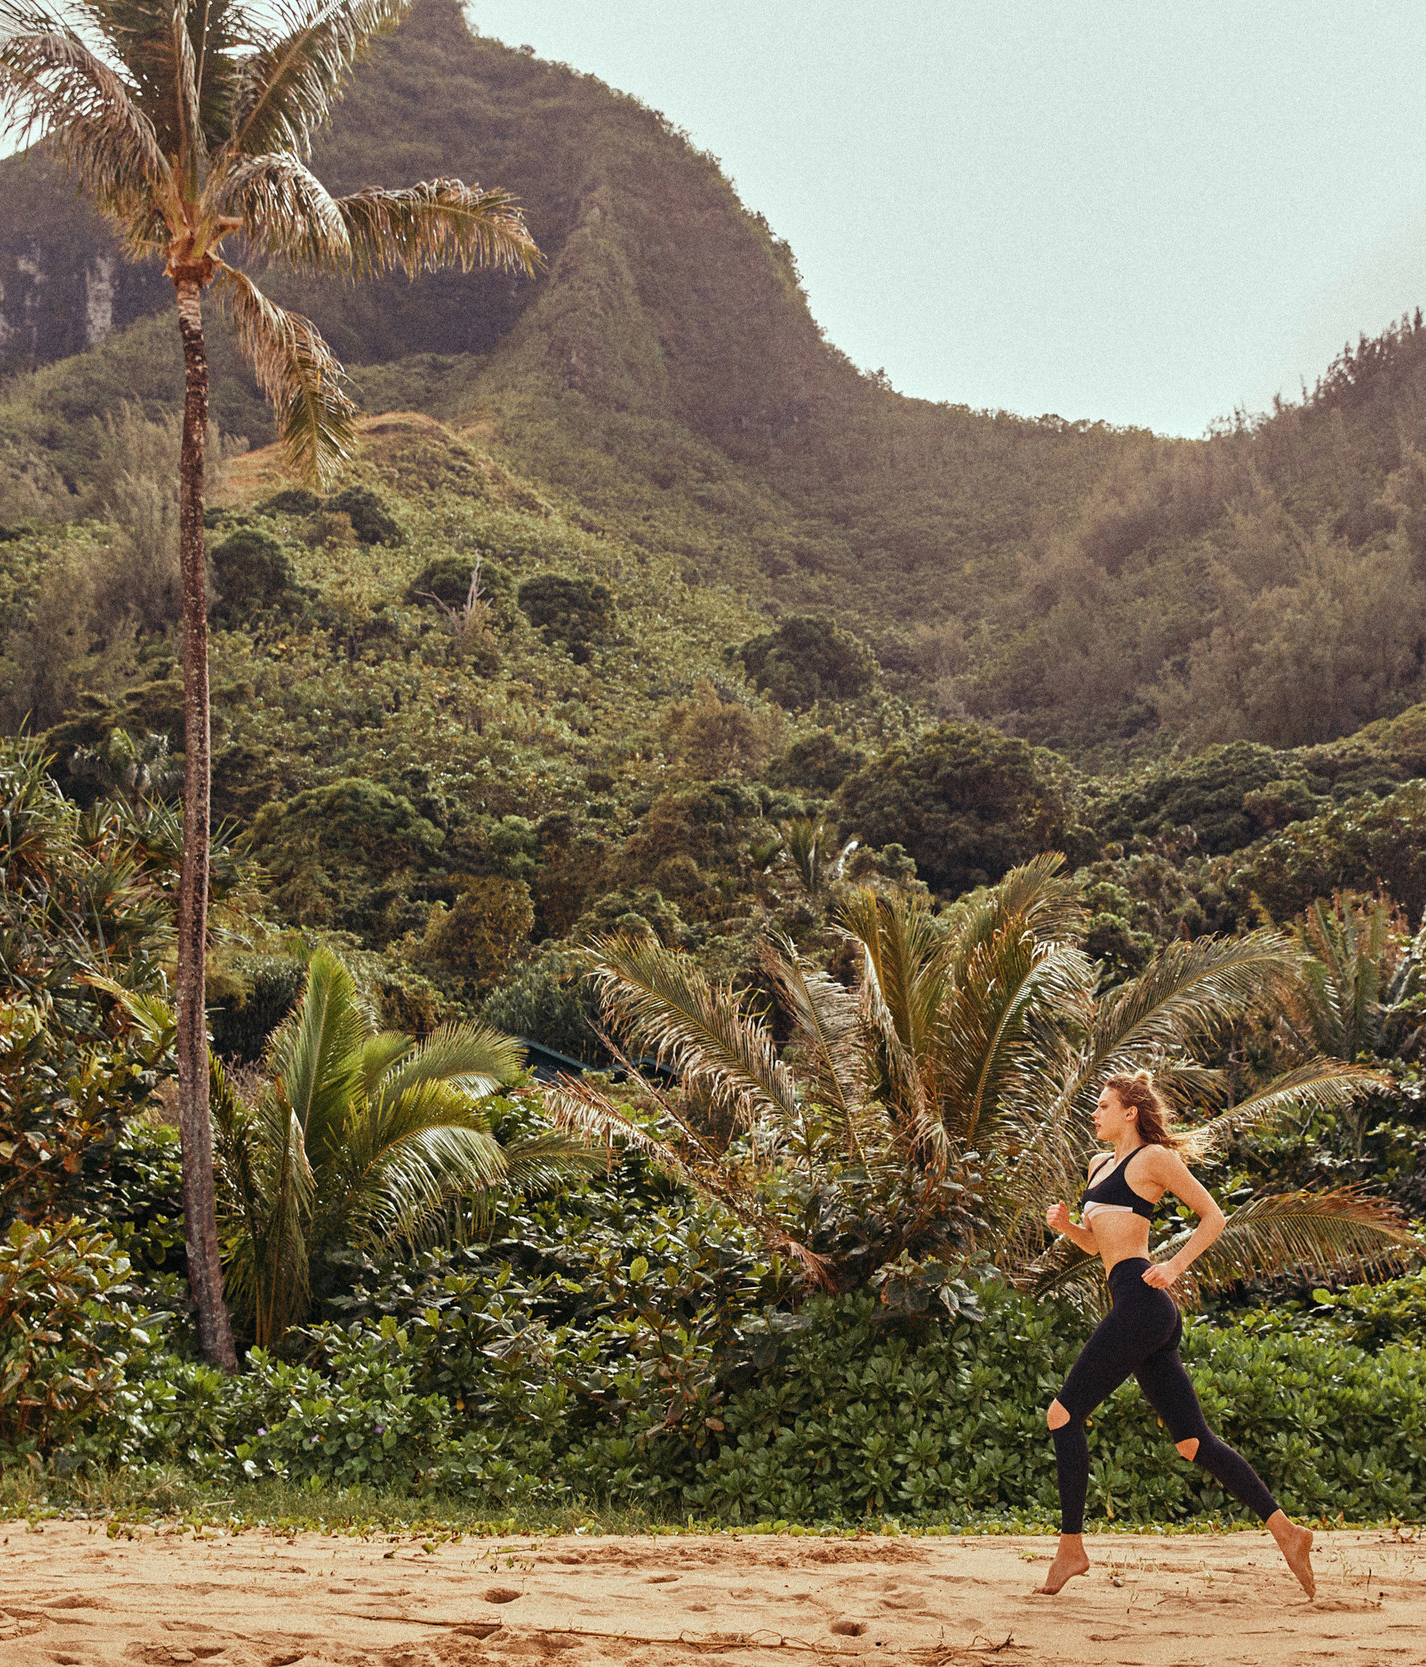
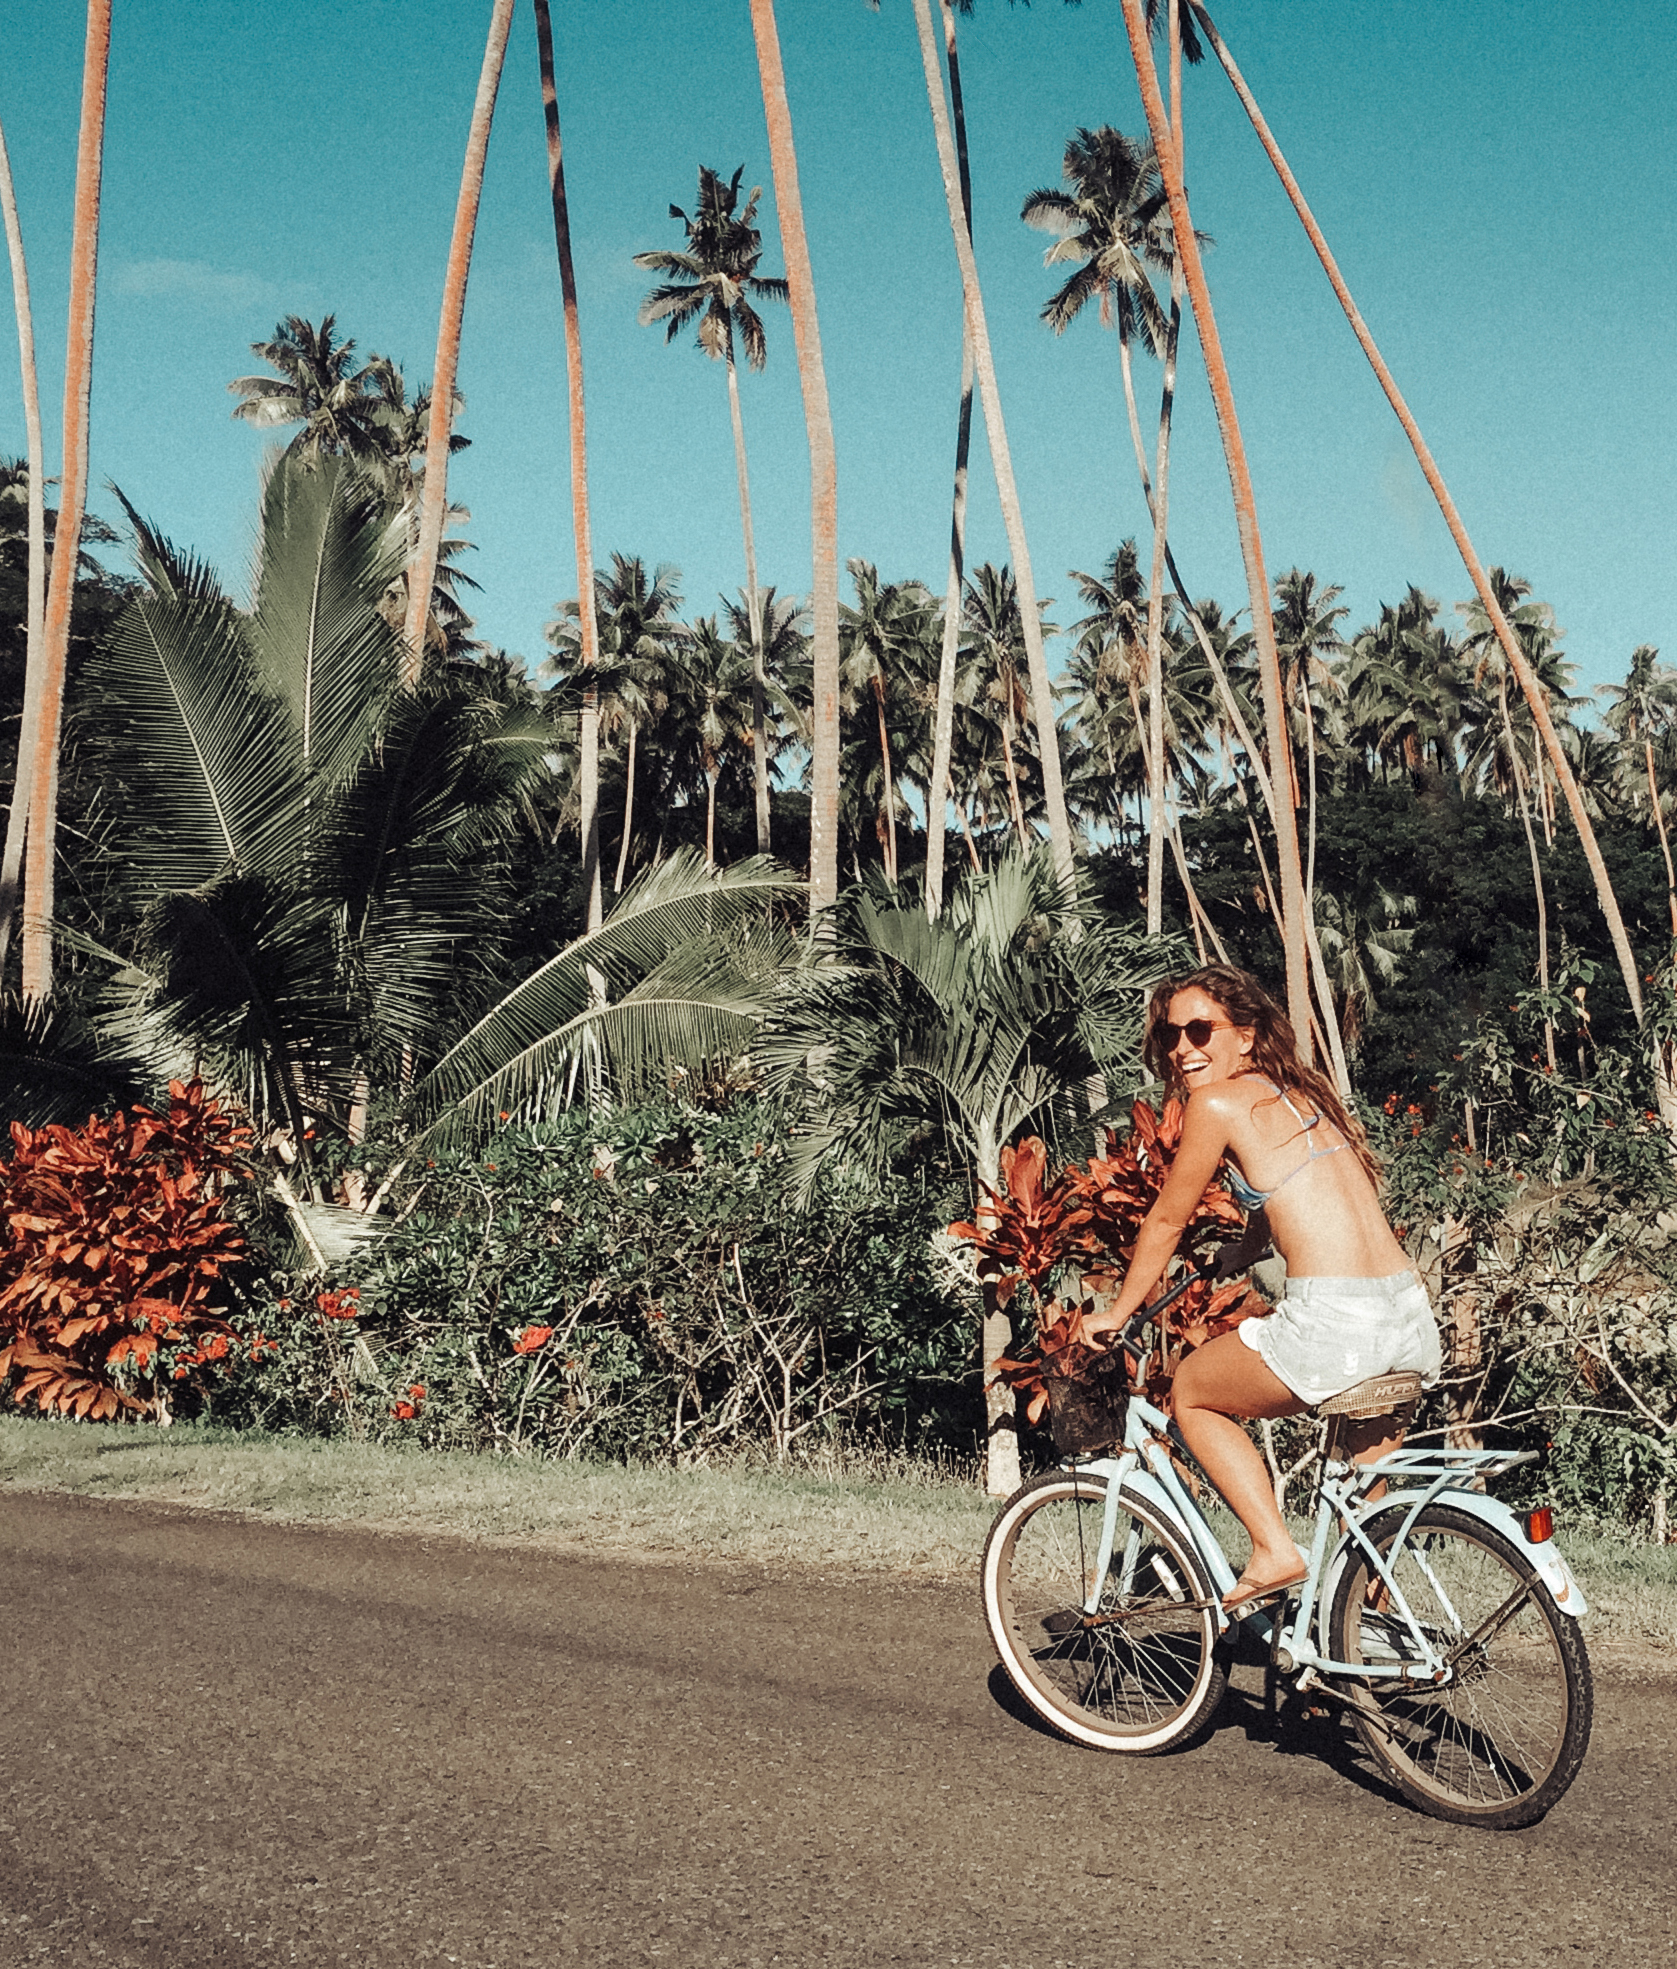
Your subject is literally running around like a Tasmanian devil that just drank a shot of espresso, and now in every shot you take random limbs are disappearing and they’re just a total blurry mess.
The solution?
Increase your shutter speed.
If you happen to be working with a toddler, or maybe a super cute but crazy puppy, chances are your subject is pretty dang hard to predict, much less get to sit still for even a second. So, what can you do?
Changing your shutter speed allows you to control exactly how long your camera’s shutter stays open—the longer the shutter is open, the more time the camera spends capturing the photo, which is why anything that moves too much over that duration will come out blurry. So, the shorter amount of time the shutter is open (or, the higher your shutter speed), the sharper your subject/toddler/puppy will appear.
Try starting with a shutter speed of 1/250th of a second and slowly increasing it as needed. Faster shutter speeds are great for capturing kids playing, perfect frozen-in-time fitness moments (jump squat, hello), or even a gorgeous waterfall or wildlife. Any time you’re trying to capture motion, shutter speed is going to be your absolute best friend.
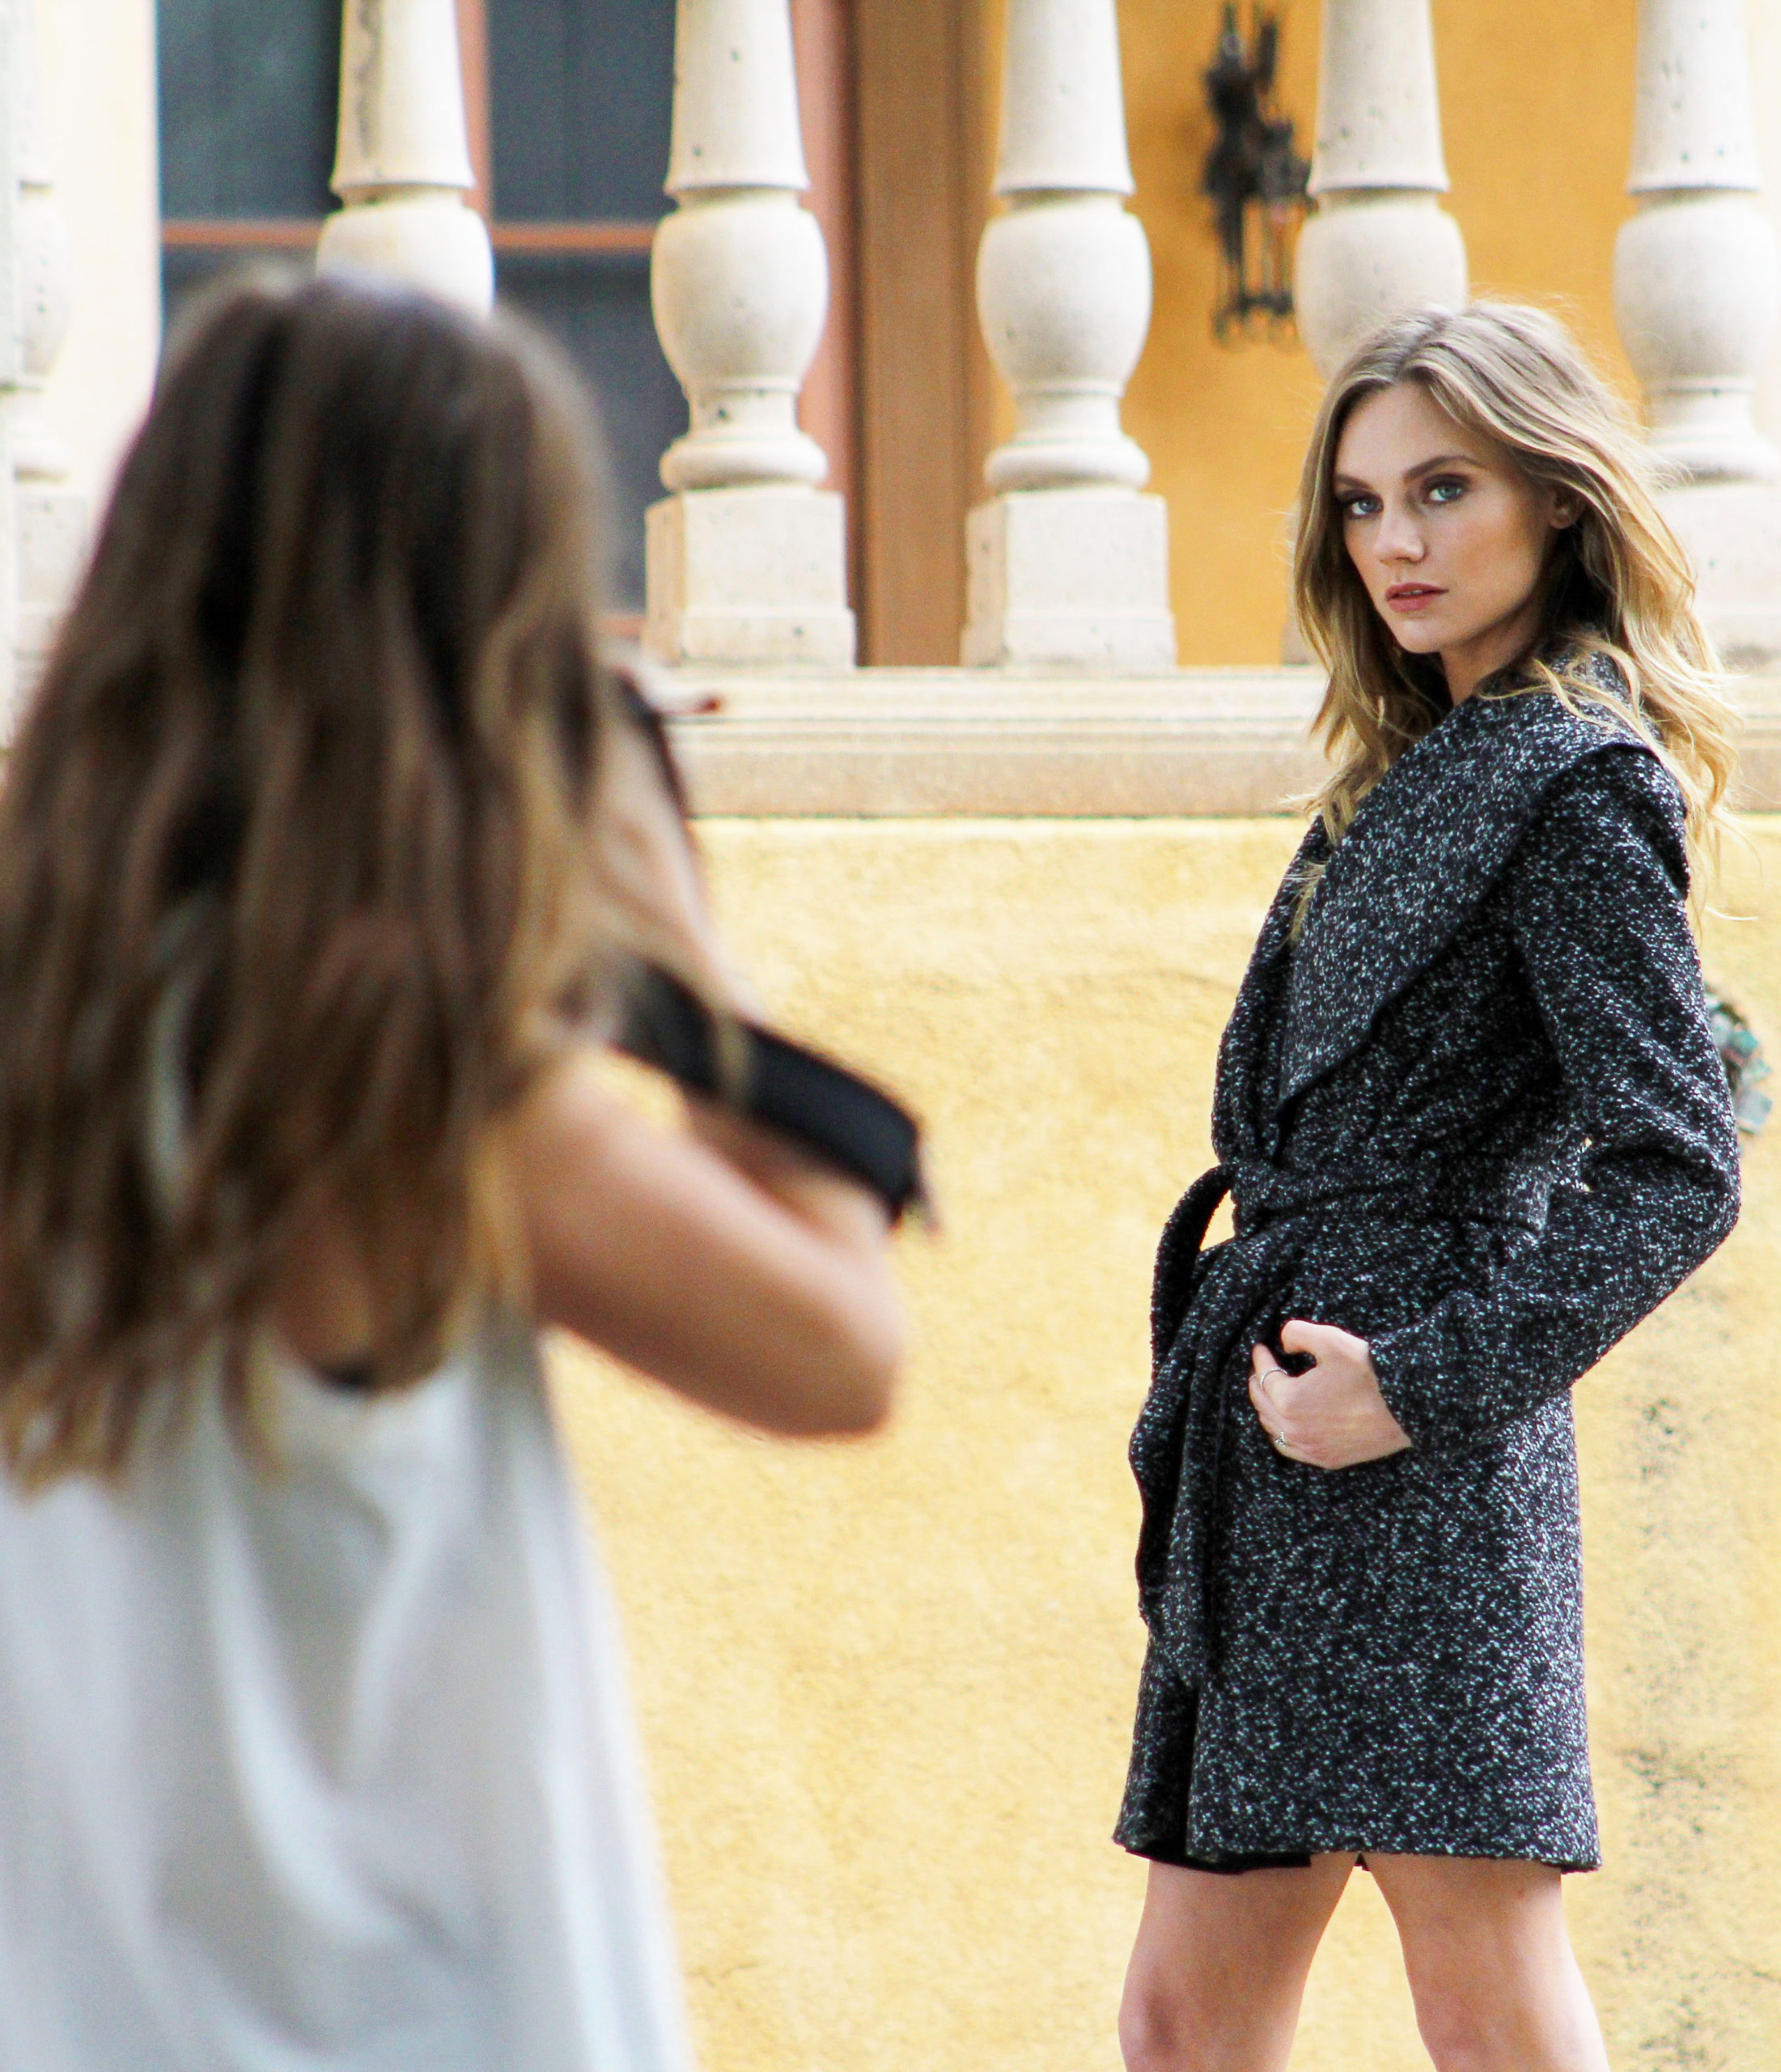
Problem:
You’re shooting what should be a super cute family or wedding photo, but after you pose everyone perfectly, you find that only half the group is actually in focus. Anyone standing in line with where your lens is focused looks glorious while those standing behind or in front are basically just out of focus blobs (not the best look).
The solution?
Increase your aperture.
If you’re shooting a large group of people, you’ll need to increase the actual area that is in focus—and the best way to do this is with the help of your aperture setting (F Stop). Basically, the wider your aperture setting, the shallower your depth of field will appear (less in focus from front to back). So, in order to increase the amount of space that’s in focus in your picture, you need to increase your depth of field by increasing your aperture. The higher the number (like F/16 or F/22), the deeper your depth of field.
Try starting at F/5.6 and slowly increasing your aperture until you notice a deeper plane of focus; AKA, more people are coming into focus from the front to the back.
Problem:
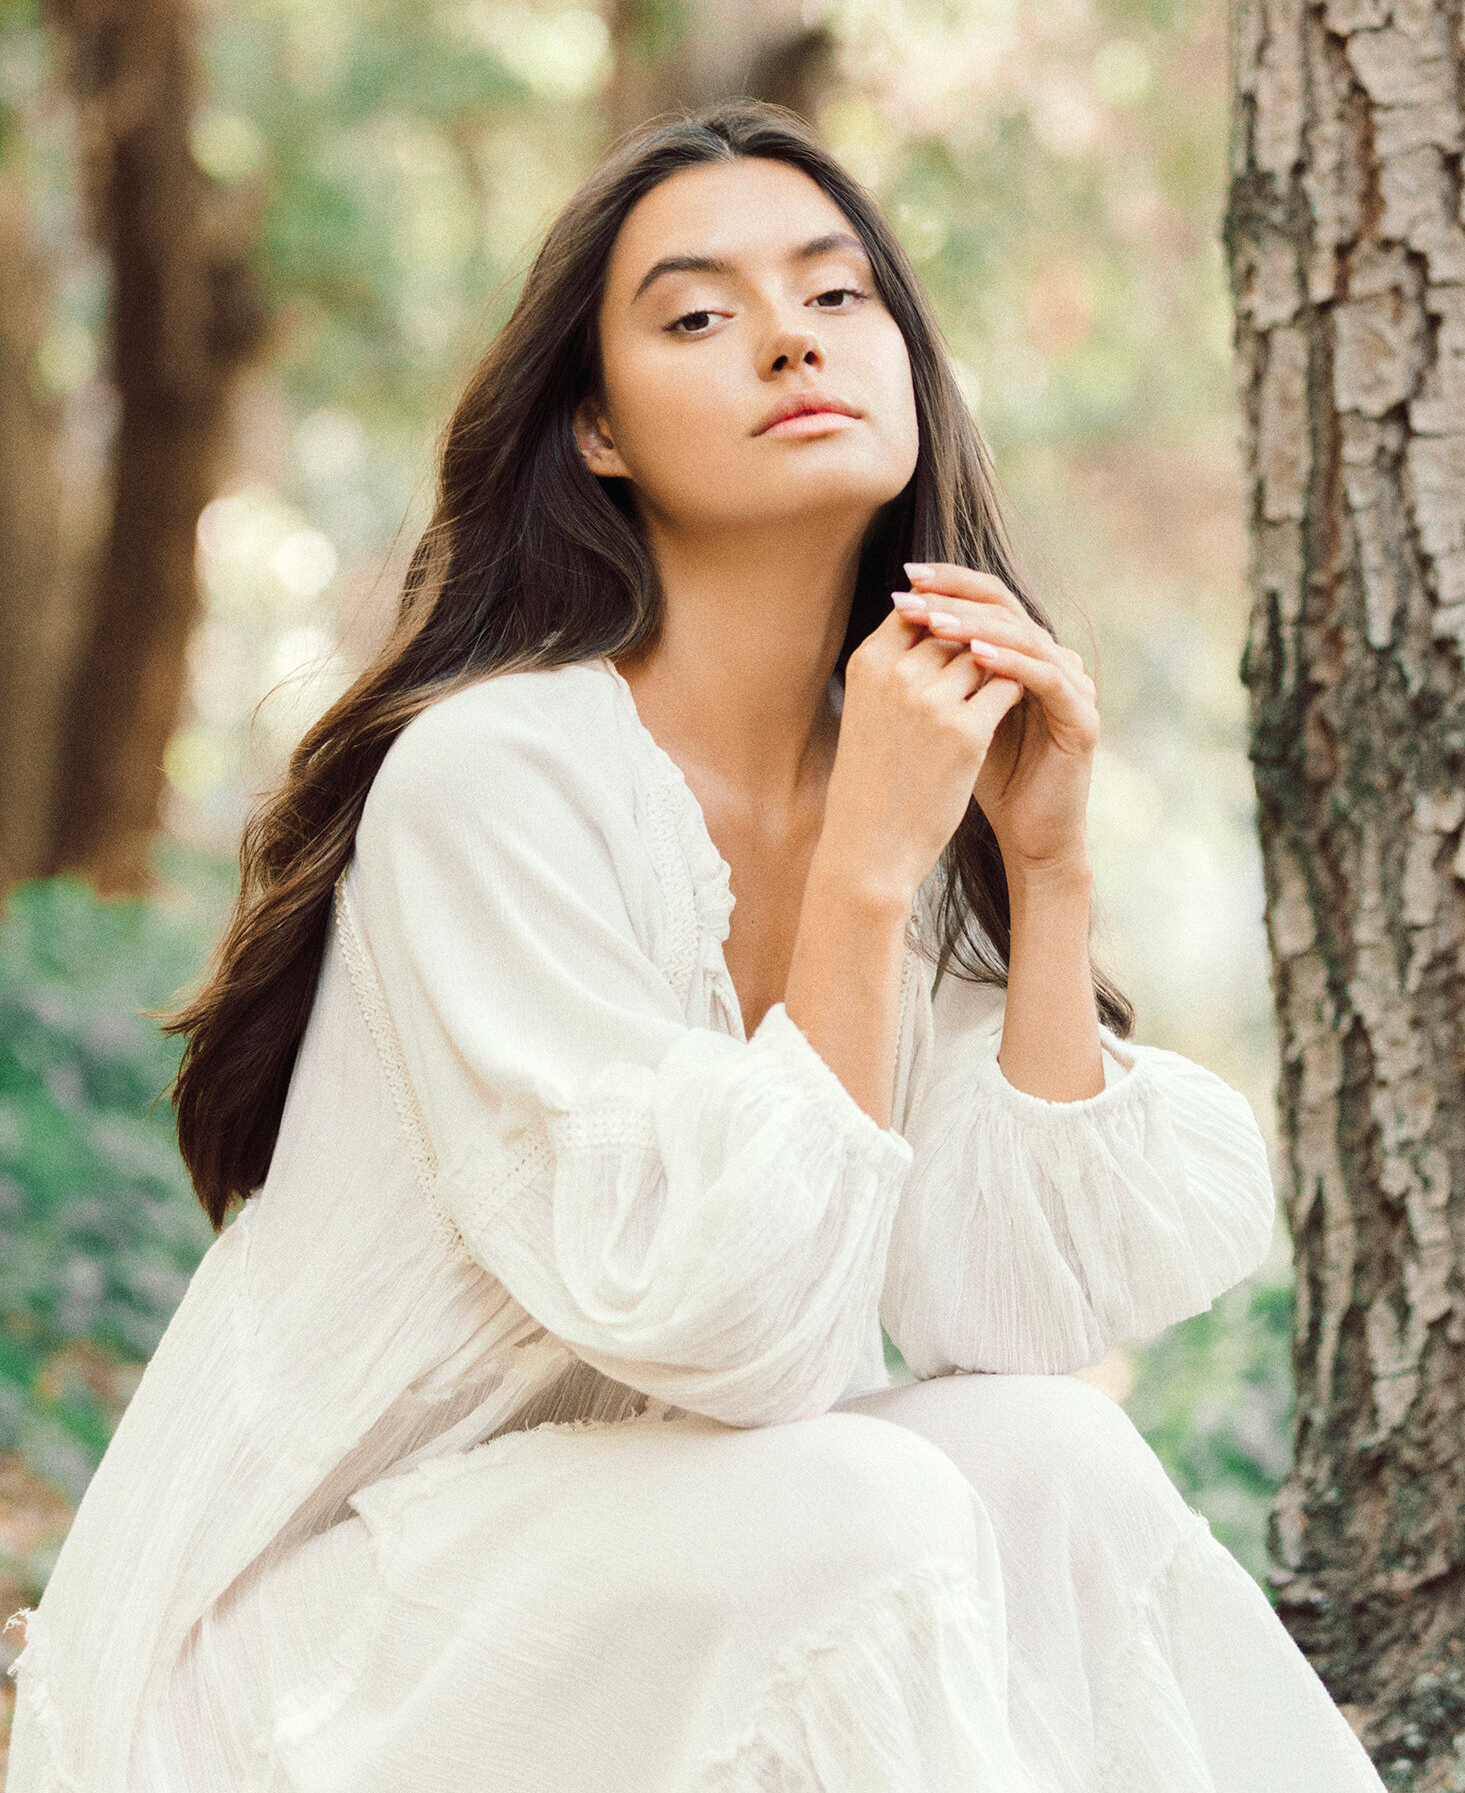
You’ve just finished the dreamiest shoot ever, but when you load the images onto your computer you realize that you missed your focus mark almost every single time. Your subject’s arm is in perfect focus, or the gorgeous tree they posed in front of, but their face is all blurred out, so it looks like something out of a horror movie. Cue panic.
The solution?
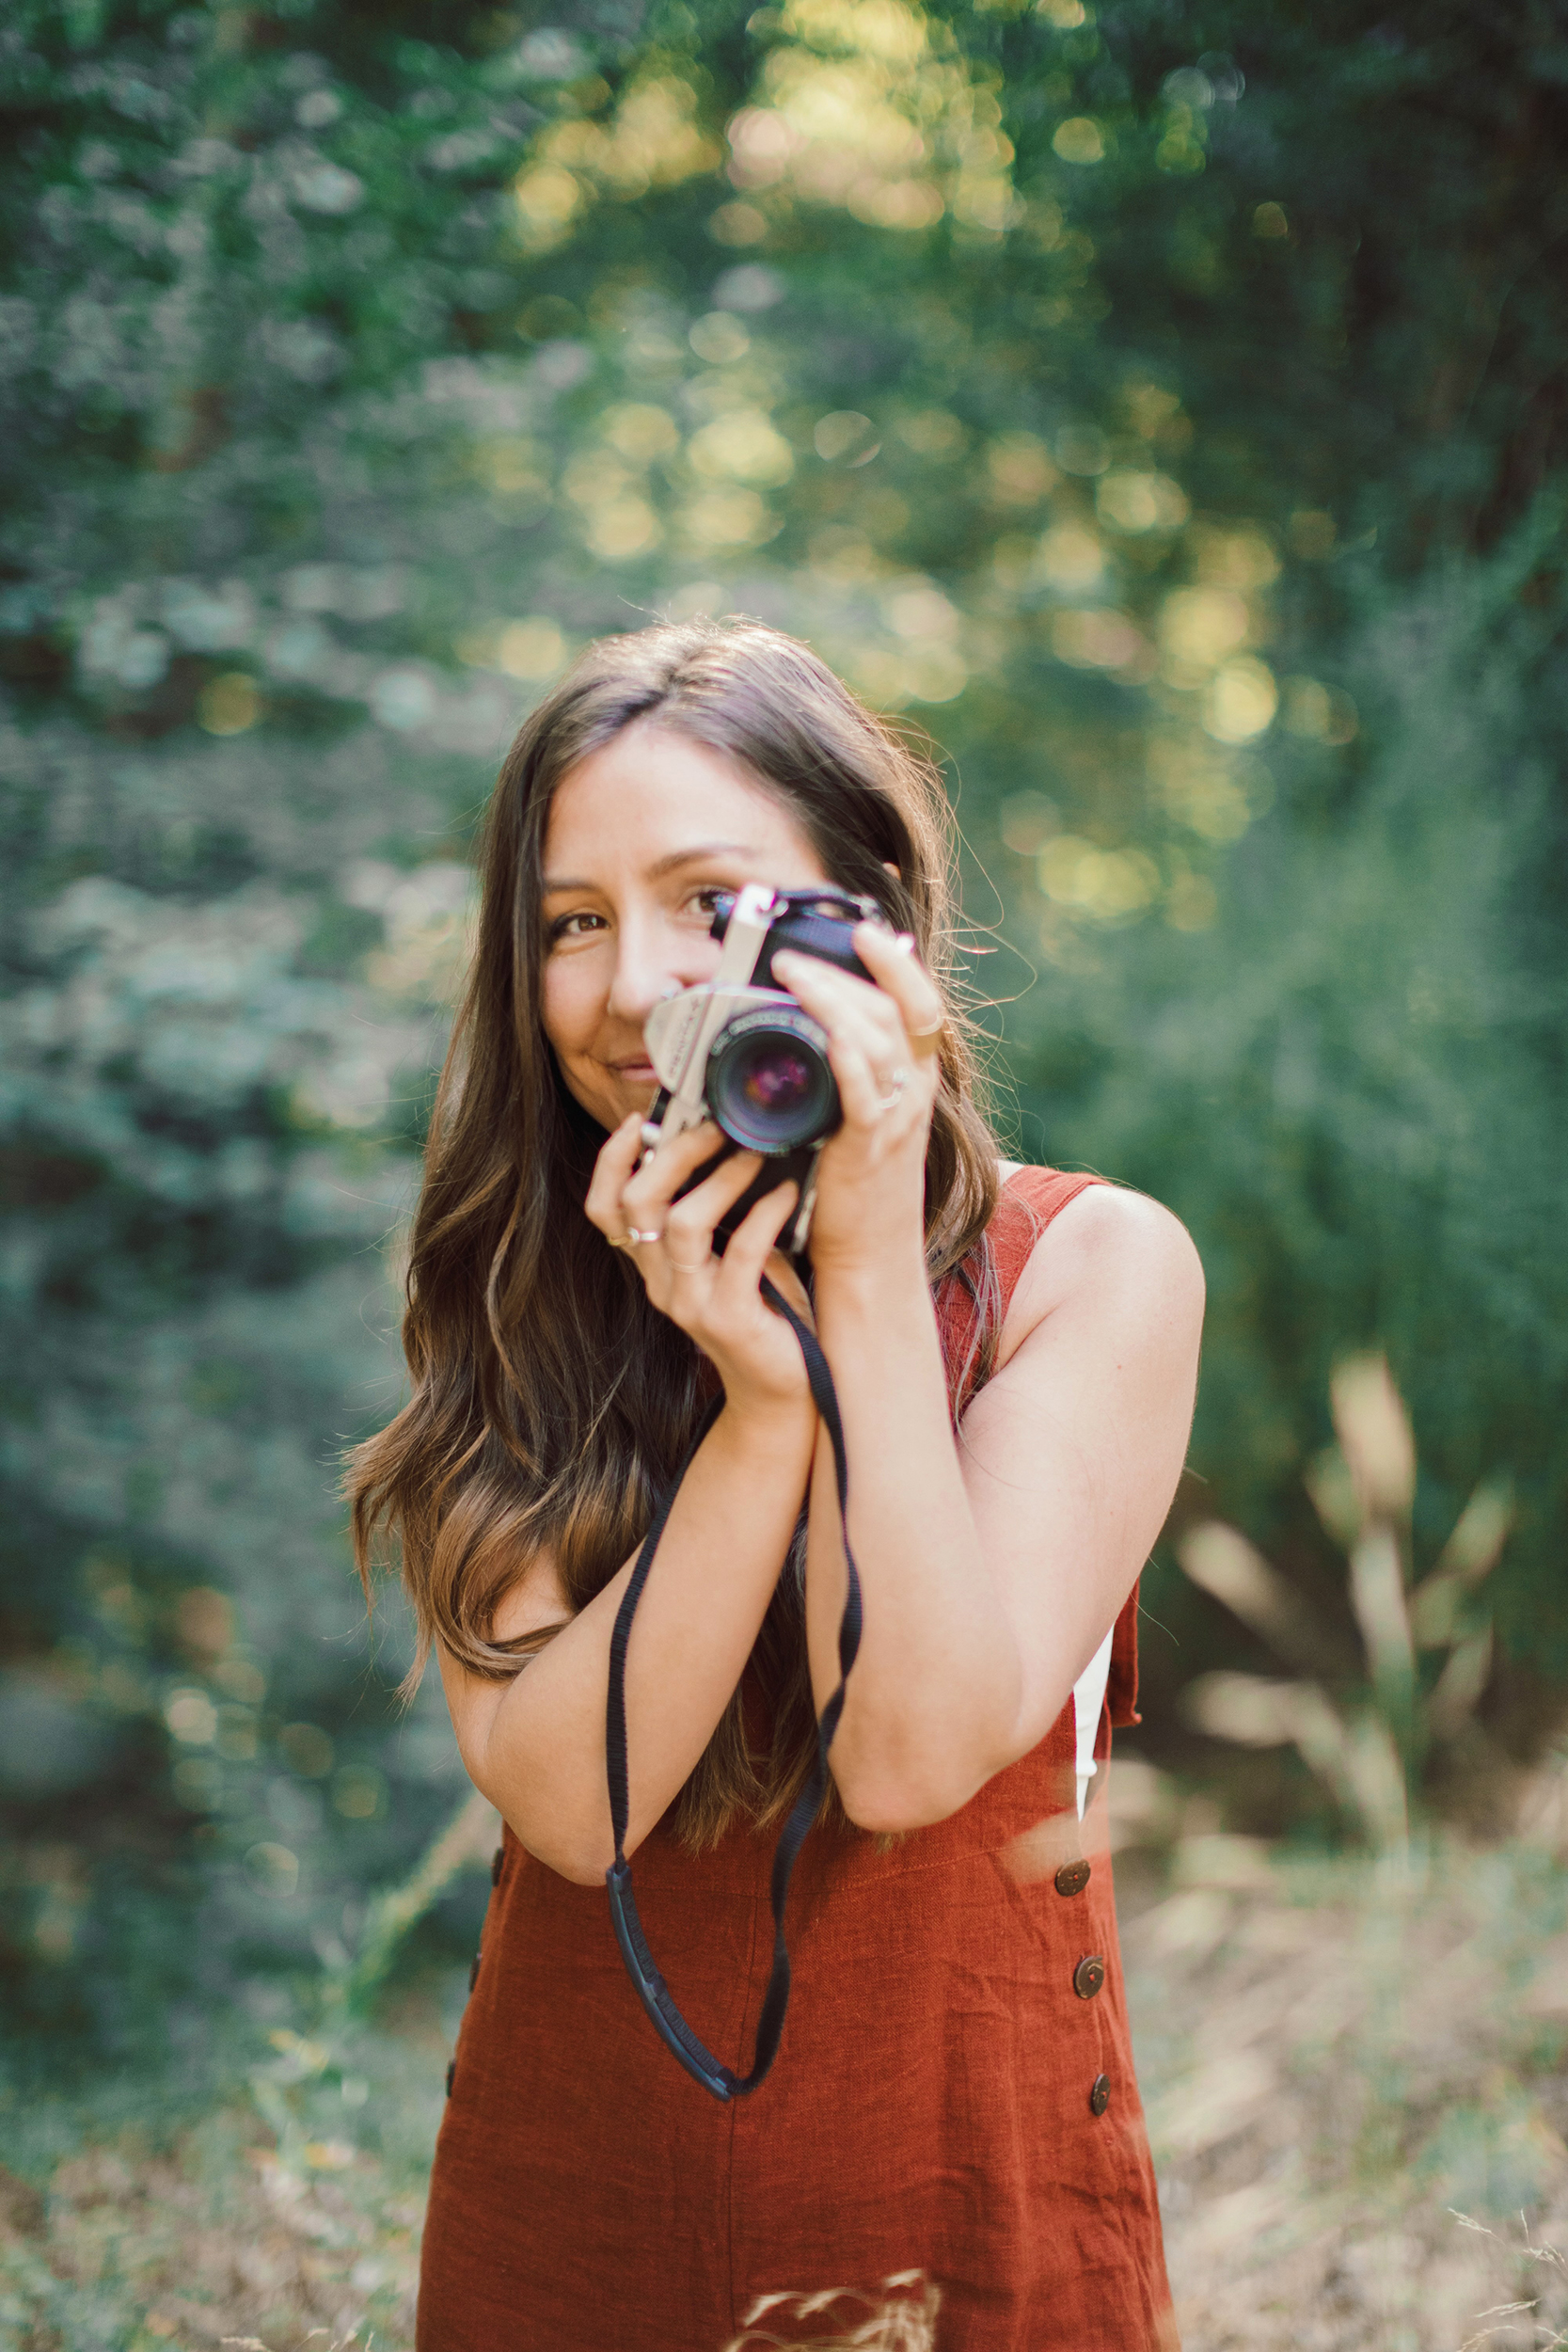
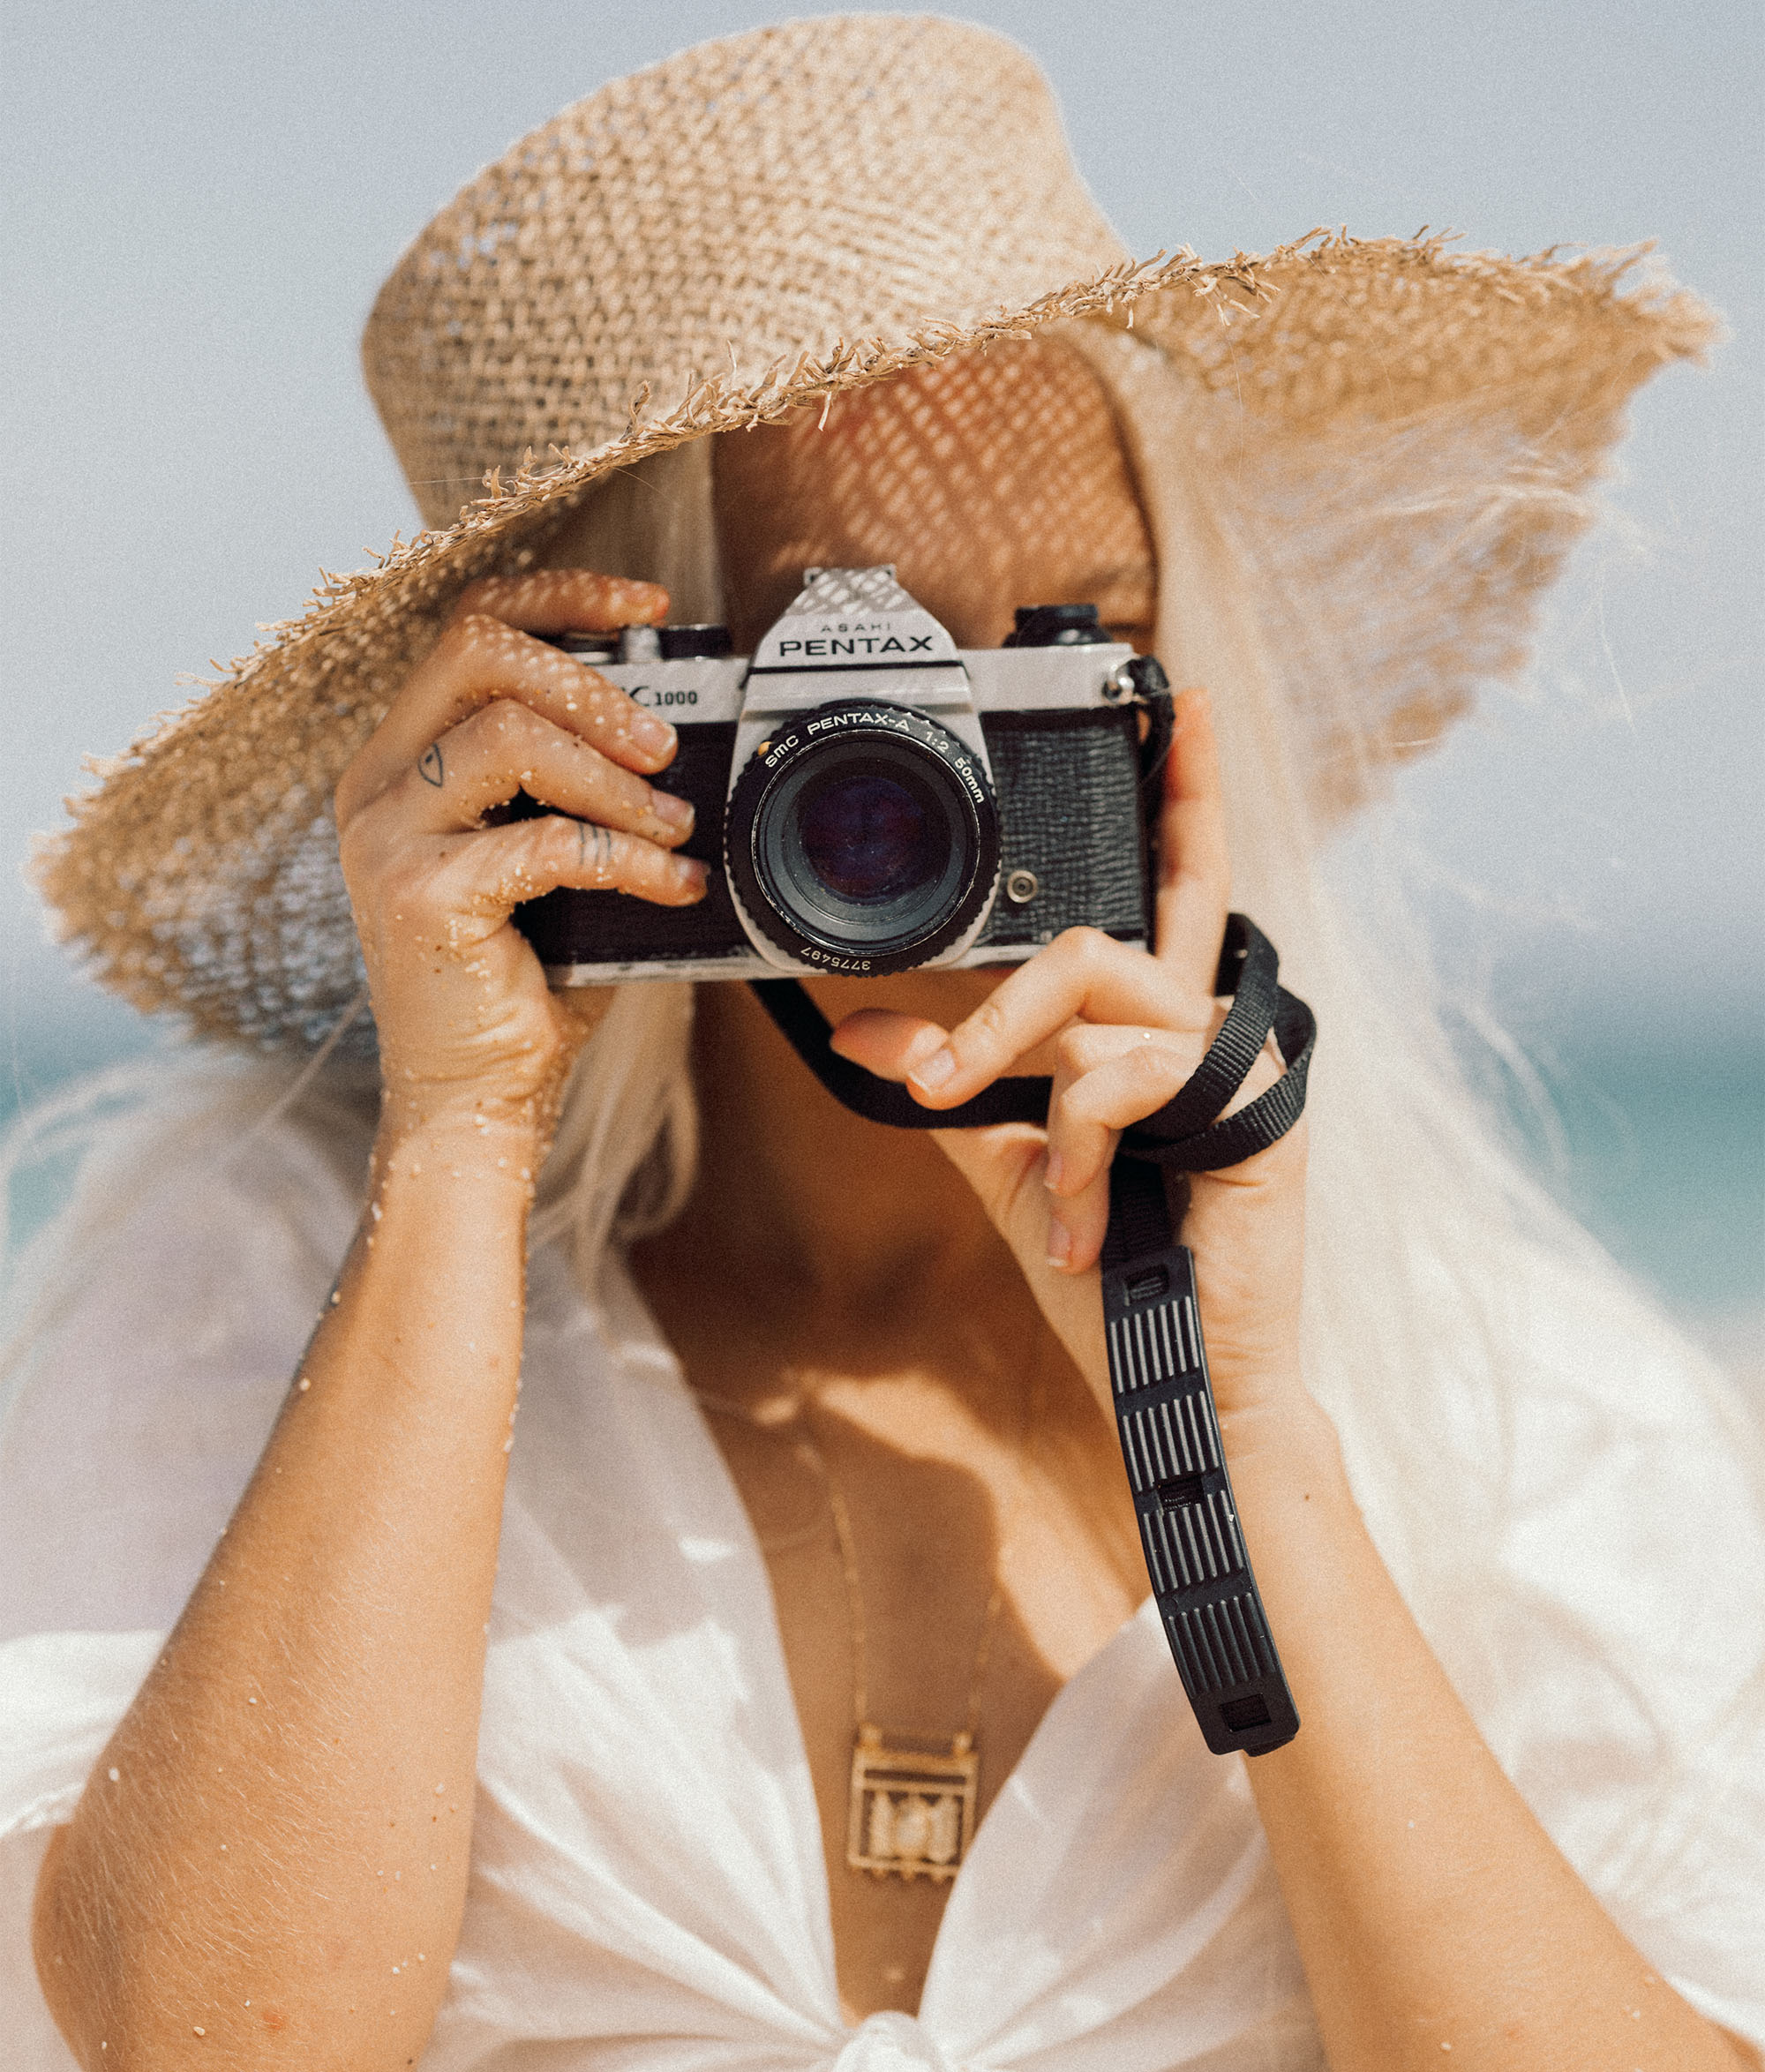
Focus on the eyes.
When trying to keep your subject in focus, make sure to always keep your camera’s focus on their eyes. This is especially important when shooting with a wider aperture, due to your shallower depth of field, so you need to make sure that the focus is spot on.
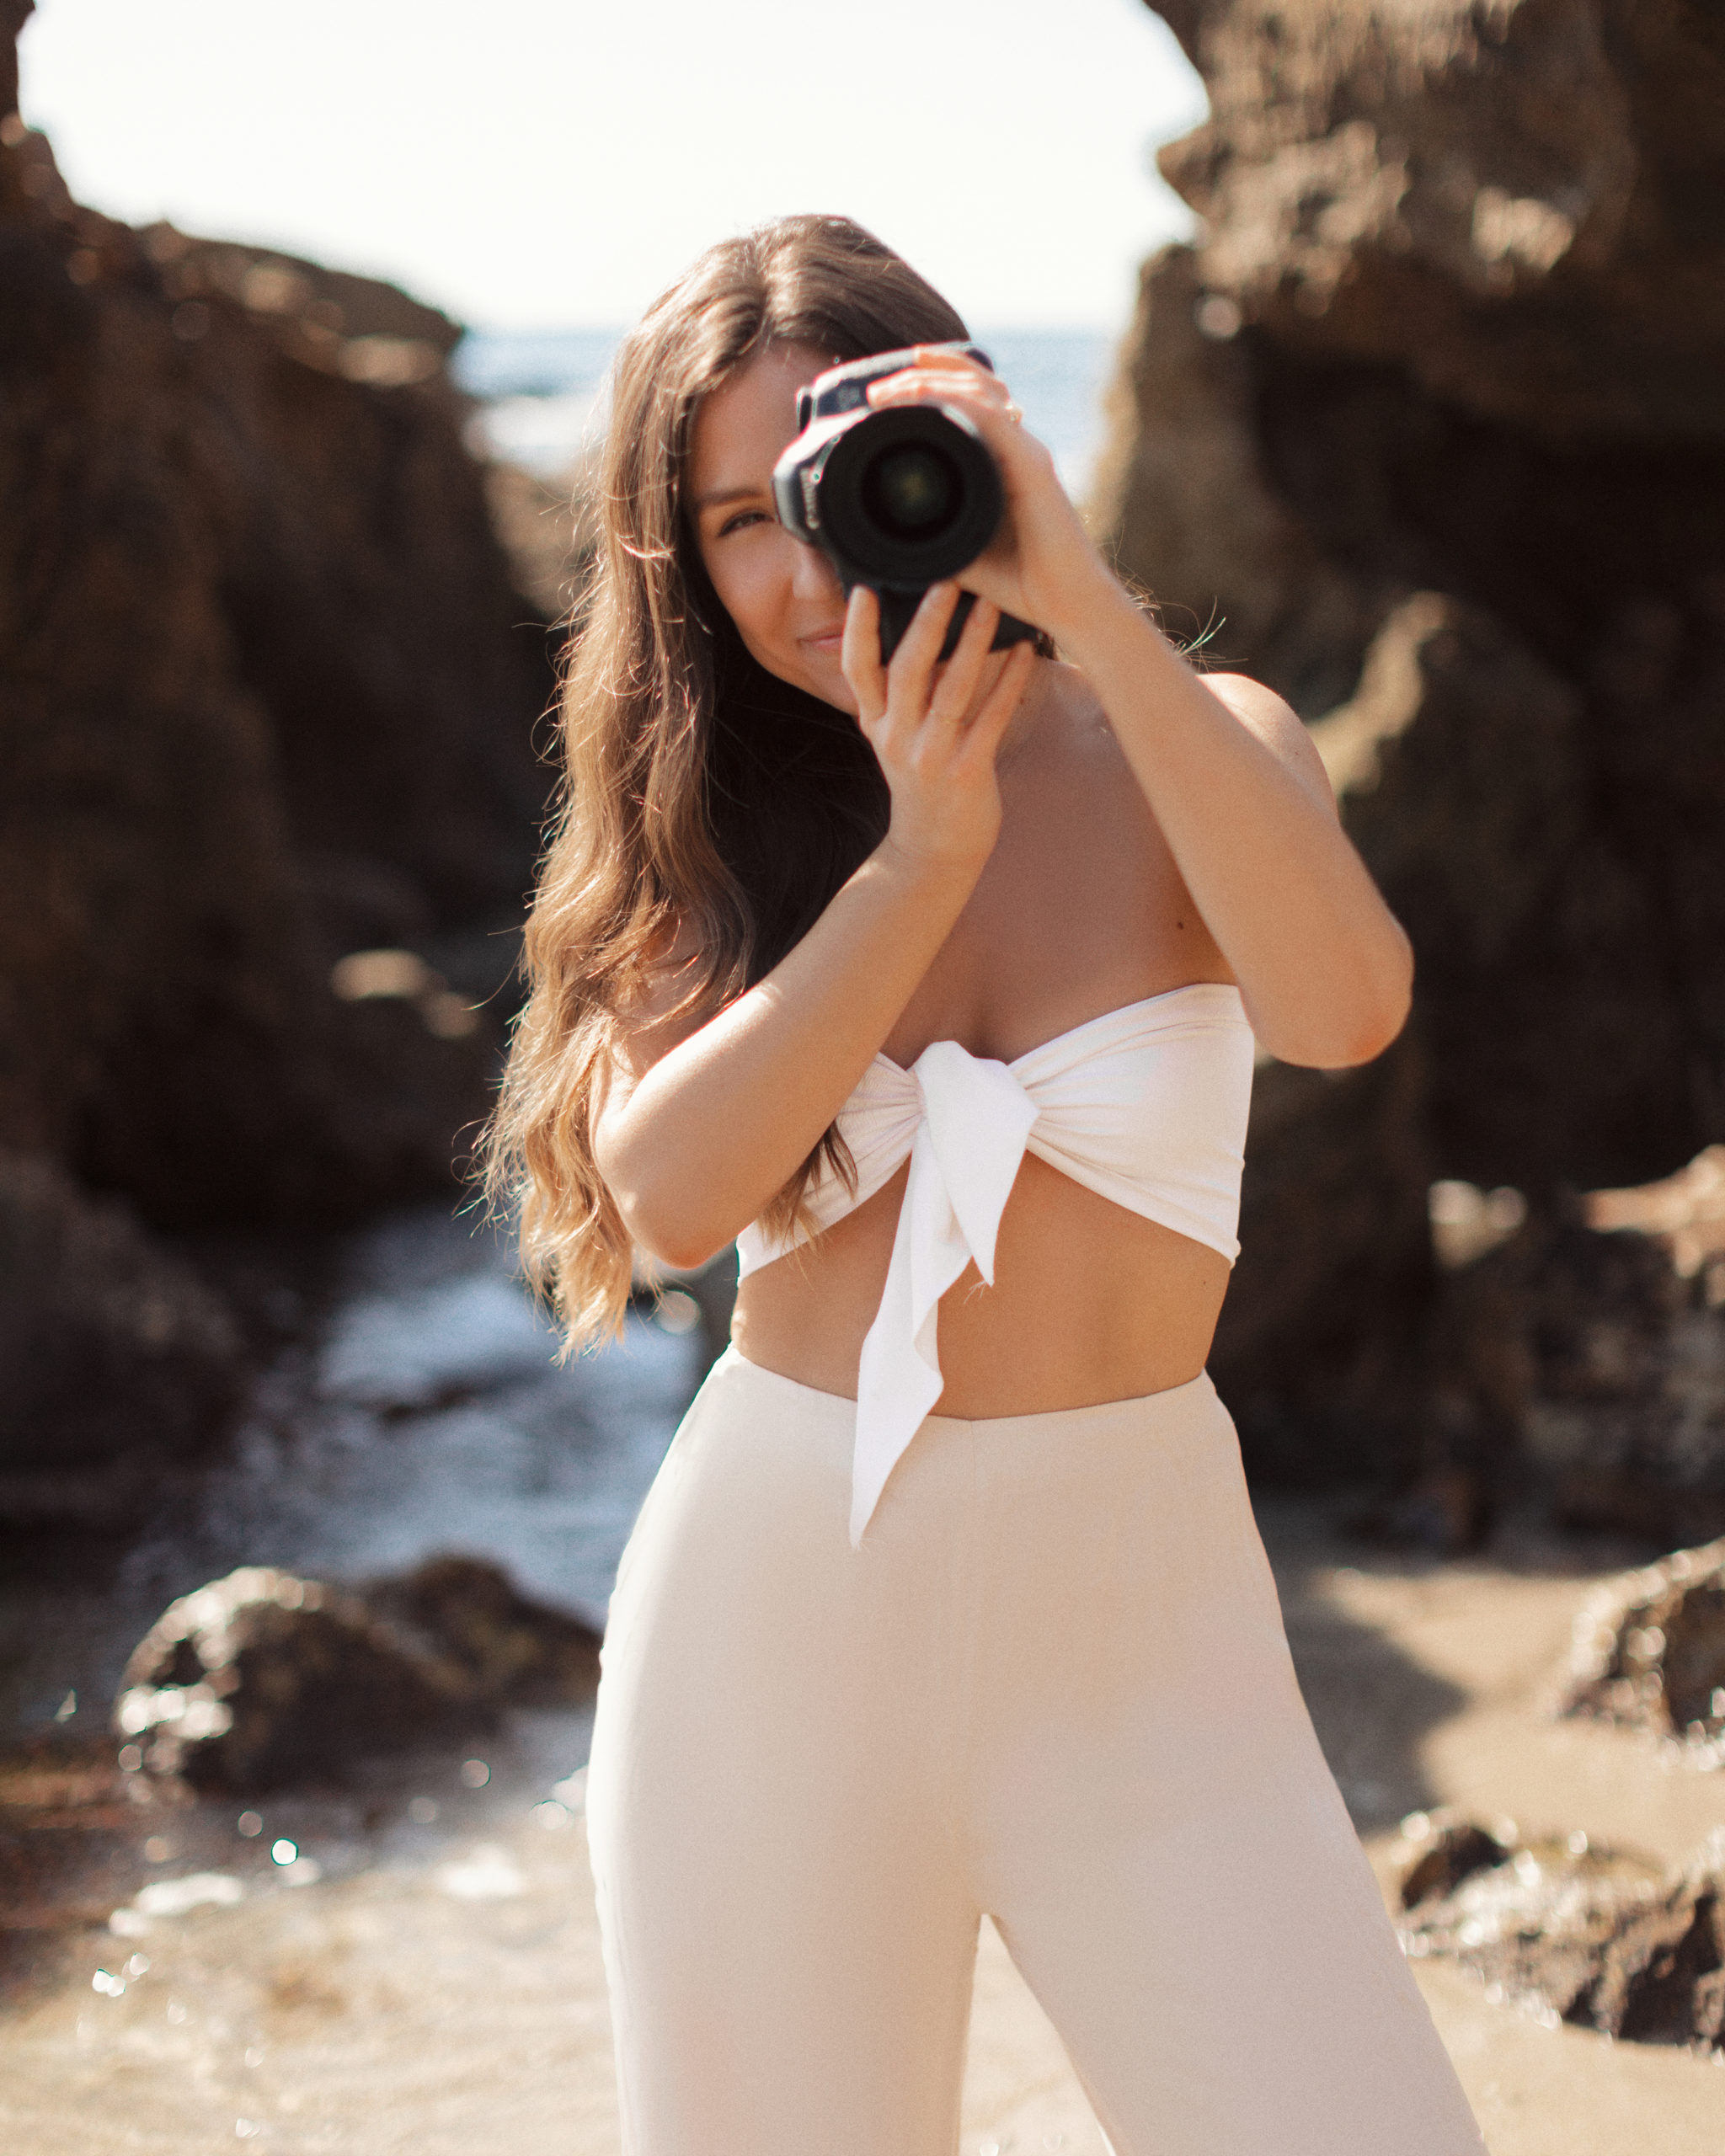
To test out your focus placement, shift your focus points to the most important places in the photo (usually the person’s eyes), when you’re locked on the eyes press halfway down on the shutter button to see exactly how your camera is registering the focus, and then press all the way down to take your shot. Do this every single time you take a photo because if you or your subject move even a little bit, you are going to need to re-focus.
Usually I like to use a single point autofocus, even though it tends to take a little extra time manually moving the focus point around the screen. The benefit, though, is that it lets you have way more control over your specific focus point, which is amazing once you get used to it.
Problem:
You’re shooting your best friend, hubby, or pup. You’ve made a ton of adjustments to try to snap this sweet moment, but the images come out all grainy, with dull colors, and honestly a little disappointing. Why can’t it look as gorgeous in your camera as it did in your eyes?!
The solution?
Lower your ISO.
The ISO is the setting that tells your camera how sensitive it should be to the light—the higher the ISO, the more sensitive your camera is (AKA the more light it is able to pick up on). Shooting at a higher ISO can be helpful if you’re in a setting with very low light, but otherwise you’re better off shooting at the lowest ISO possible that enables you to capture your idea. It will always give your images the best image quality possible. BUT!! No matter how tempted you are, do NOT increase it more than necessary. I know, it’s a delicate balance. The thing is when you crank your ISO up too much you end up with bland, grainy images that have a ton of noise. So, if you want those lovely tack-sharp sunset photos but all you’re getting is noisy images with muted colors, lower your ISO until you find the sweet spot.
Problem:
You finished a lovely shoot, load your images onto the computer, and suddenly notice what looks like a layer of smog and haziness taking over all your images. And, uhm, it was not hazy, and it was not humid. What’s the deal?
The solution?
You really gotta clean your lenses, boo.
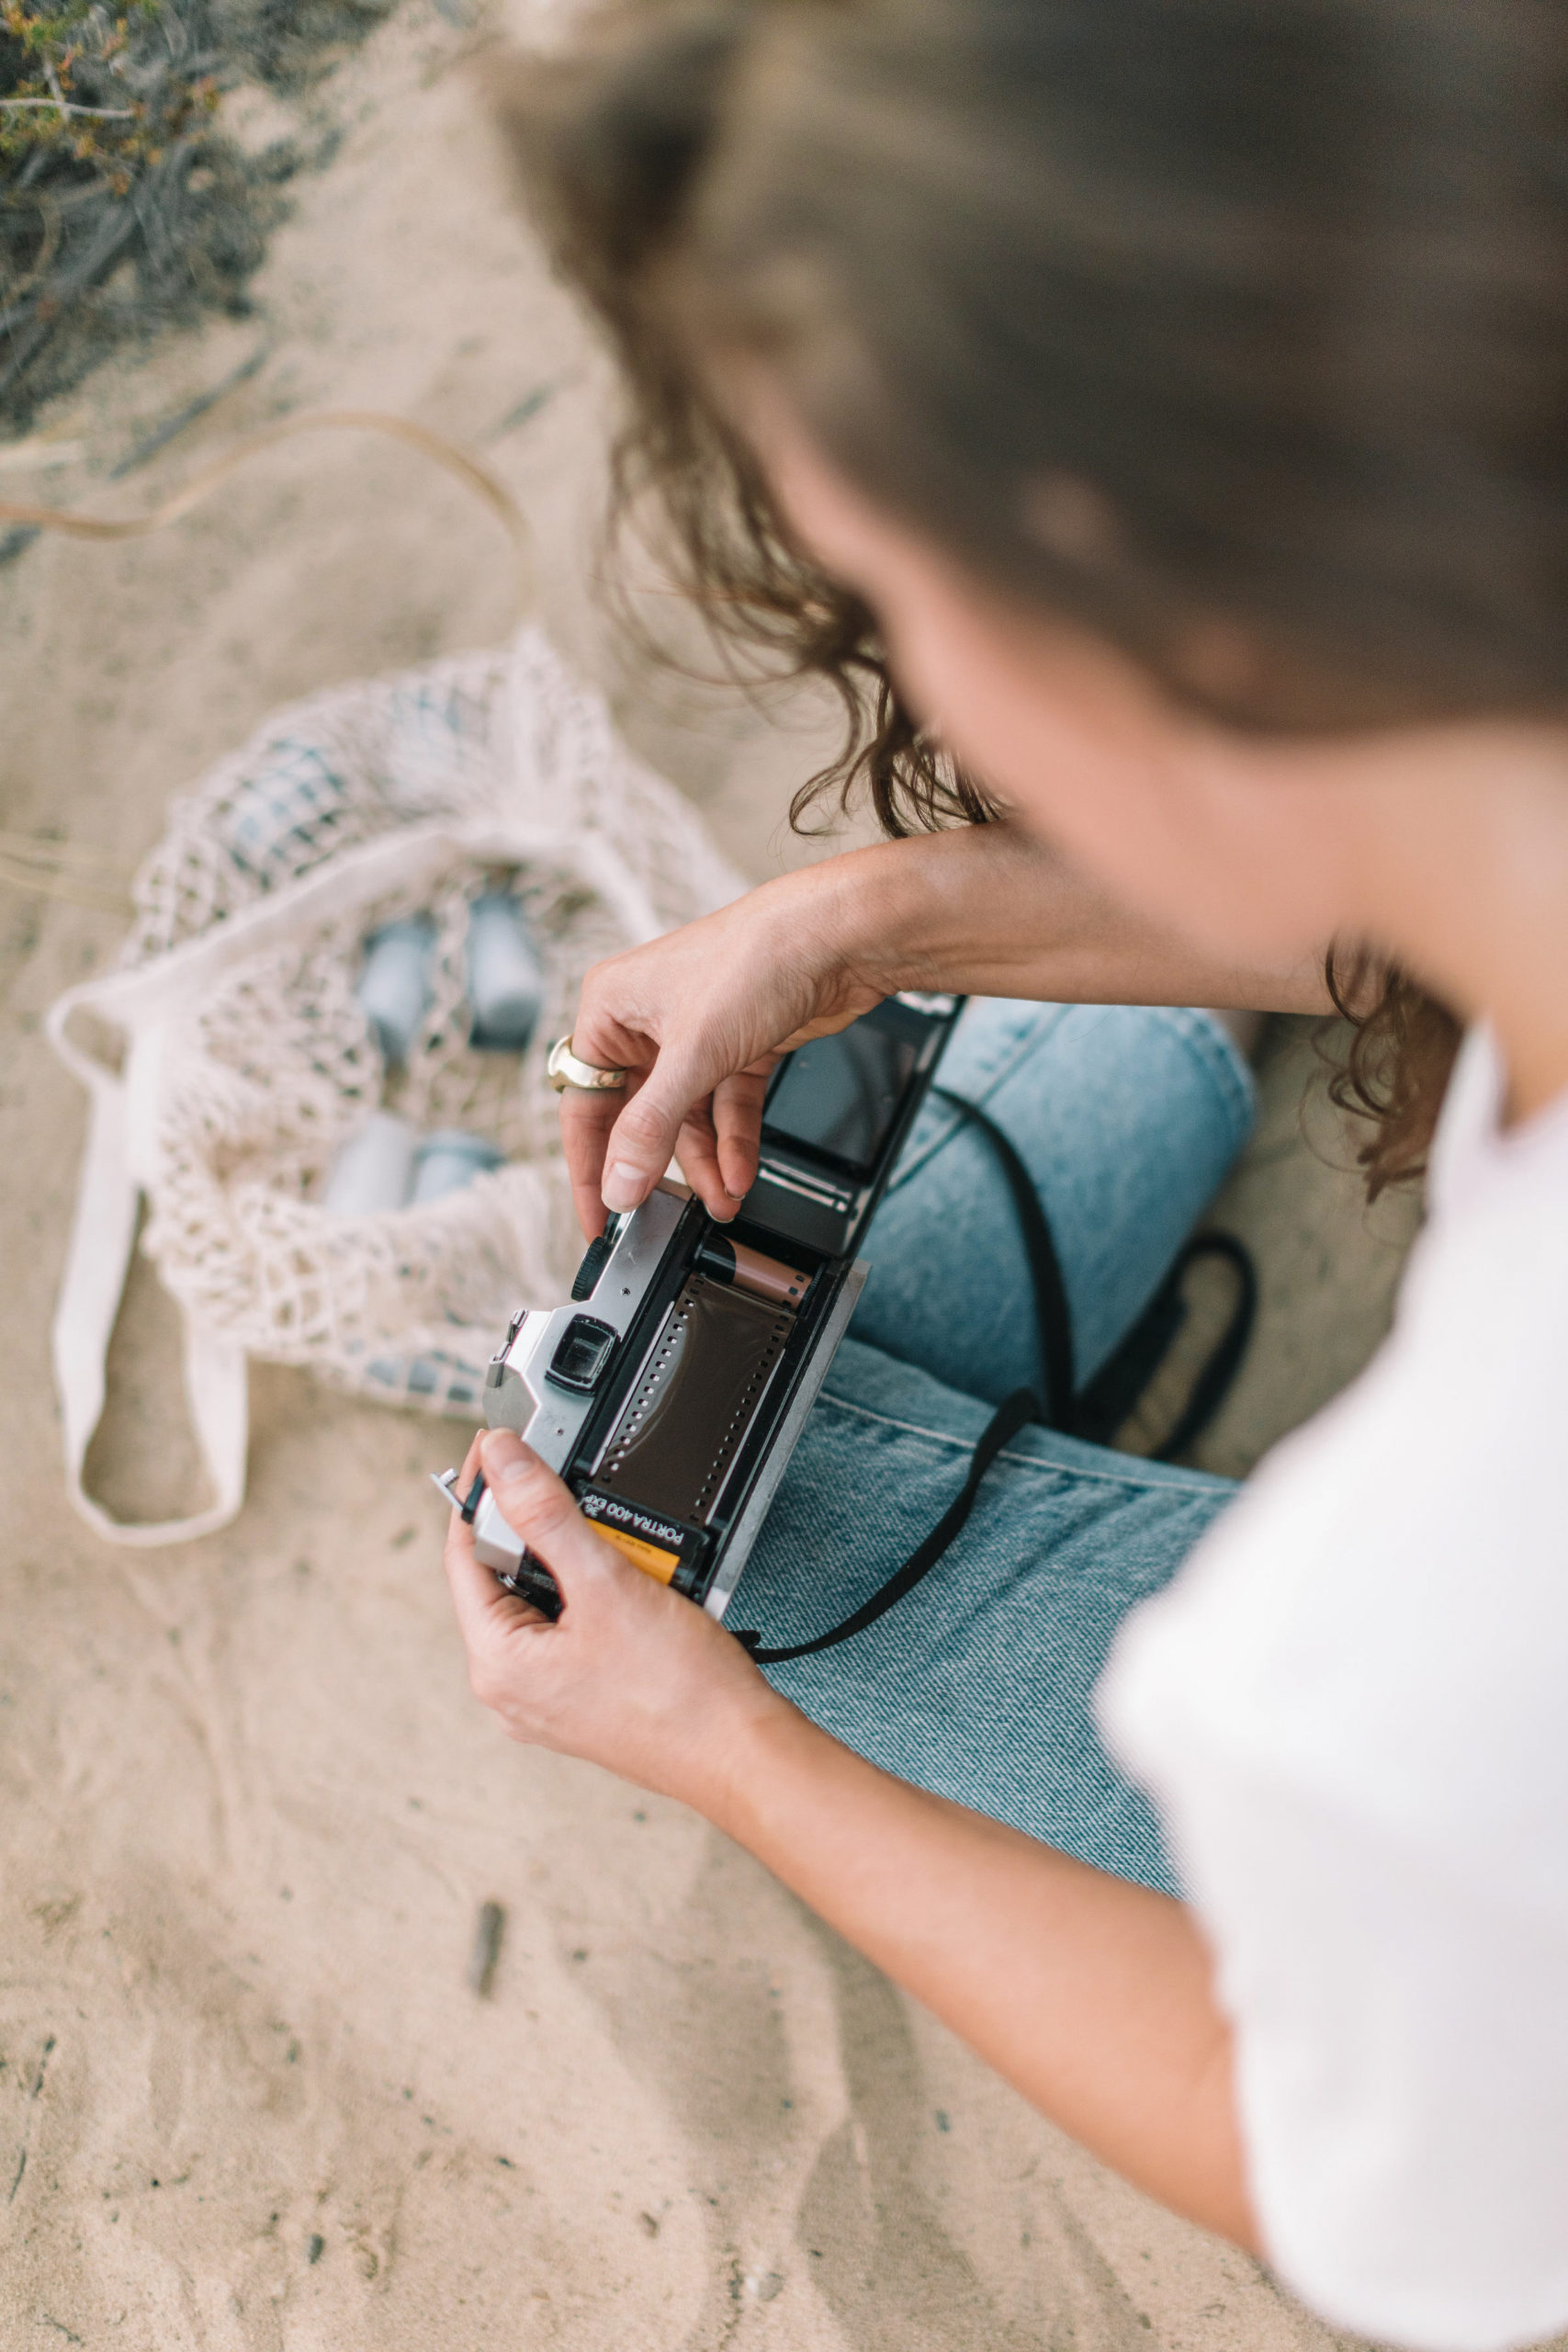
I know this sounds obvious but hear me out. You know how the bookshelf you bump into every morning on your way to the kitchen gets super dusty and you just don’t happen to notice for two months? Well, the same thing can happen to your camera lenses. Even though we use them almost every day, we can accidentally put off cleaning them for, uhm, way too long.
I recommend getting into the habit of at least doing a quick clean before and after each and every shoot you do. Because even if we don’t touch our lenses, the air around us, the humidity, the oils and smog and everything else drifting around in the air will—and all that gunk will cake onto our lenses and no one wants that. It only takes a few extra minutes and it can often mean the difference between a perfect portrait shot and a hazy just soft enough that it’s annoying blur.
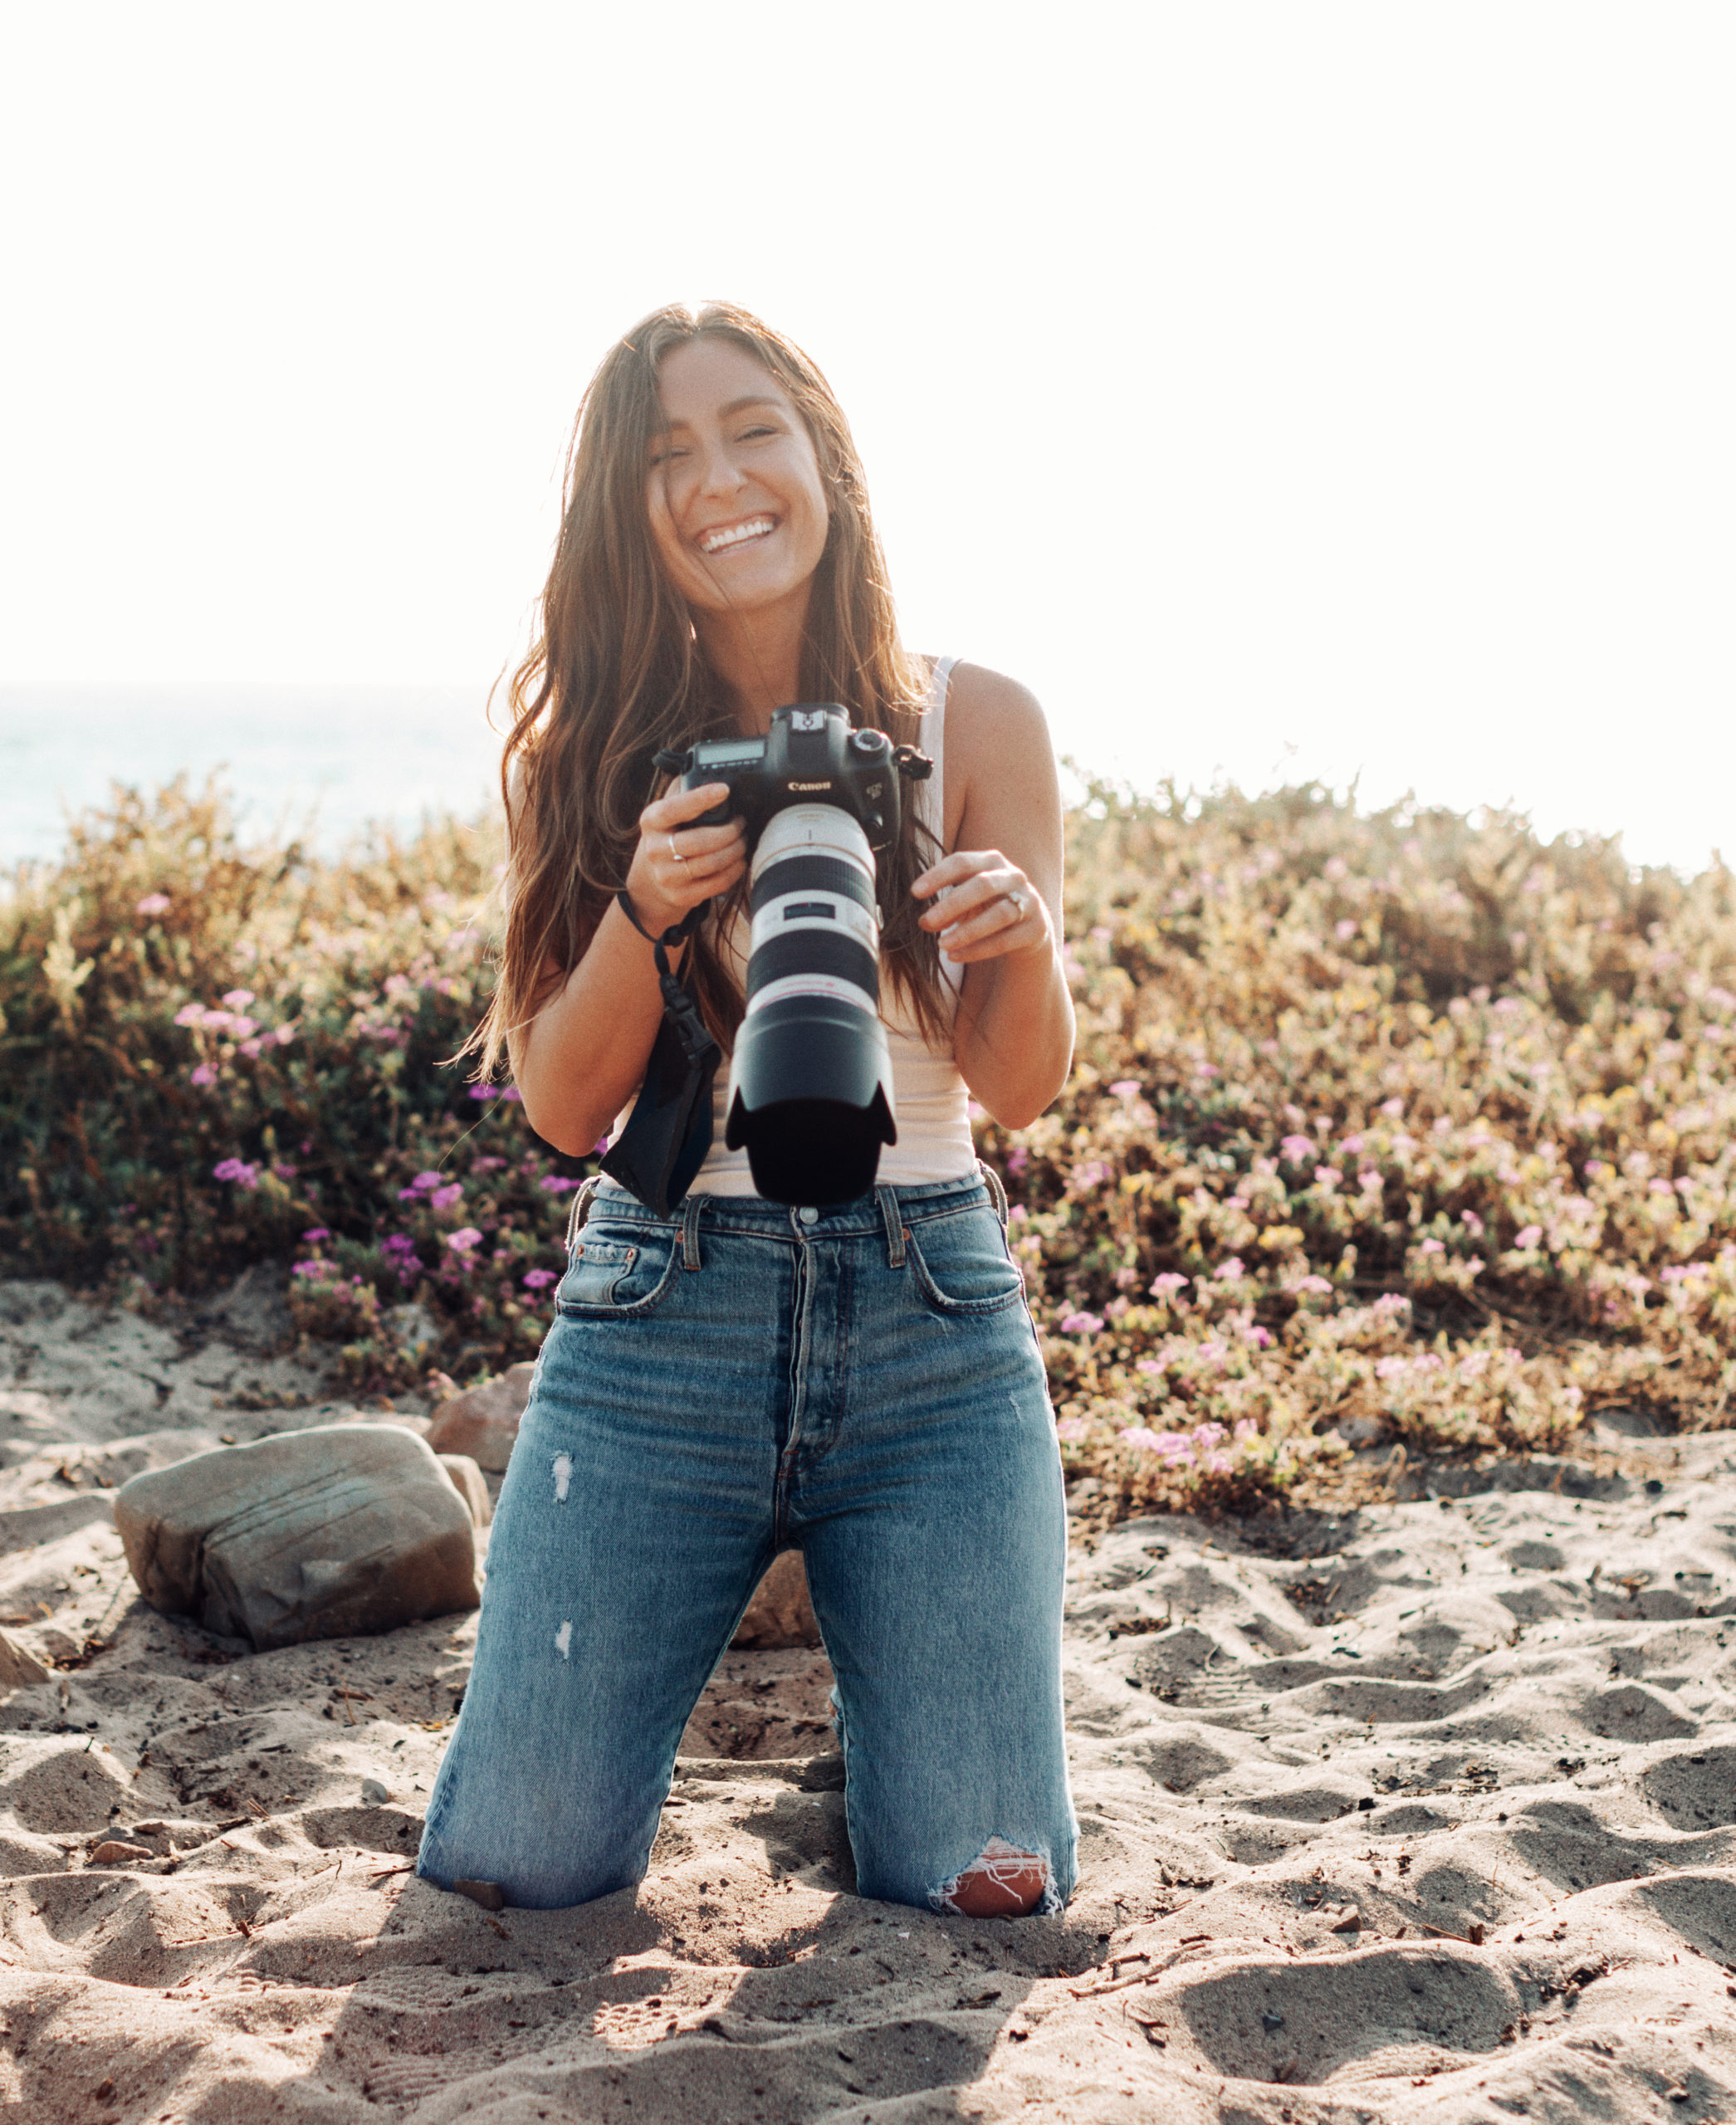
Sometimes it takes a little bit of trial and error to really figure out what obstacle you’re up against when troubleshooting blur in any given photo, but honestly, practice makes perfect so give it a little time! Be patient with yourself as you learn how to focus and manually adjust your camera settings. I mean, it’s a lot to handle when you’re just sitting quietly in your room tinkering with buttons on your camera—so when you’re moving around, talking, laughing, and directing an actual living being it can be intimidating! So, be patient, stay open minded, and take those gorgeous photos!
& PS. The question from Kat that inspired this post also sparked the idea for us to go LIVE together. Check out the video where we talk about life, editing and photography here.
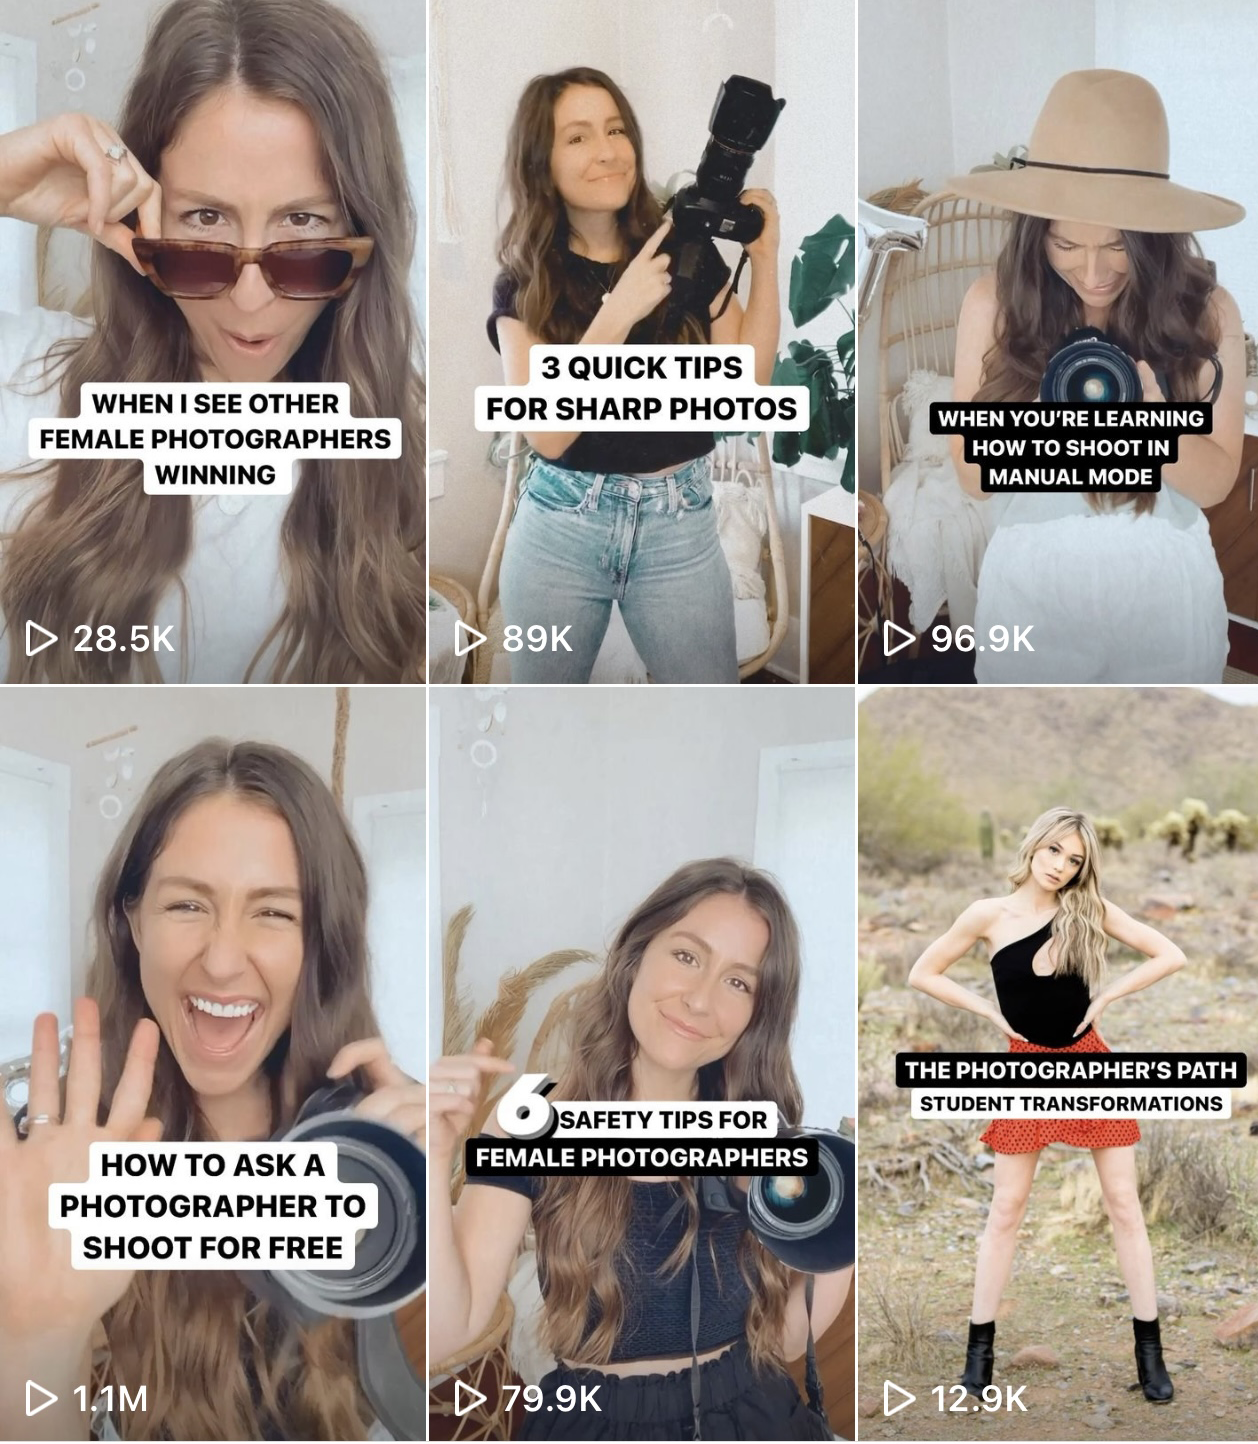
Now if all of this feels overwhelming, and you’re struggling to get the quality photos you’ve been striving for, you’re not alone. And I’d love to help. I’m happy to announce that we are reopening the doors to The Photographer’s Path on March 2nd.
The Photographer’s Path is a digital course and a step-by-step guide to discovering who you’re meant to be as a photographer, mastering the technical skills to prepare you for a lasting professional career, and building your portfolio to win the clients you dream about.
If you’re looking for community, encouragement, and technical know-how to confidently achieve your dreams Grab a spot on the waitlist for The Photographer’s Path. We are offering a special business bonus to all of our waitlist sign ups! I can’t wait to help you in any way I can achieve your photography dreams.


Just read this and absolutely loved it!
I just got a Canon EOS M50 and am starting out and was trying to learn so many different things about the camera and was getting overwhelmed so thanks so much for clearing a lot of this up! 🙂
I am so happy that this was helpful for you Jess!