
Picture this: After tons of research, you finally pulled the trigger and bought yourself that brand new DSLR that you spent MONTHS dreaming about. And now you’re sitting there— freshly unboxed camera in hand—thinking, “YES!! The world is mine for the taking! Now I can FINALLY get that professional look with the blurry backgrounds in ALL of my photos!” So you go out and shoot your first round of photos that you’re convinced are going to be total game changers, you pop your memory card into your computer and—cue record scratch—they don’t look ANYTHING like you had imagined and, what?!, there’s not a single blurry background to be seen! What gives?!
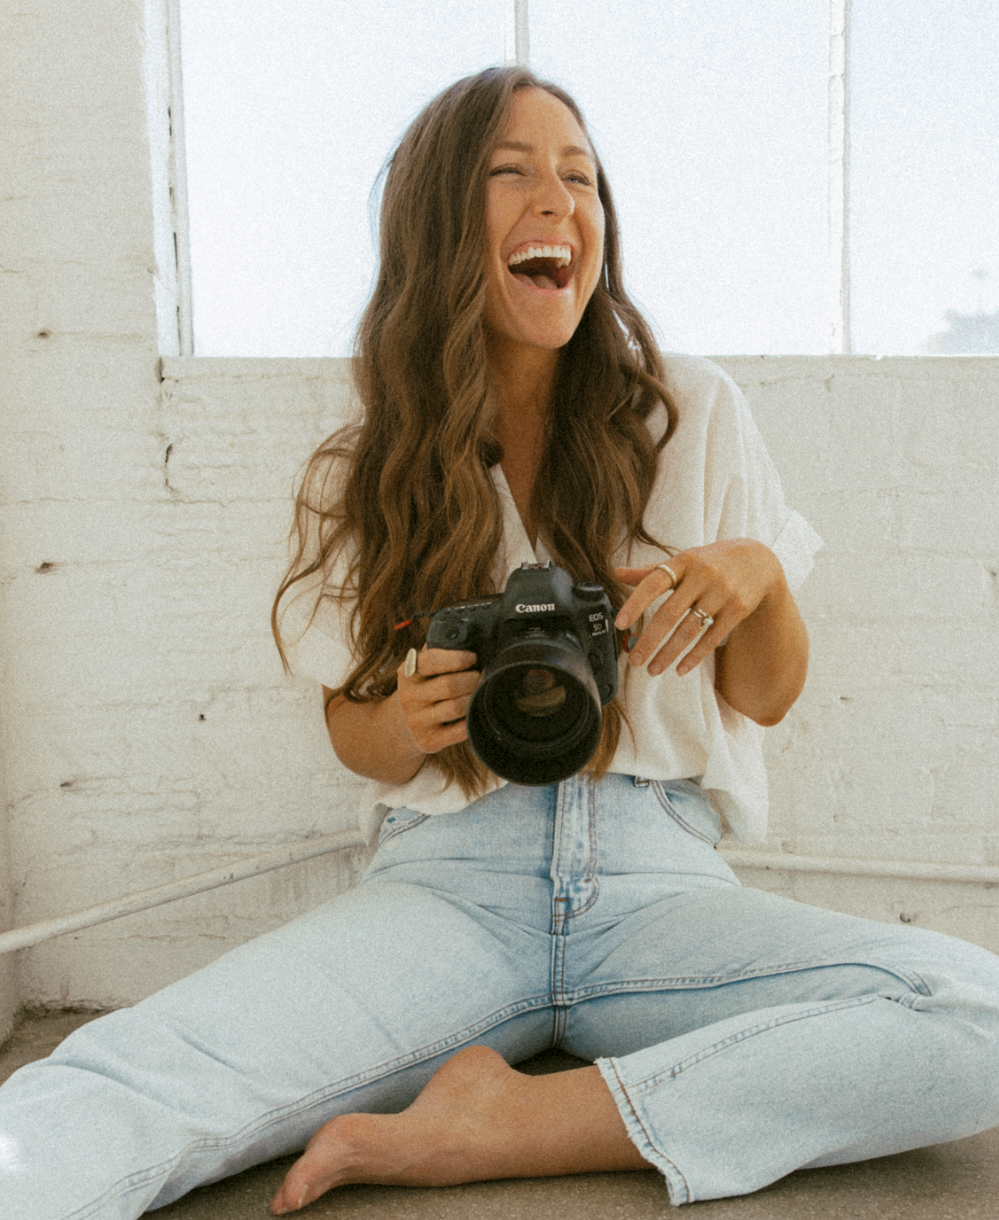
When I first discovered my love for photography, I became obsessed with my friend’s cheap point-and-shoot camera to the extent that it basically became my own—I just couldn’t seem to give it back to her. I learned a lot of important lessons about photography with the help of that camera, but after the obsession became serious, all I wanted to do was be able create images that had the coveted blurry background. I eventually came to realize that it was nearly impossible to achieve with a point-and-shoot camera, so then I convinced myself that the only way to achieve said look was with a high-tech DSLR.
Well, I was wrong. And as soon as I got my hands on one, it became immediately clear that DSLR cameras don’t just automatically produce the blurry background for you. After realizing this I went from feeling like I had discovered the answer to all of my problems to feeling defeated, confused, and right back where I started from.
Now, here’s one of the most important lessons to remember when it comes to photography:
The camera doesn’t make the photographer; the photographer makes the camera.
And yes, while a DSLR will definitely make achieving a blurry background much easier than a point-and-shoot, I had forgotten the golden rule of photography! The camera wasn’t going to magically know that I wanted the photo to have a blurry background, I needed to understand how to tell it to take the photo that way. And the best way to do that was by learning how to manipulate the manual settings properly. Hello, learning curve!
So, if you’ve ever found yourself trying to find a solution to your blurless-photo blues, then I have just the tips for you. But first, let’s make sure we’ve all got our technical lingo down.
BLURRY BACKGROUNDS = DEPTH OF FIELD
So, the thing you need to understand about those magical blurry backgrounds that we all love so much, is that they are created by controlling something called the depth of field.
Now, depth of field is created via the aperture in your lens by allowing you to control the area of your scene that you want to have in focus from the front all the way to the back. A shallow depth of field means that very little is in focus and will result in a blurrier background, while a deeper depth of field will result in an image that appears in focus all the way from the front to the back of the scene. (You may also hear people refer to this as “bokeh,” but I prefer DOF.)
So now that you understand DOF, let’s talk about how we can use it to achieve that buttercream background of your dreams. Here are 4 ways to manipulate your depth of field and achieve a blurry background:
1. Open Up Your aperture

The ONLY camera setting that enables you to control your depth of field is your aperture, and the way that we control this when shooting in manual mode is by adjusting the F-Stop of our lens. The lower the F-Stop number (like F/1.4), the wider the opening in the aperture, and the blurrier the background will be. On the flip side, the higher the F-Stop number (like F/16), the smaller the opening in the aperture, and the more in-focus your images will be from the front to the back of the scene.
So, if you’re having trouble achieving those creamy, blurry backgrounds, try opening up your aperture to your lens’s widest F-Stop setting and see what changes.
And if any of this aperture talk has your head spinning, click here and download our manual mode cheat sheet which helps simplify the big picture for all of your camera’s manual settings.
2. Distance
Now that you’ve got a feel for how your aperture can impact your depth of field, the next thing for you to think about is distance. At first, the distances you’re dealing with may seem set in stone, but there are actually a few ways you can tweak the perceived distance in your images:
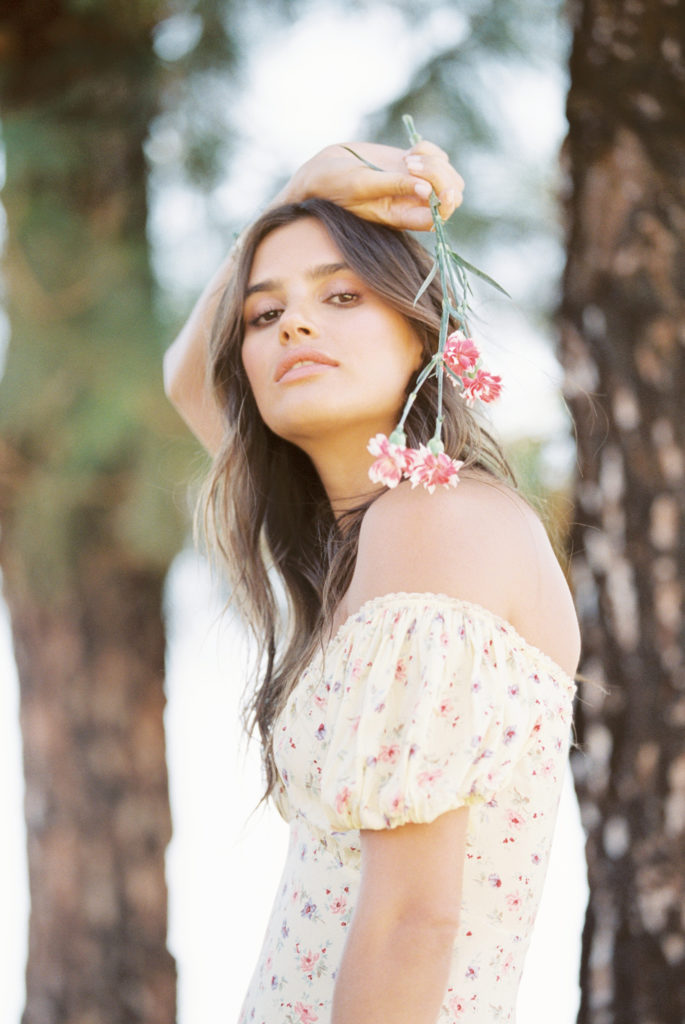
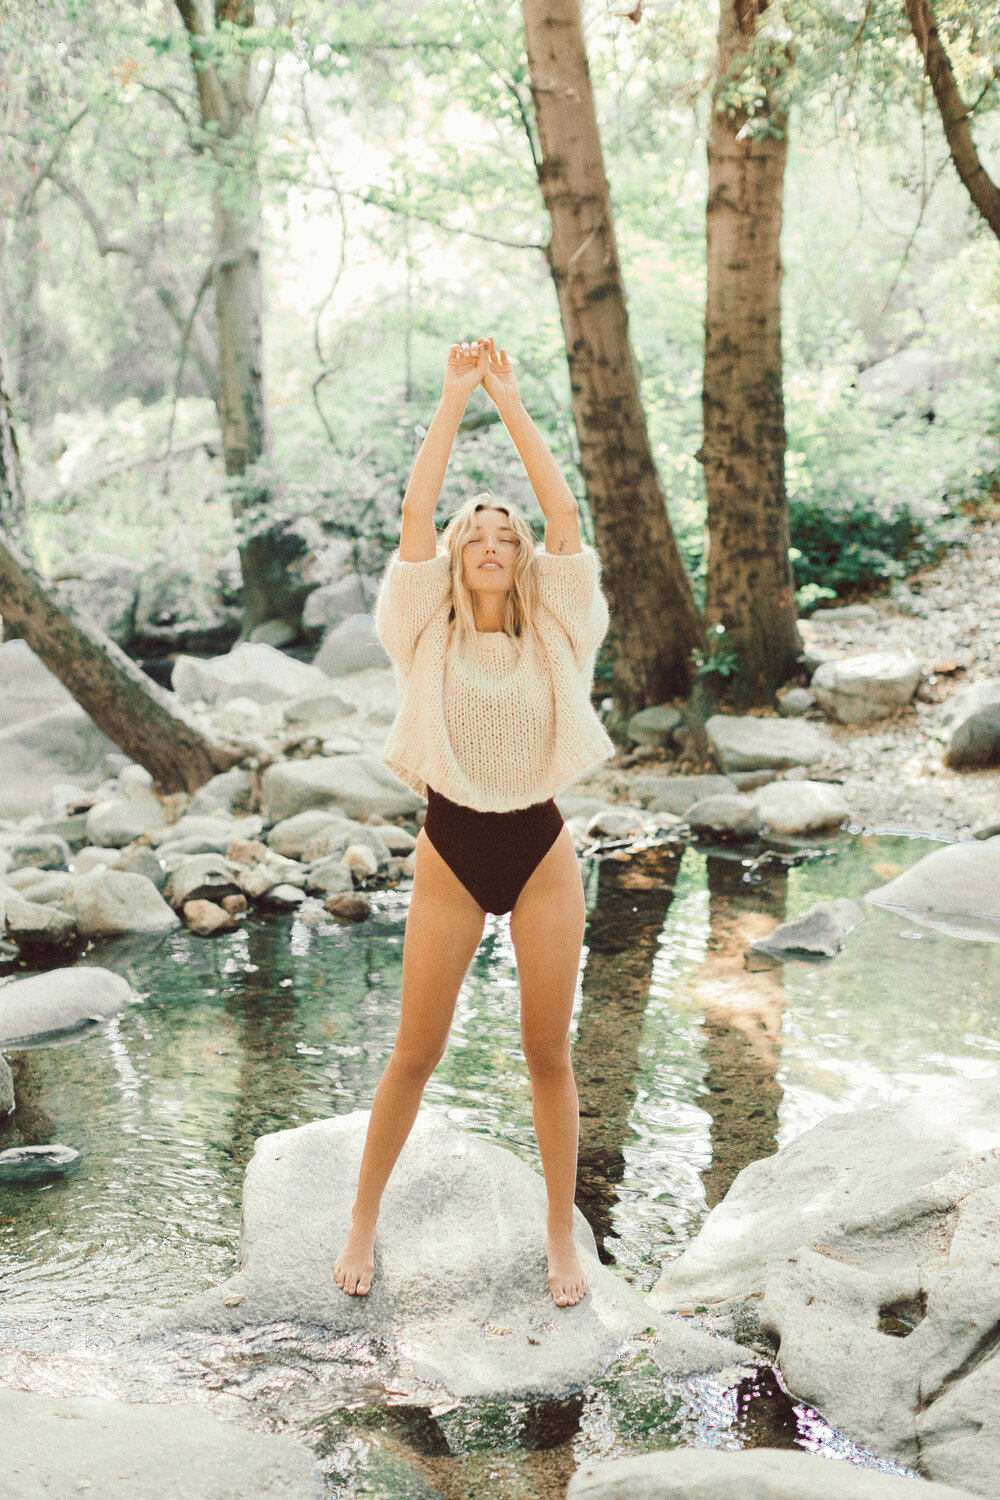
Get closer to your subject
The distance between you and your subject has a big impact on the depth of field that you can achieve. The closer you are to your subject, the blurrier your background will appear, and the further away you are from your subject the sharper the background will appear (even with your lens at its widest aperture setting).
In the examples below, all of my camera settings were the same and the ONLY thing that changed was me moving closer to the subject:


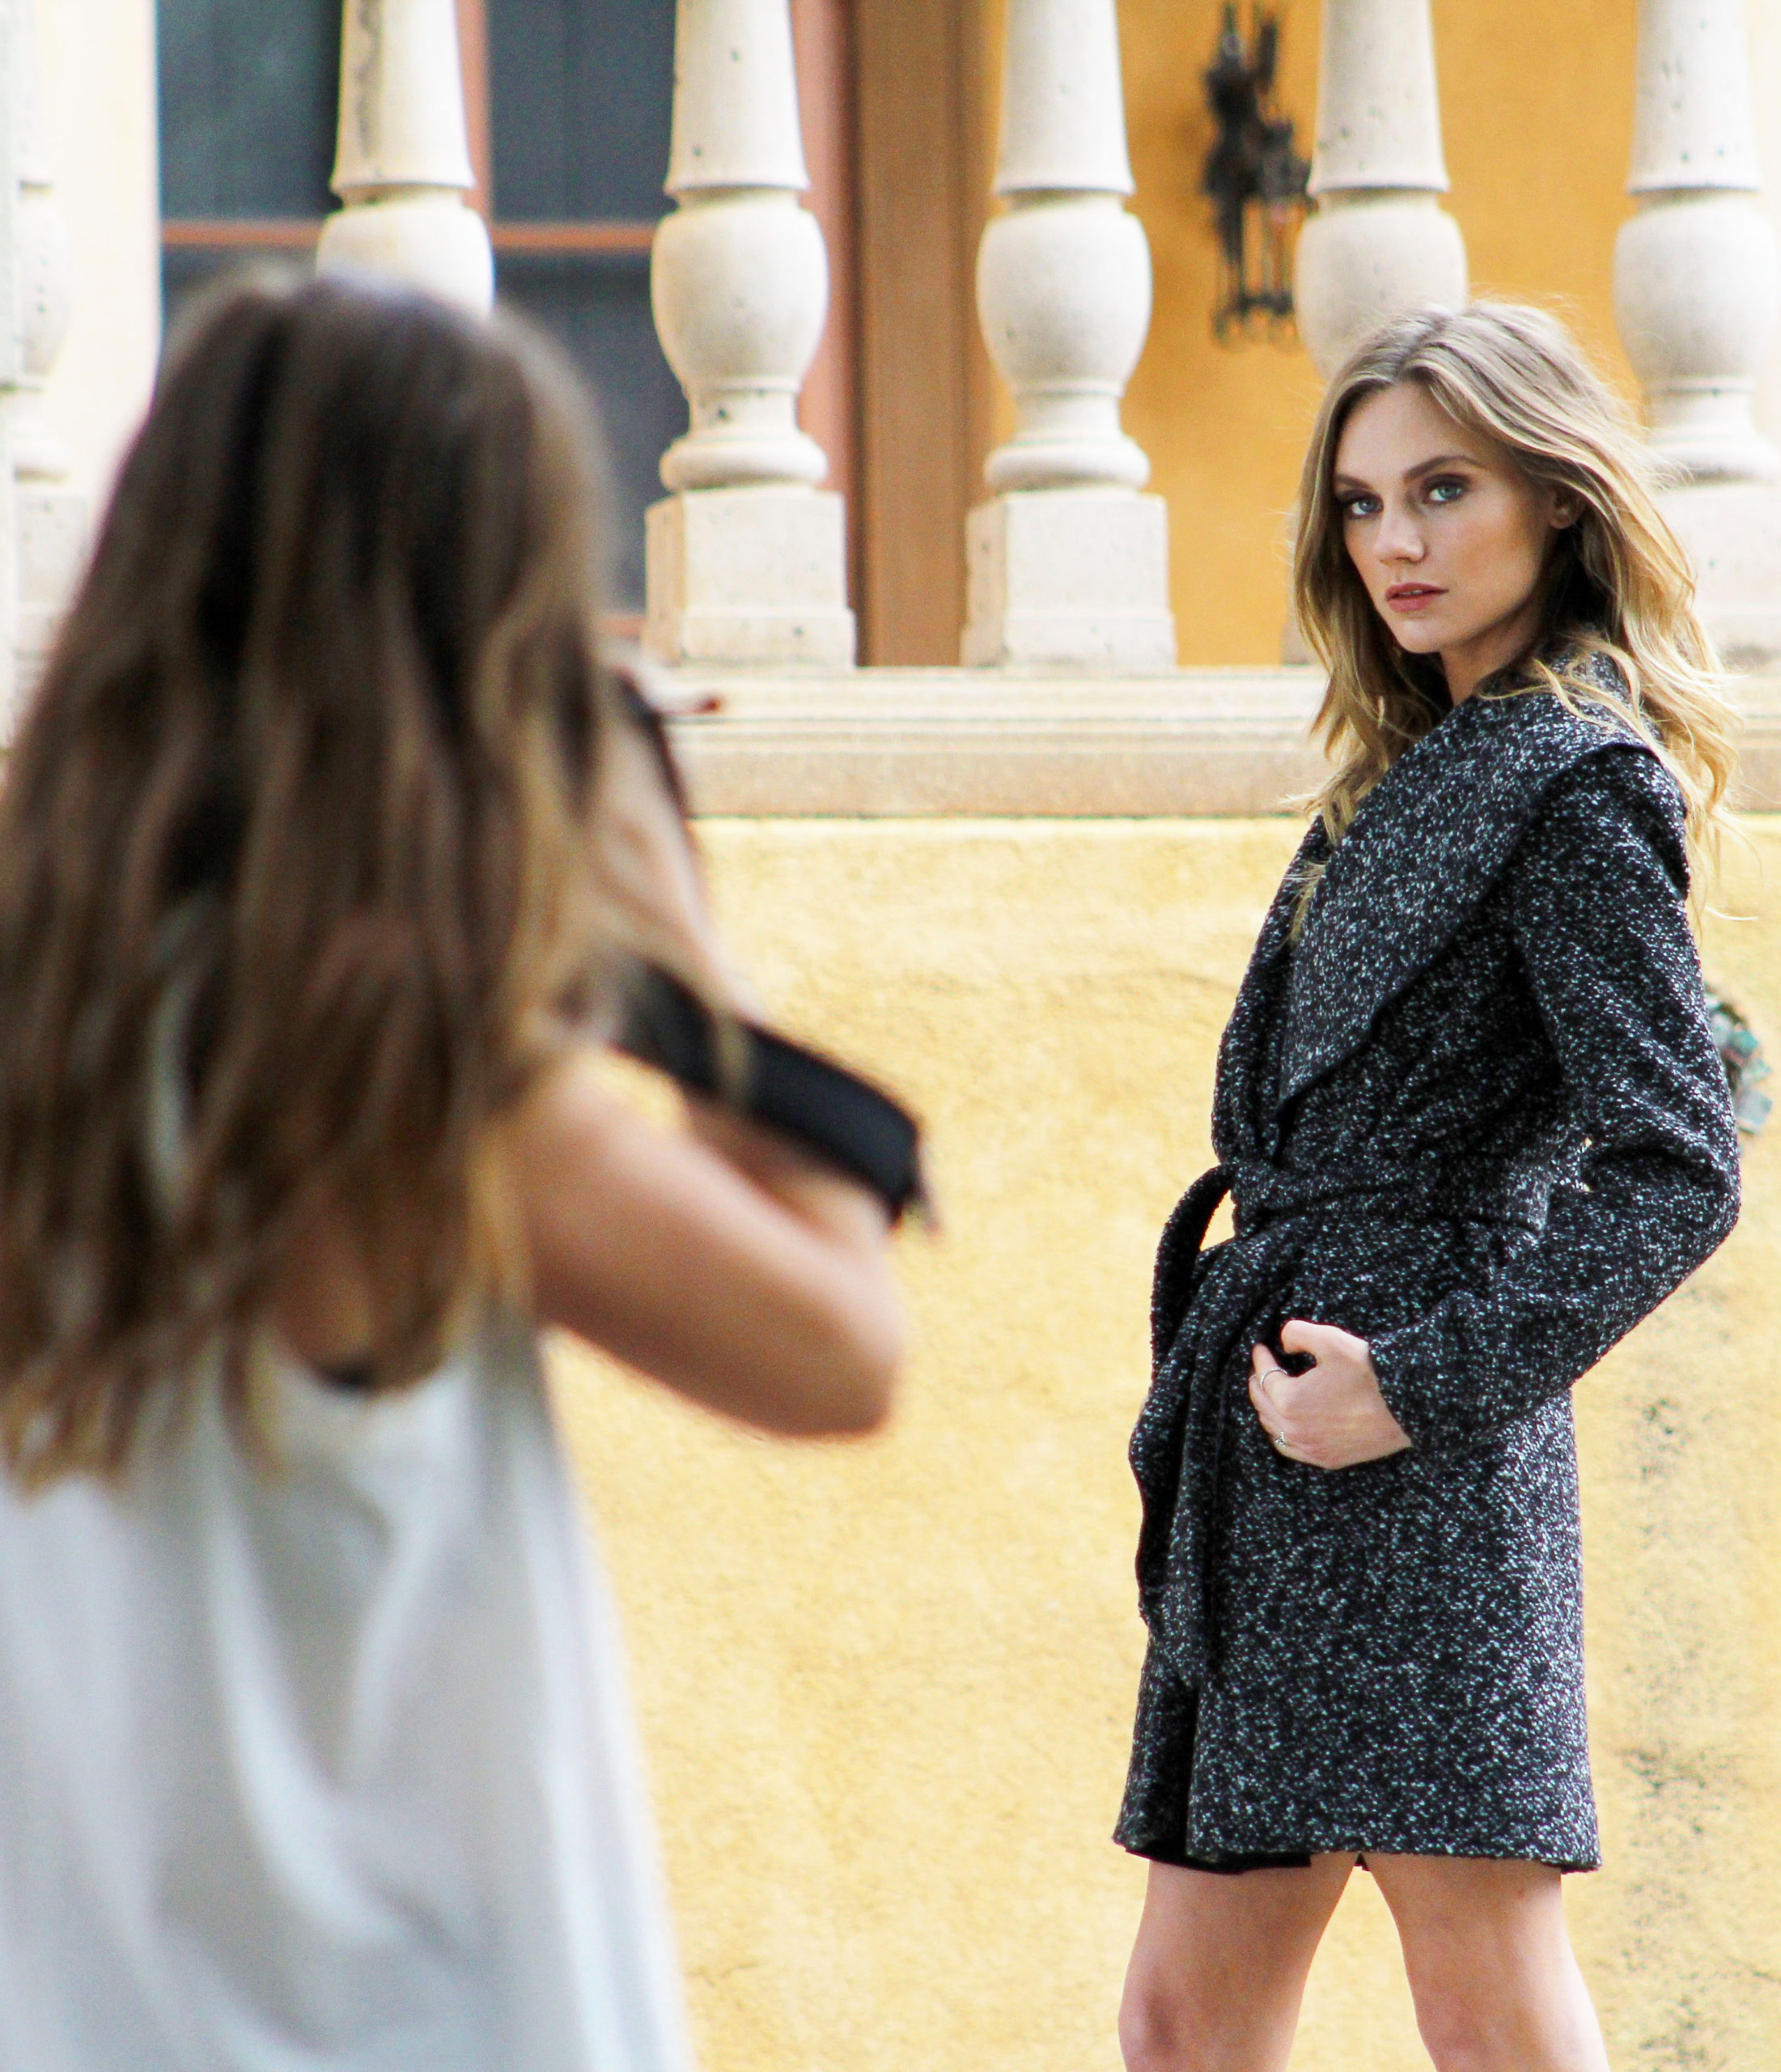
Move your subject further away from the background
The position of your subject not only matters in relation to you and your camera, but in relation to the background itself. The distance between your subject and the background has a big impact on the way DOF is captured by your camera. The closer your subject is to the background, the sharper it’ll appear, while the further away your subject is from the background, the blurrier it’ll appear.
3. Zoom in with your lens
With a zoom lens, you can zoom in and out to different focal lengths which directly impacts the depth of field you can achieve. The wider the focal length (ex: 24mm), the less depth of field you can achieve, and the sharper the background of the image will appear. Alternatively, the longer the focal length you’re using (ex: 200mm), the blurrier the background of the image will appear. So, if you have a zoom lens, zoom that sucker in on your subject as close as it’ll go and see how it impacts the background.


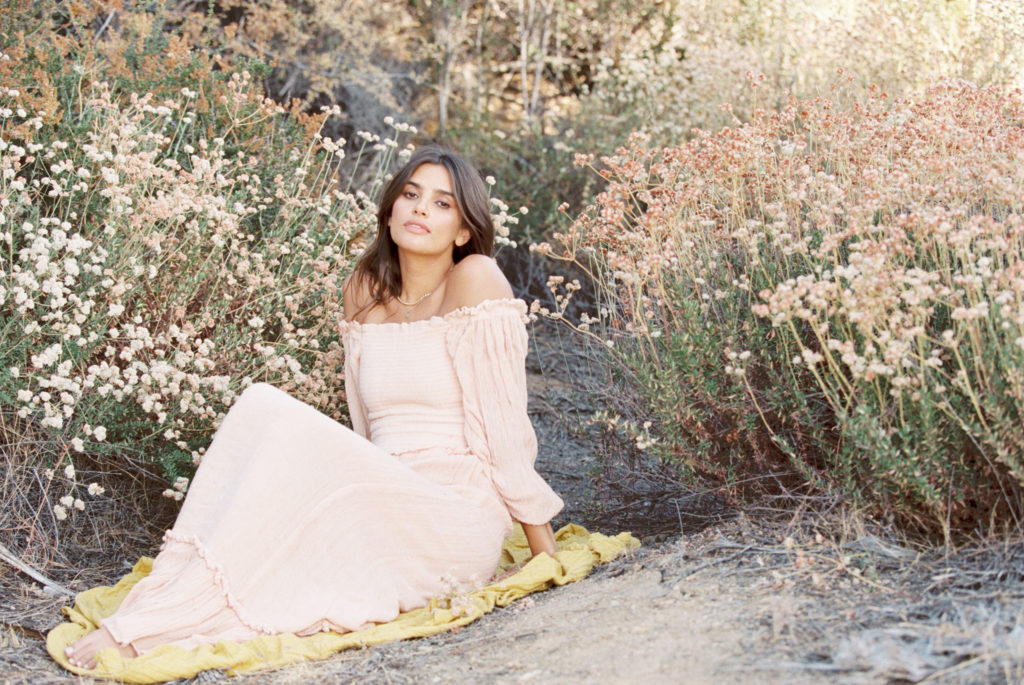
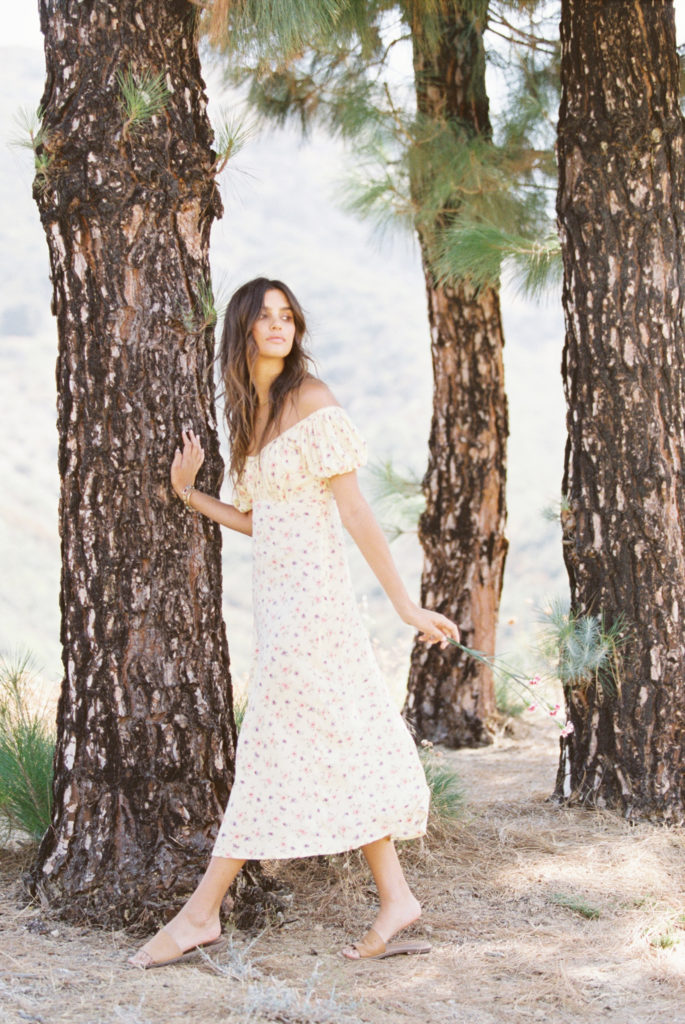
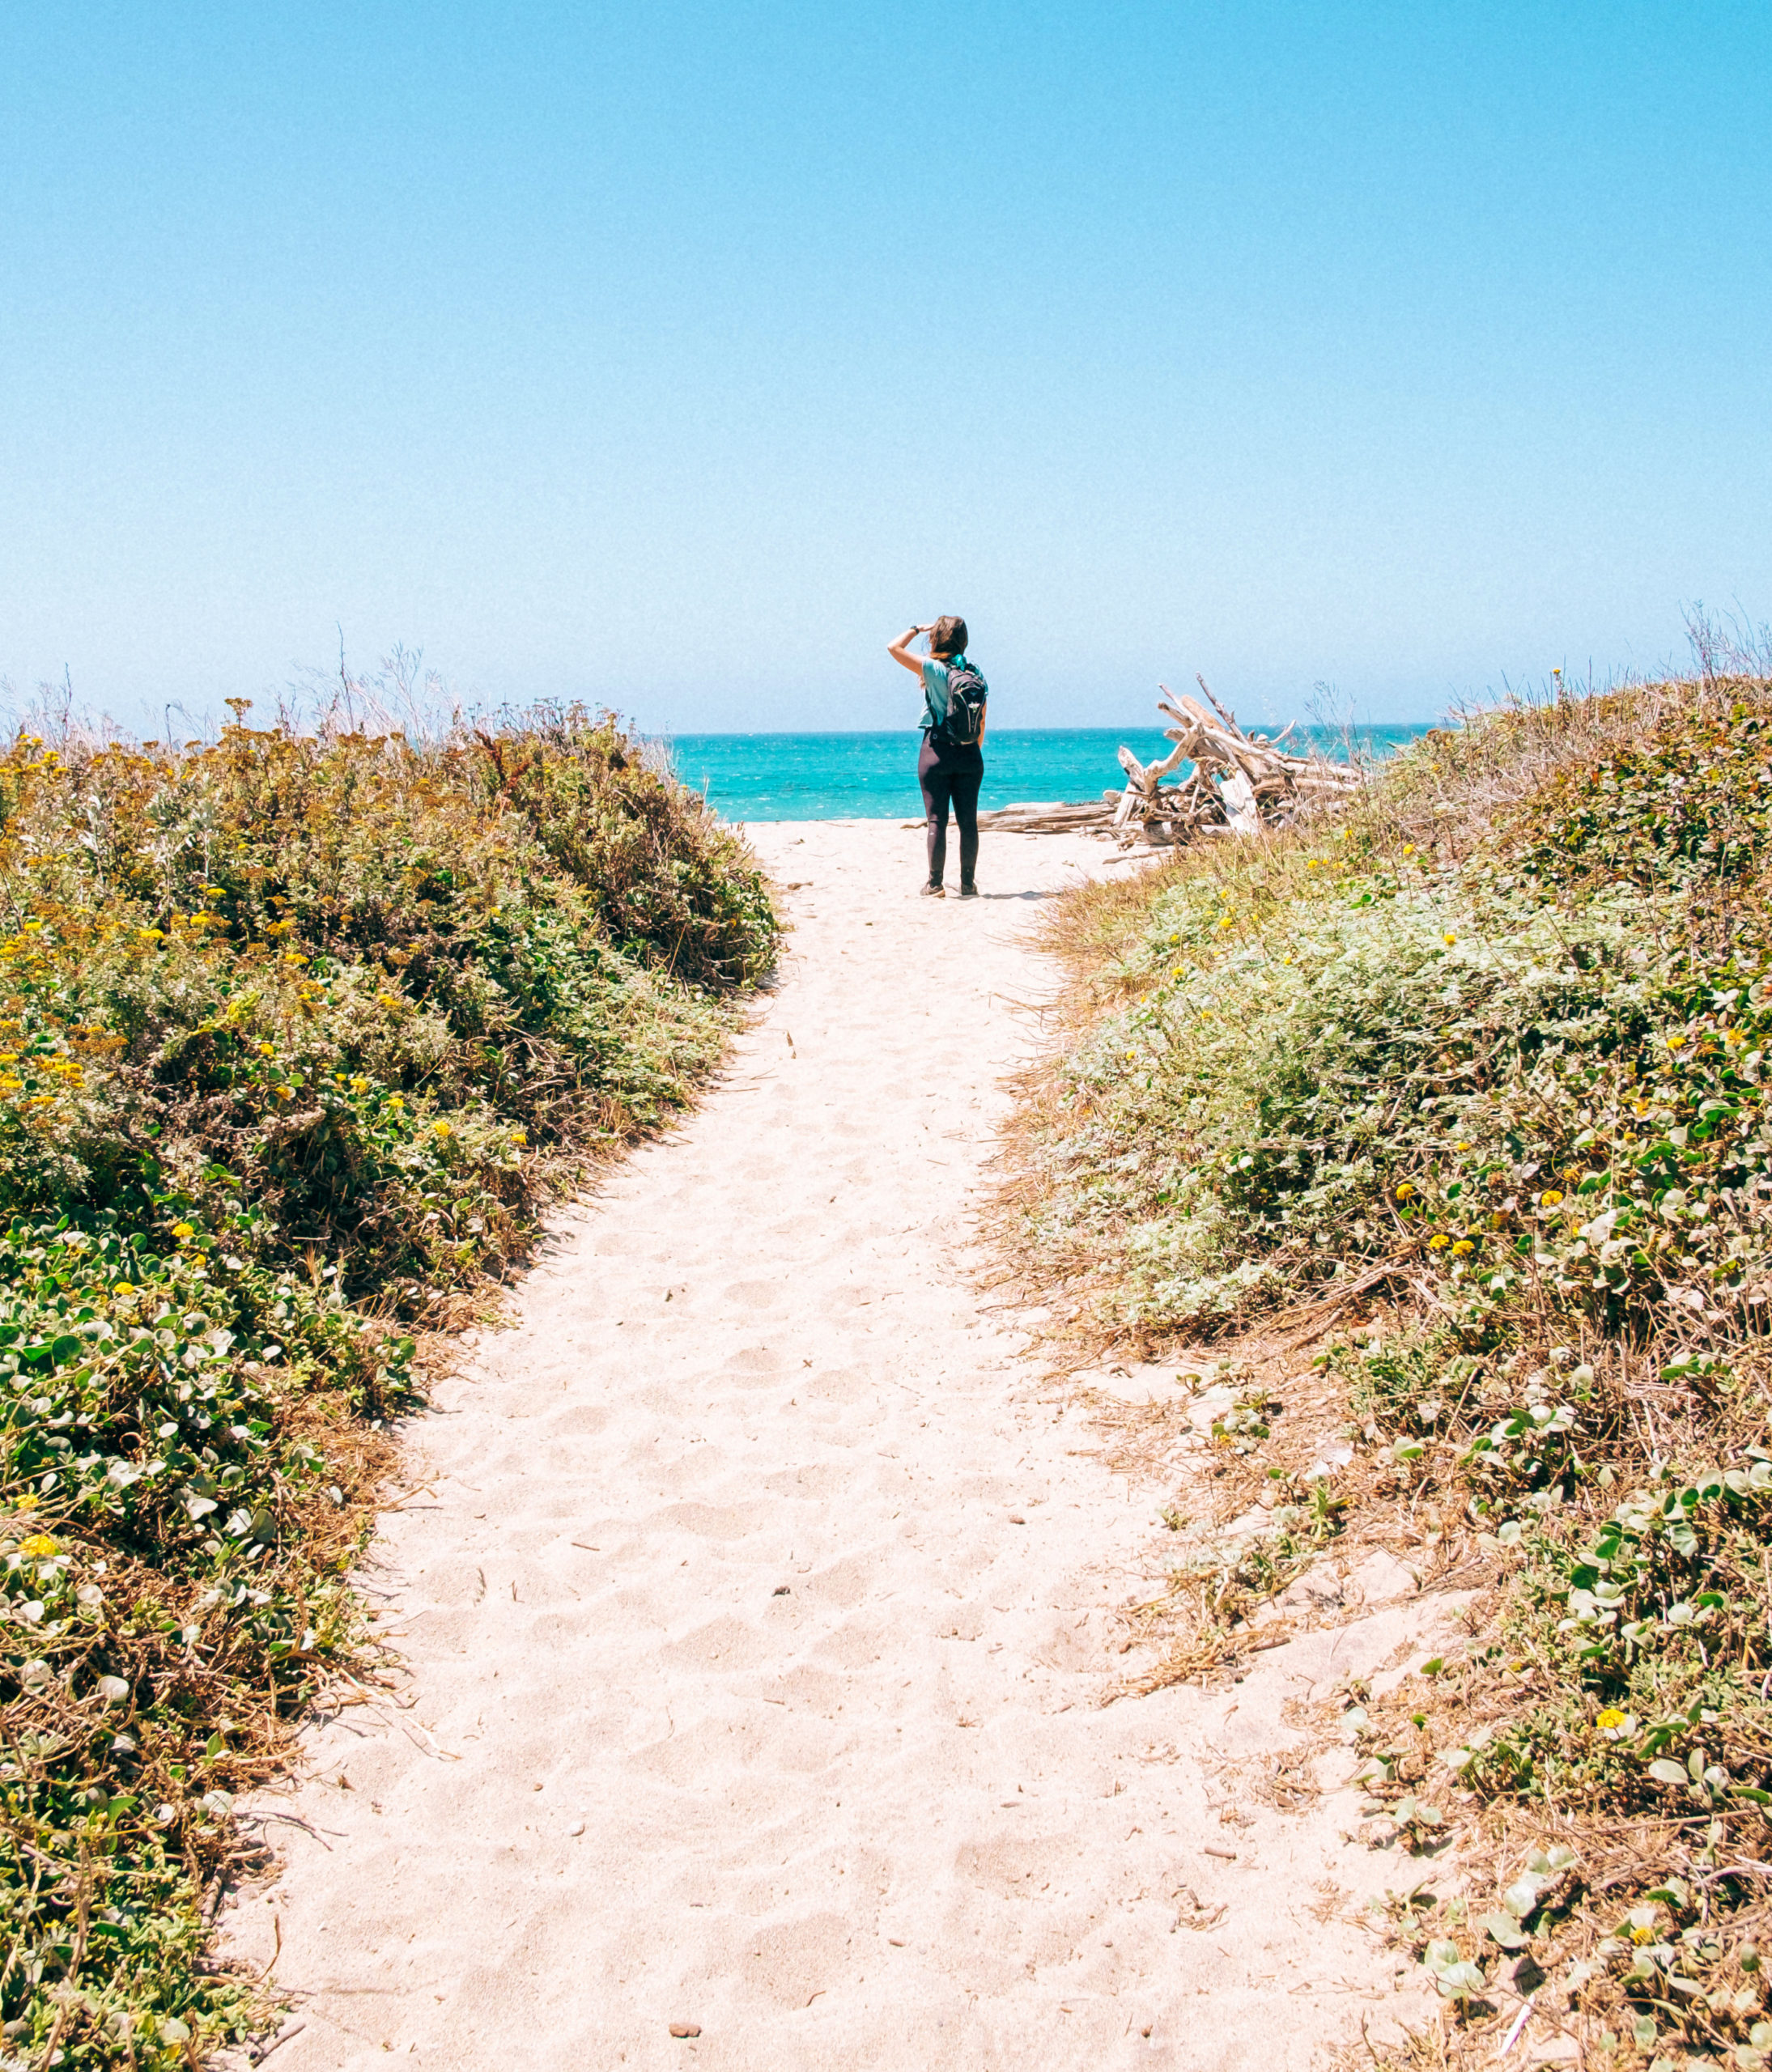
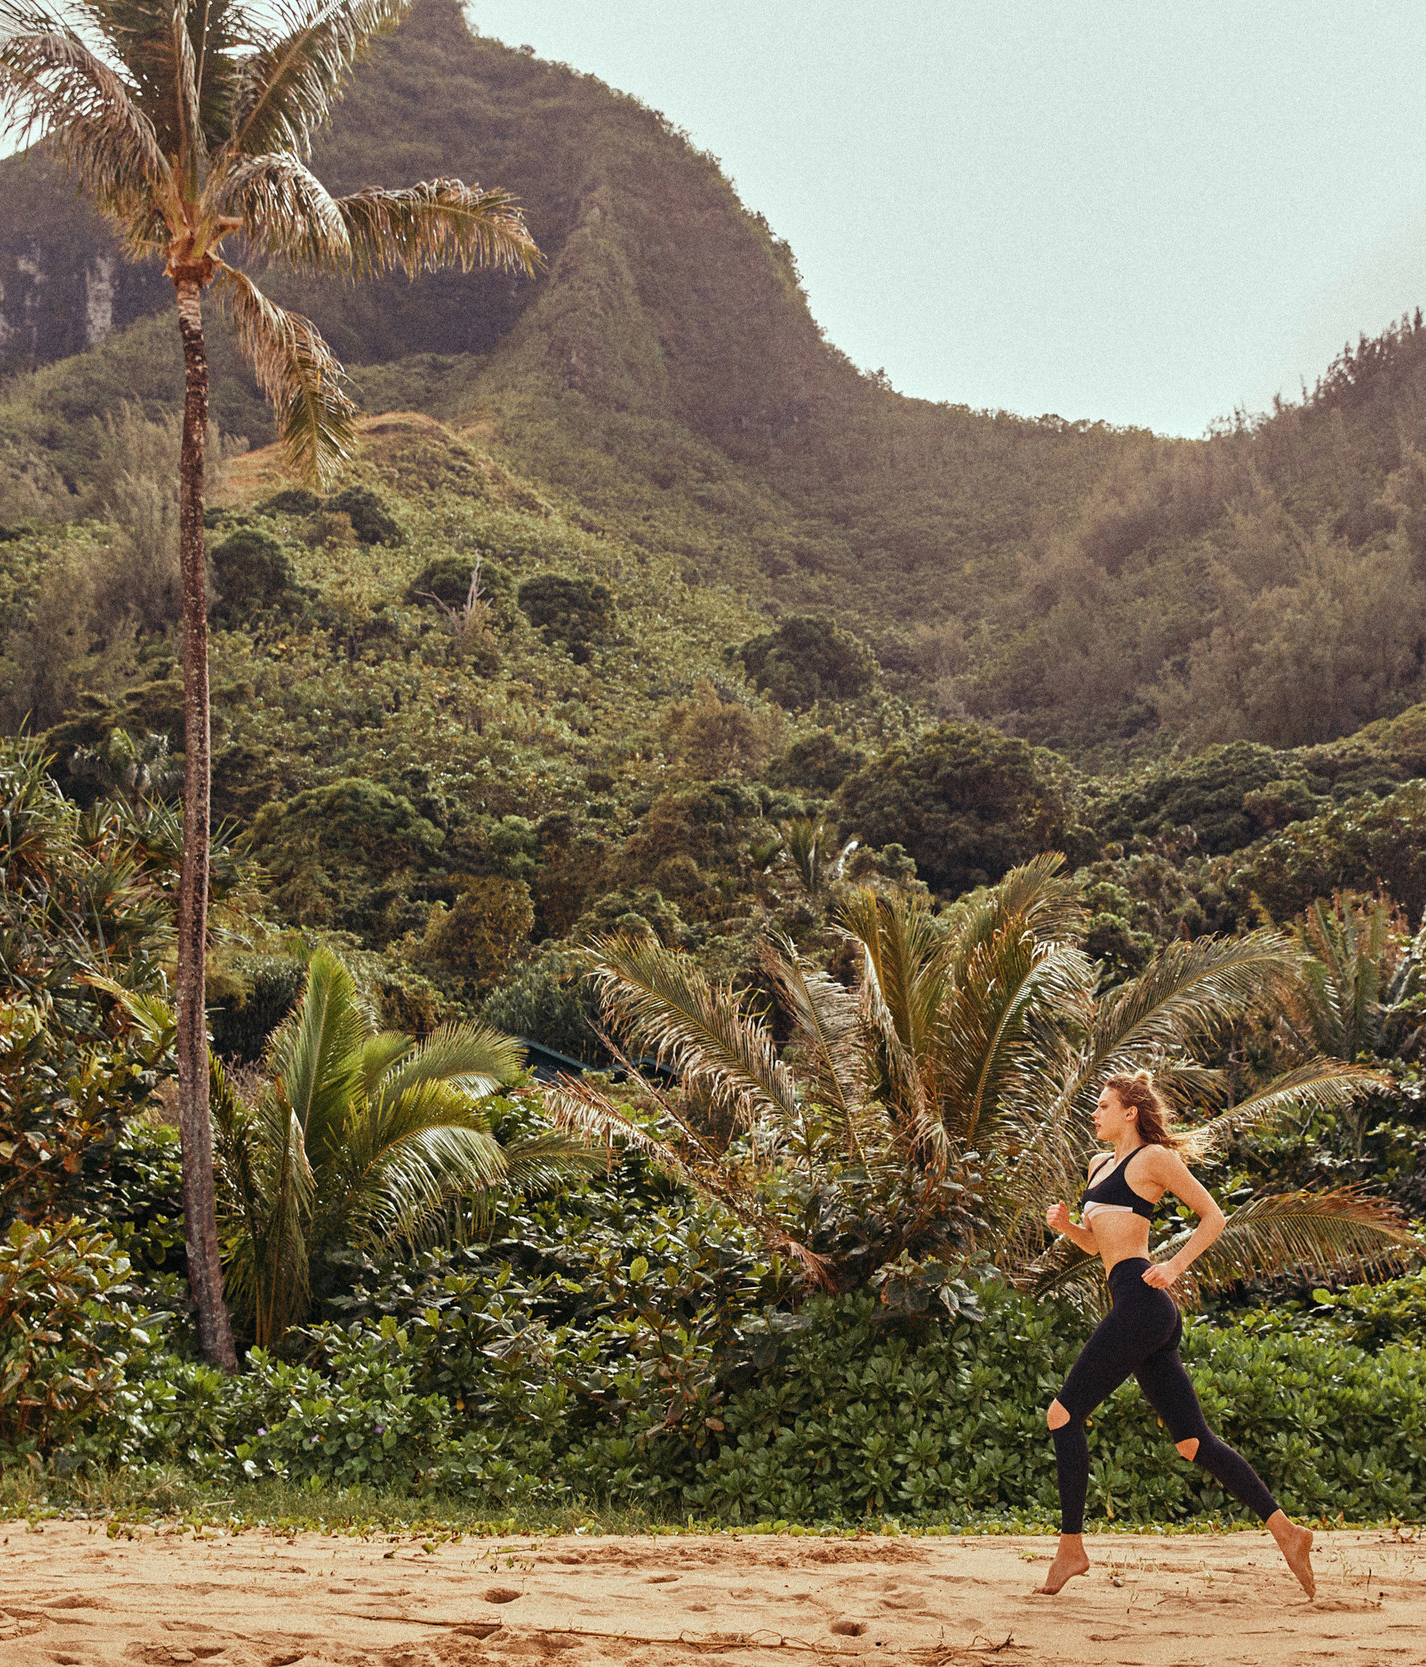
4. Find the right background
Much like tip number two, this might seem like something that’s out of your control—the background is what it is right? But the thing is, the background plays a huge role in the appearance of the DOF and is honestly too often overlooked. You could have all of your camera settings dialed in perfectly, but if you’re shooting against the wrong background the DOF is going to look completely flat. Always make sure that you position your subject (if possible) in front of a dynamic, colorful background with various textures so that the background has something going on in it! Shooting against the background of a distant mountain range will create a much different DOF than shooting amongst nearby trees and foliage. Try to choose backgrounds that enhance your depth of field and make your images more interesting.


As with all of photography’s technical aspects, consider these tips as tools for you to use when needed rather than strict rules that you need to follow. At the end of the day, the most important thing about learning how to do something new with your camera is having fun and being creative. It’s YOUR vision, and these tips are simply here to help guide you toward discovering the techniques that work best for you and your photography style. So don’t forget to embrace the journey and discovery that comes with learning something new!
Feel like connecting with other female photographers like you? Join our Private Facebook Community group where you’ll be welcomed with open arms. It’s a place where you can share your work, find inspiration, and ask for advice from all of our amazing members. Click Here to join!


COMMENTS