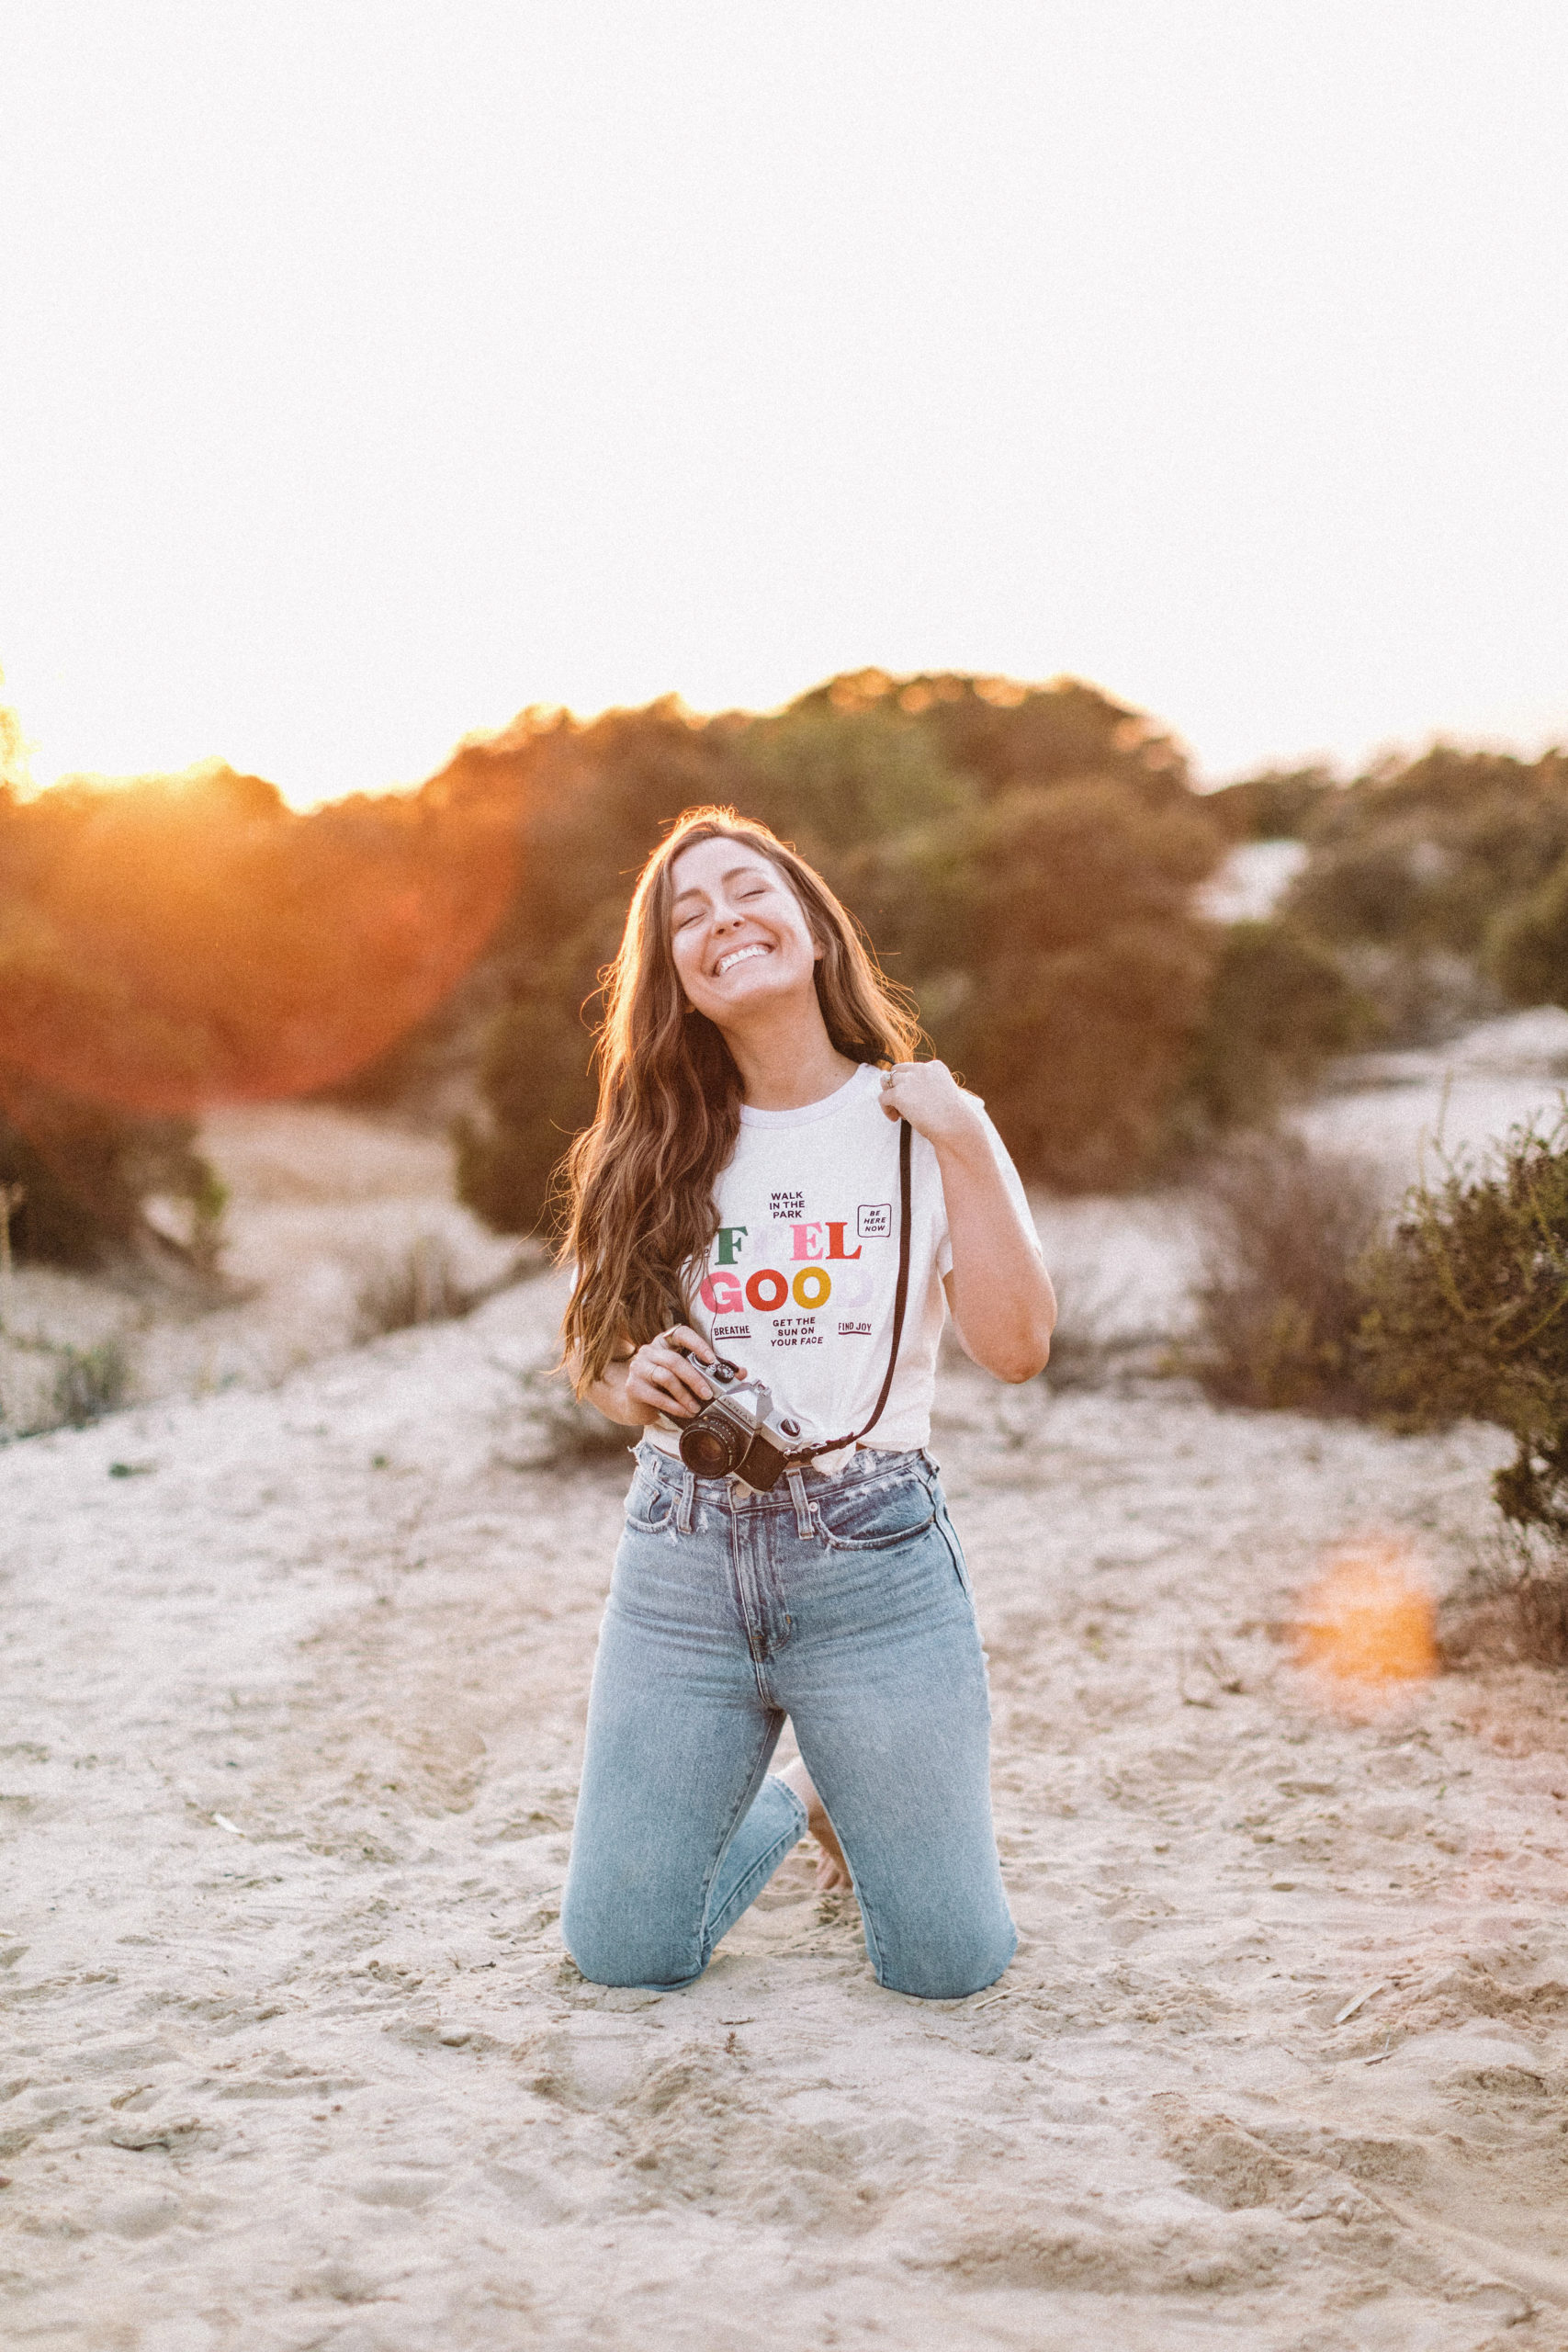
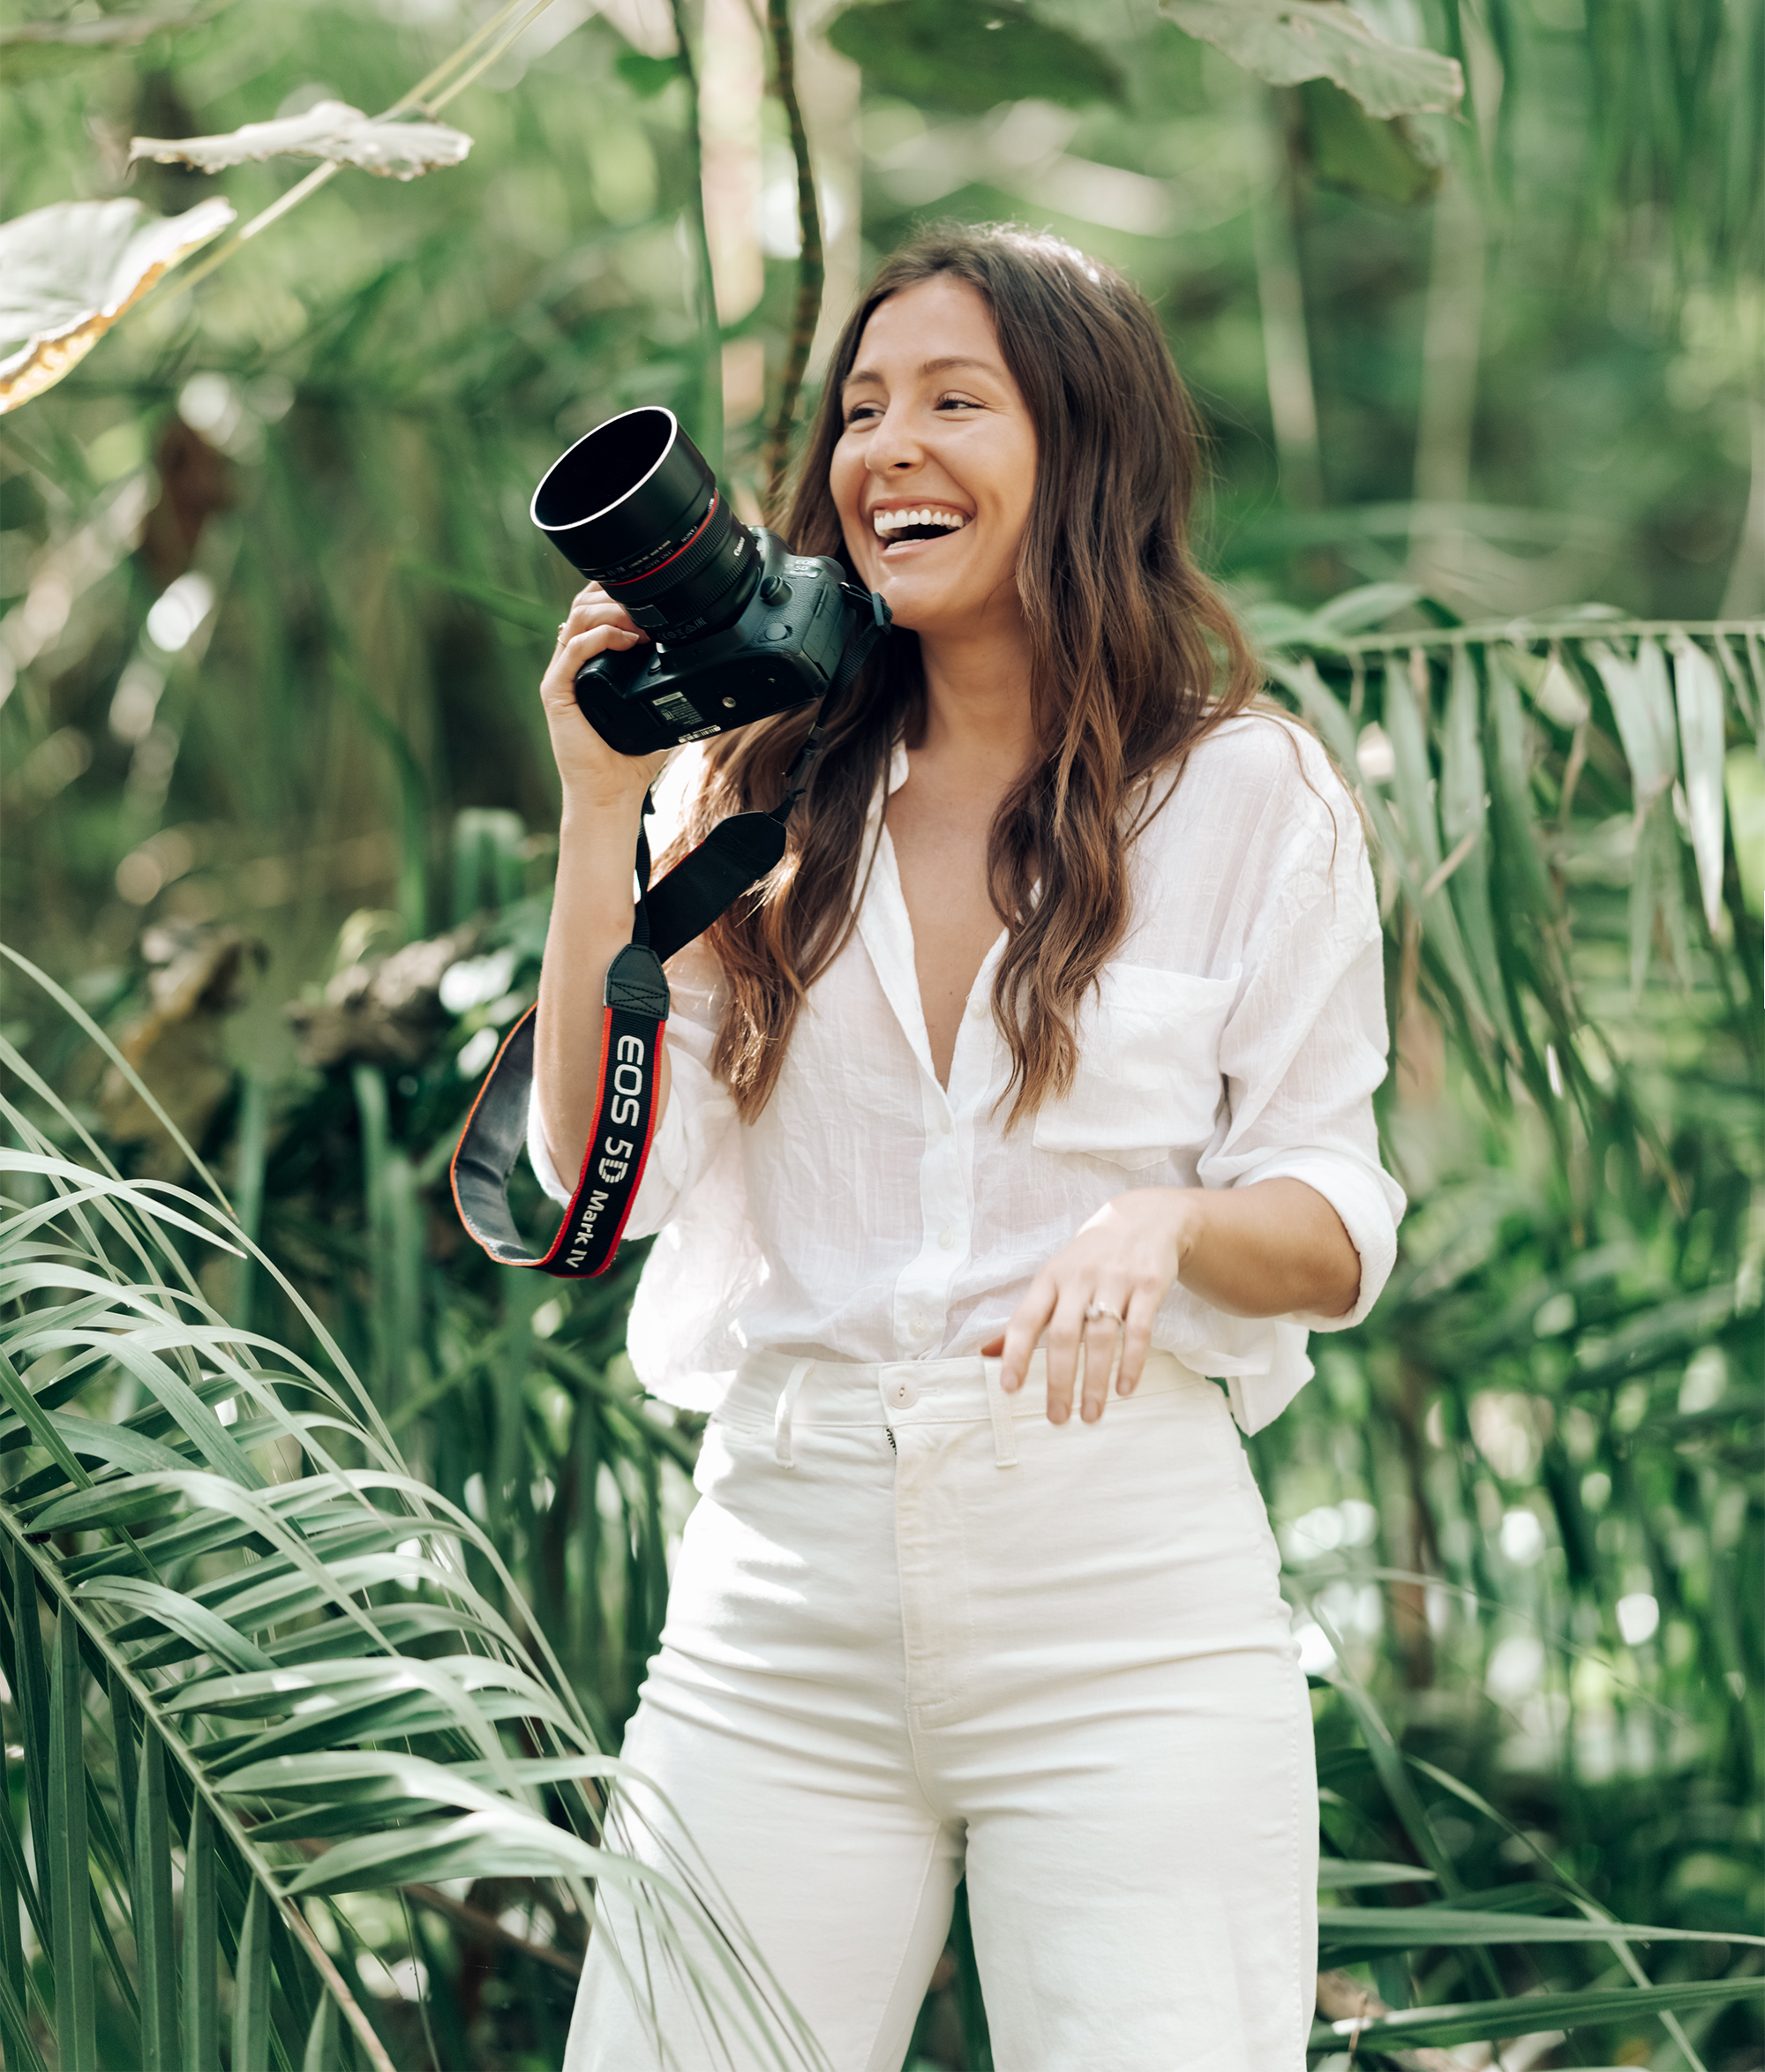
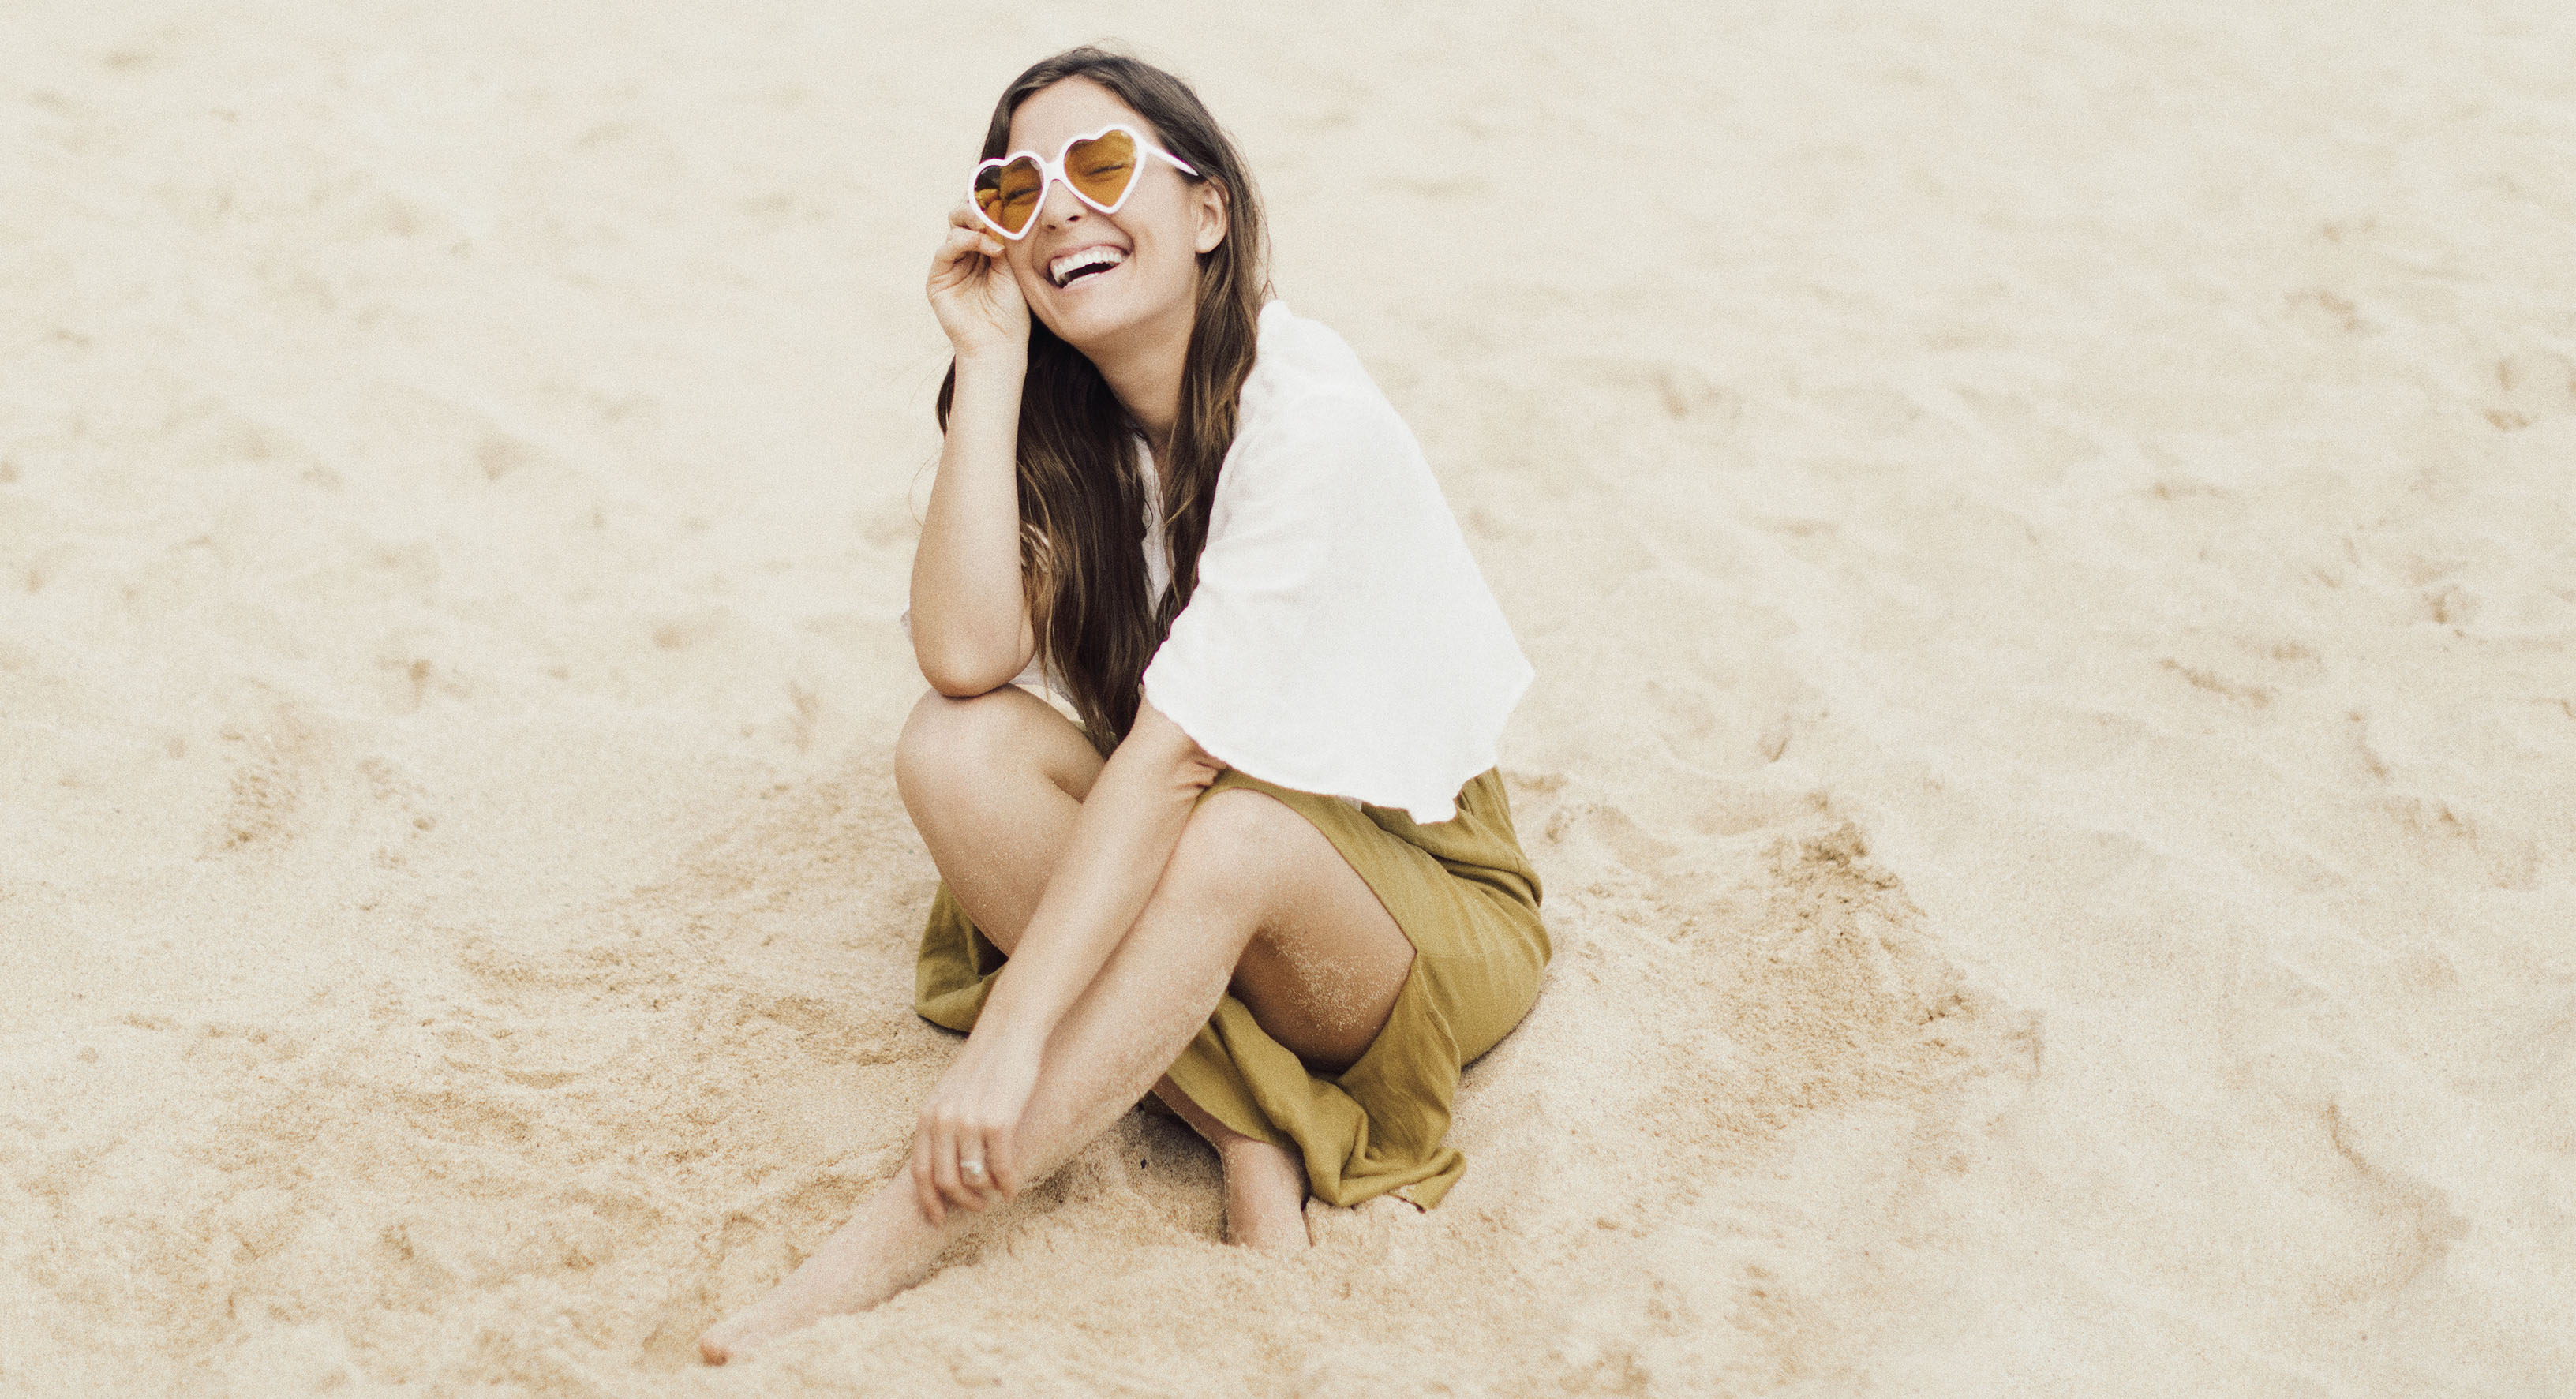
In today’s podcast episode I shared my top 4 tips for creating blurry backgrounds in your photos. I wanted this episode to be interactive and visual so I’m adding photo examples here to accompany the podcast episode.
If you haven’t checked out the episode yet, make sure to do so because inside the episode I go MUCH deeper and you don’t wanna miss it!
If you’ve ever found yourself trying to find a solution to your blurless-photo blues, then I have just the tips for you. But first, let’s make sure we’ve all got our technical lingo down.
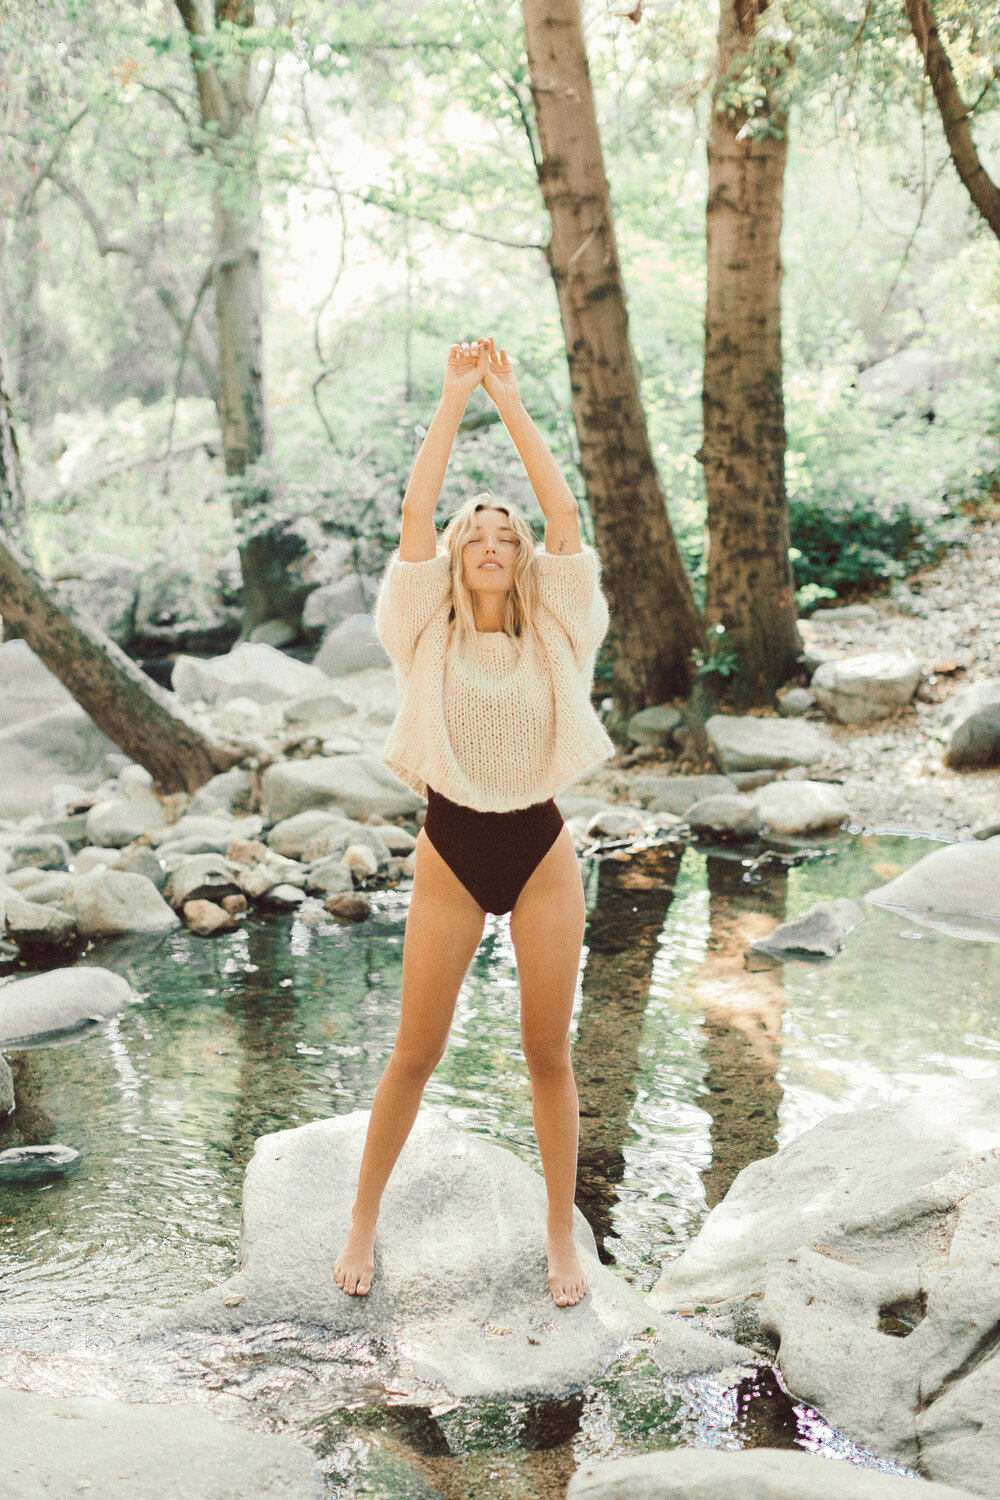
BLURRY BACKGROUNDS = DEPTH OF FIELD
So, the thing you need to understand about those magical blurry backgrounds that we all love so much, is that they are created by controlling something called the depth of field.
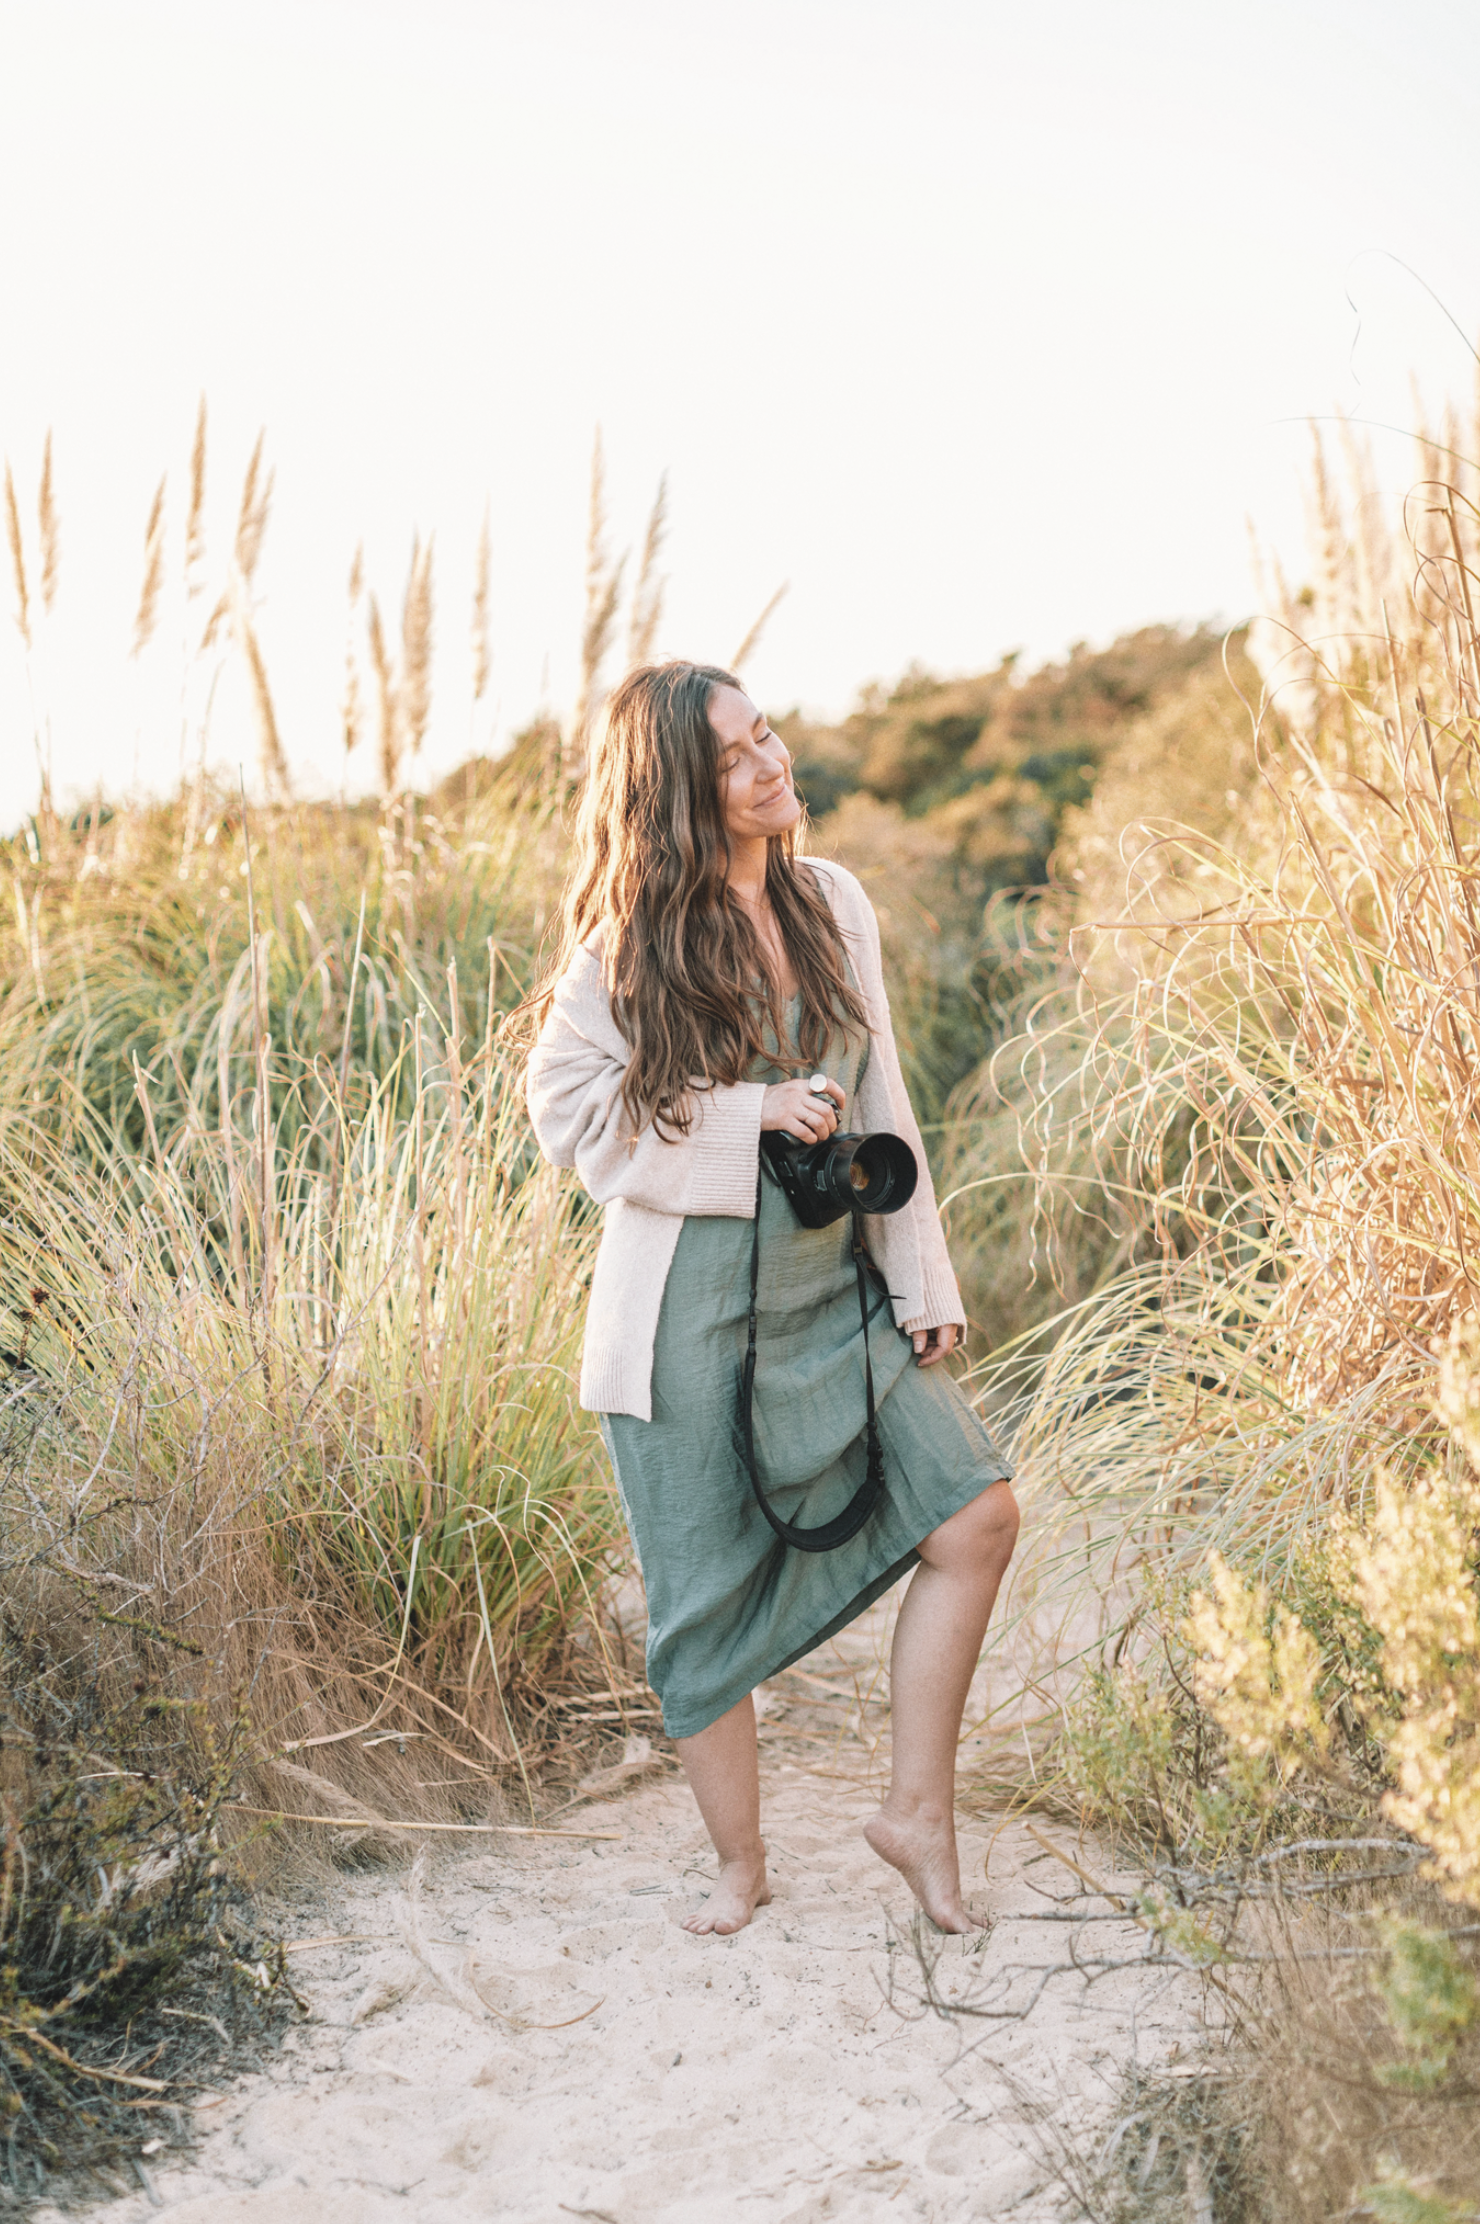
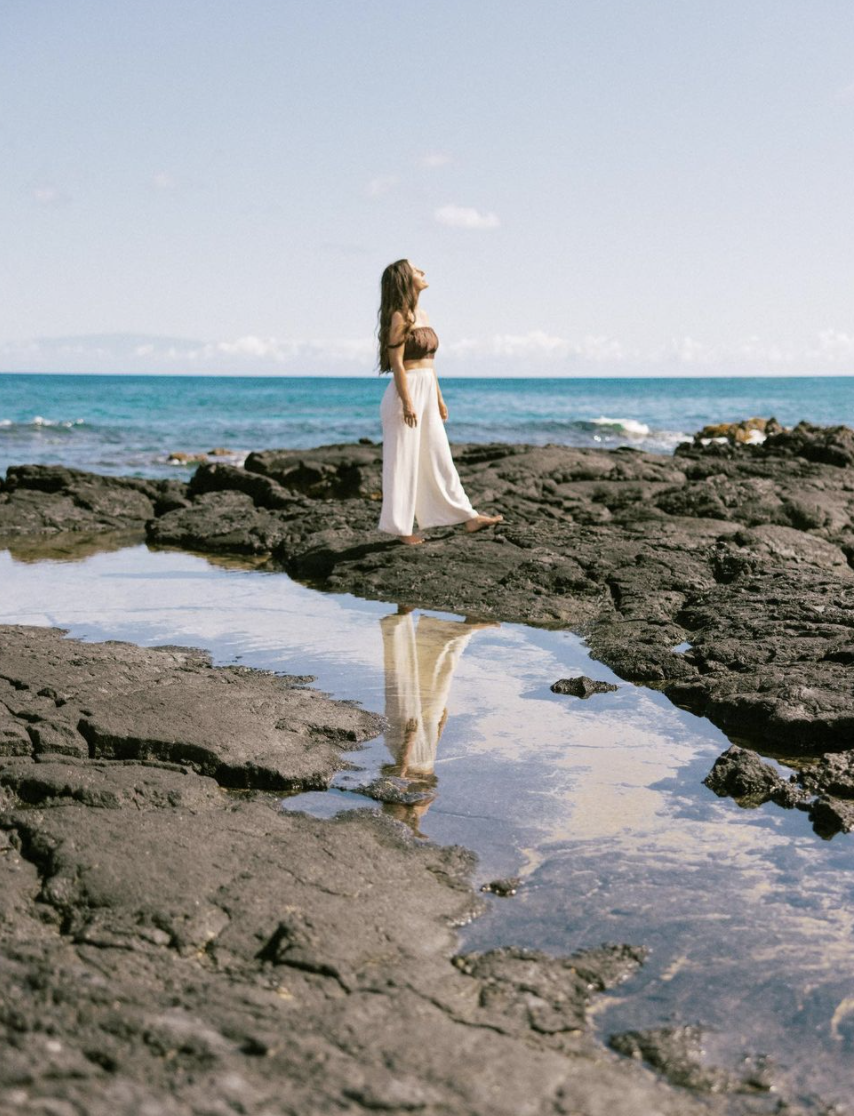
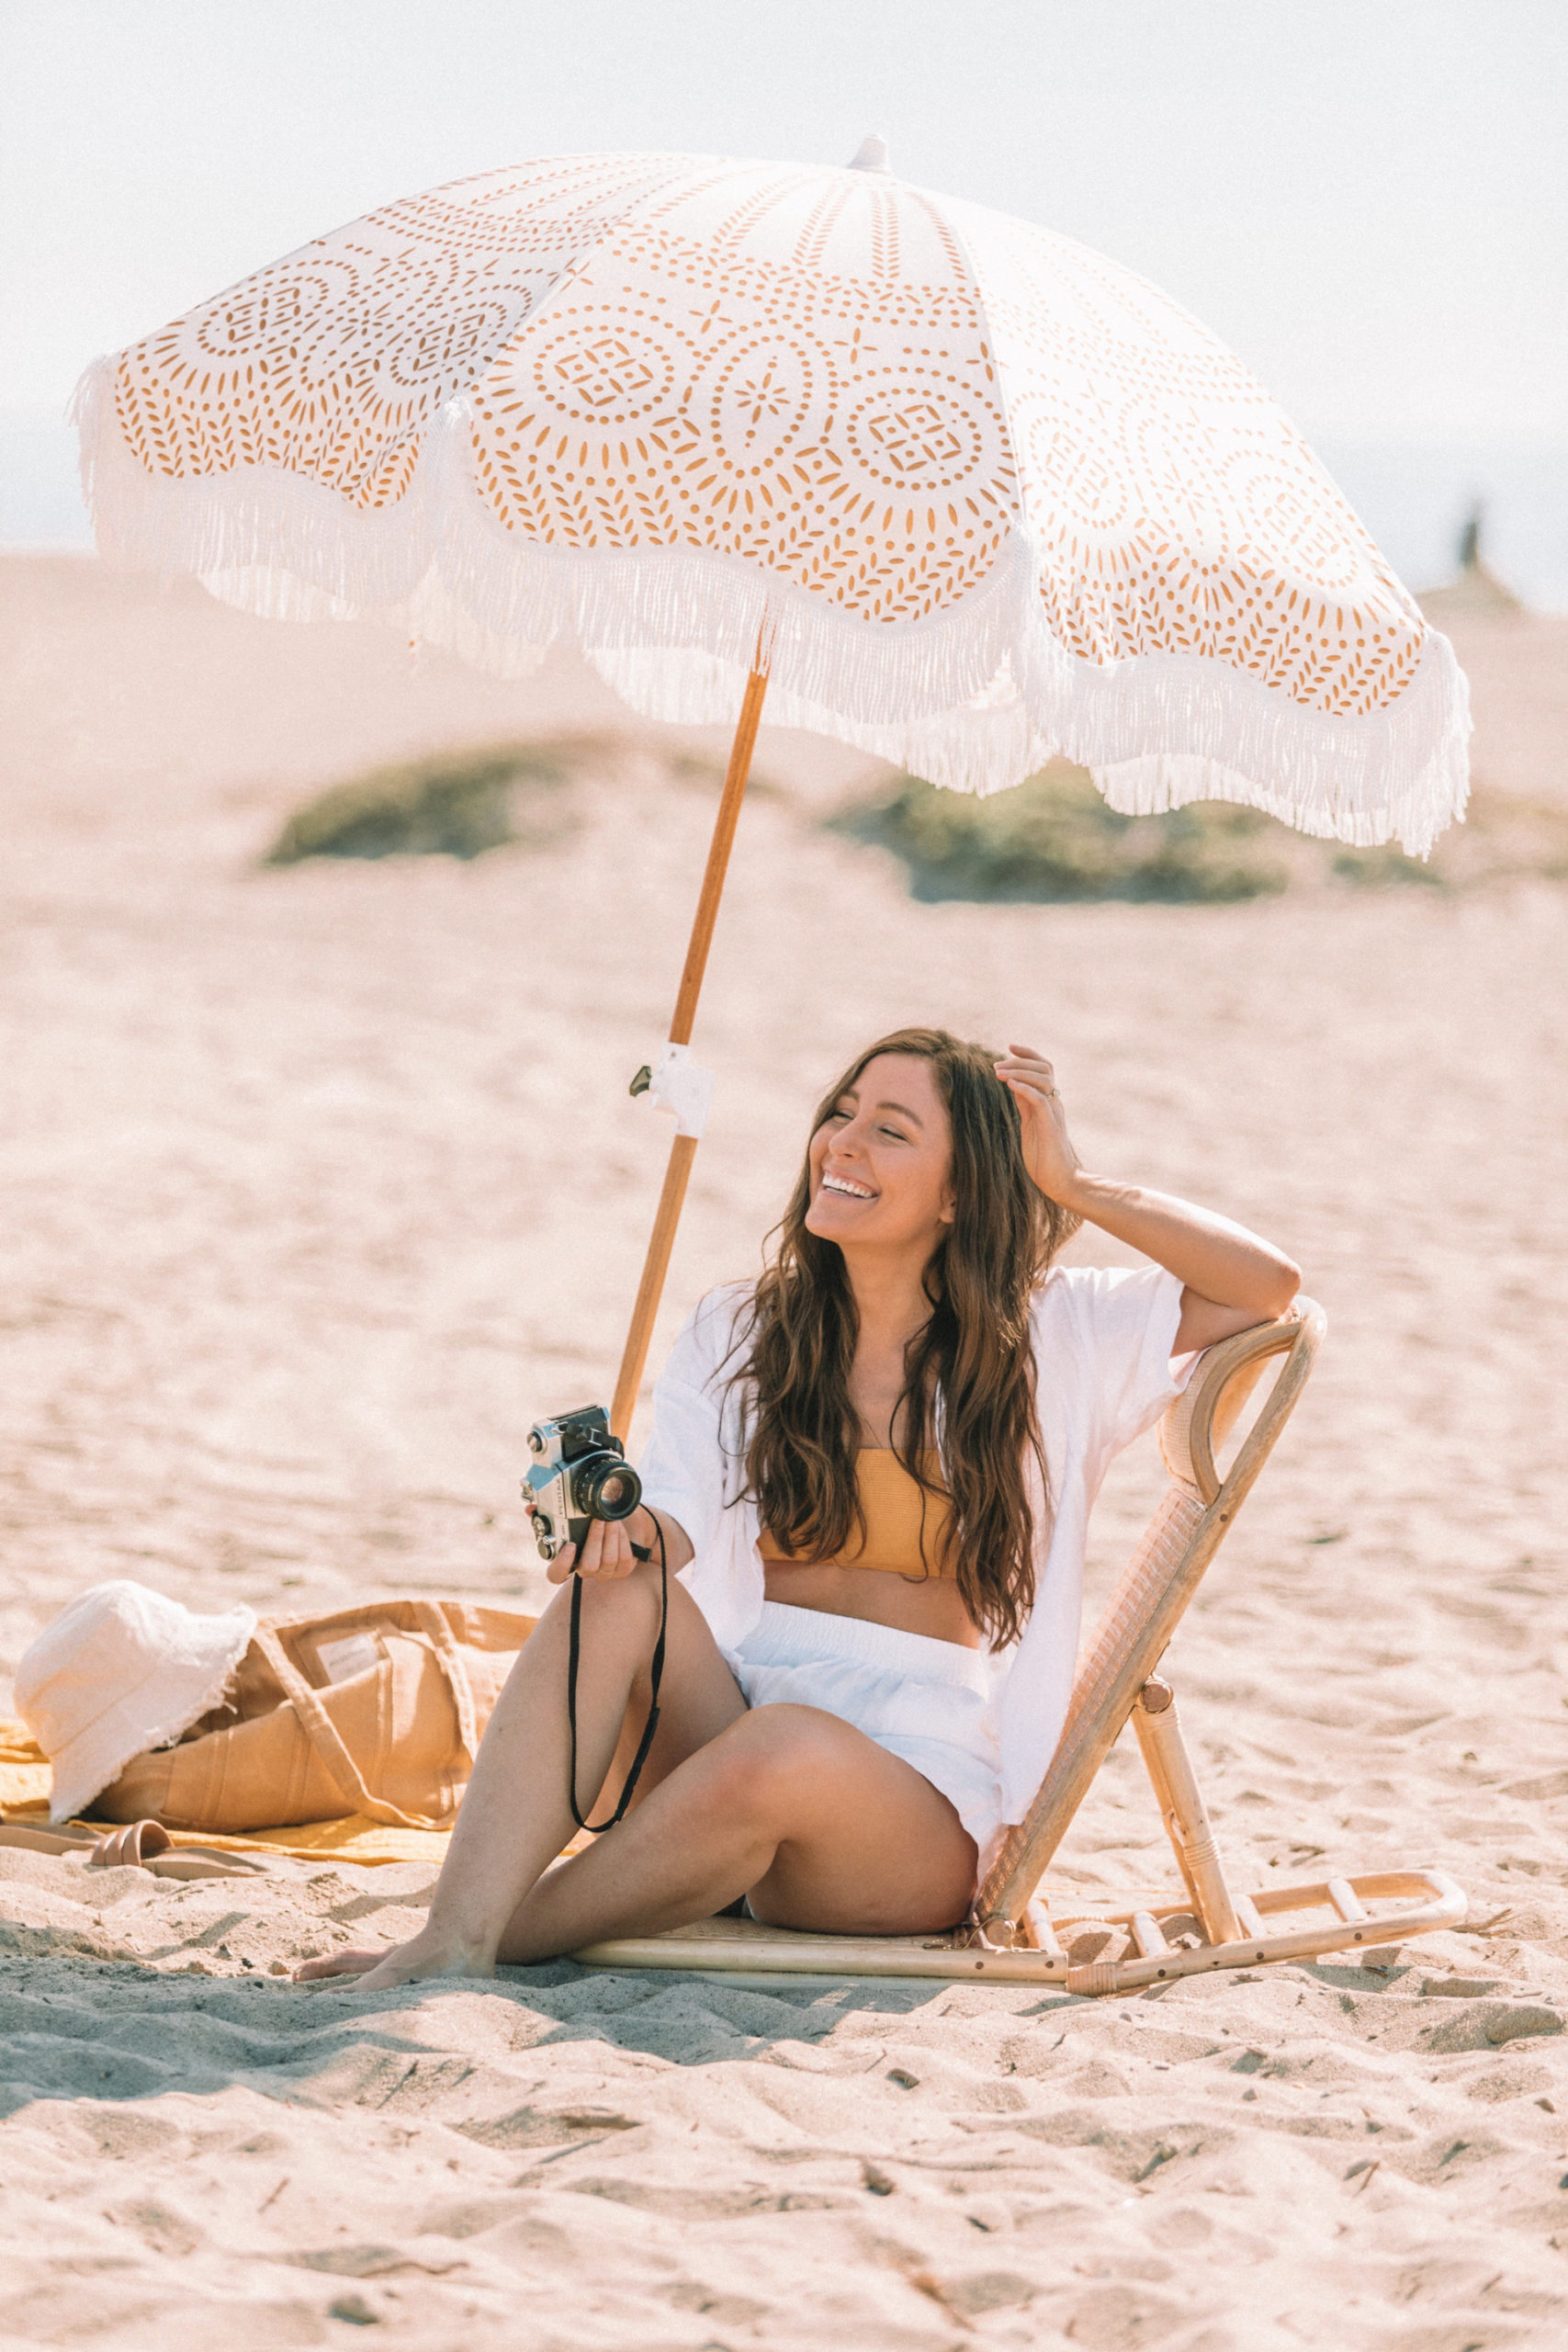
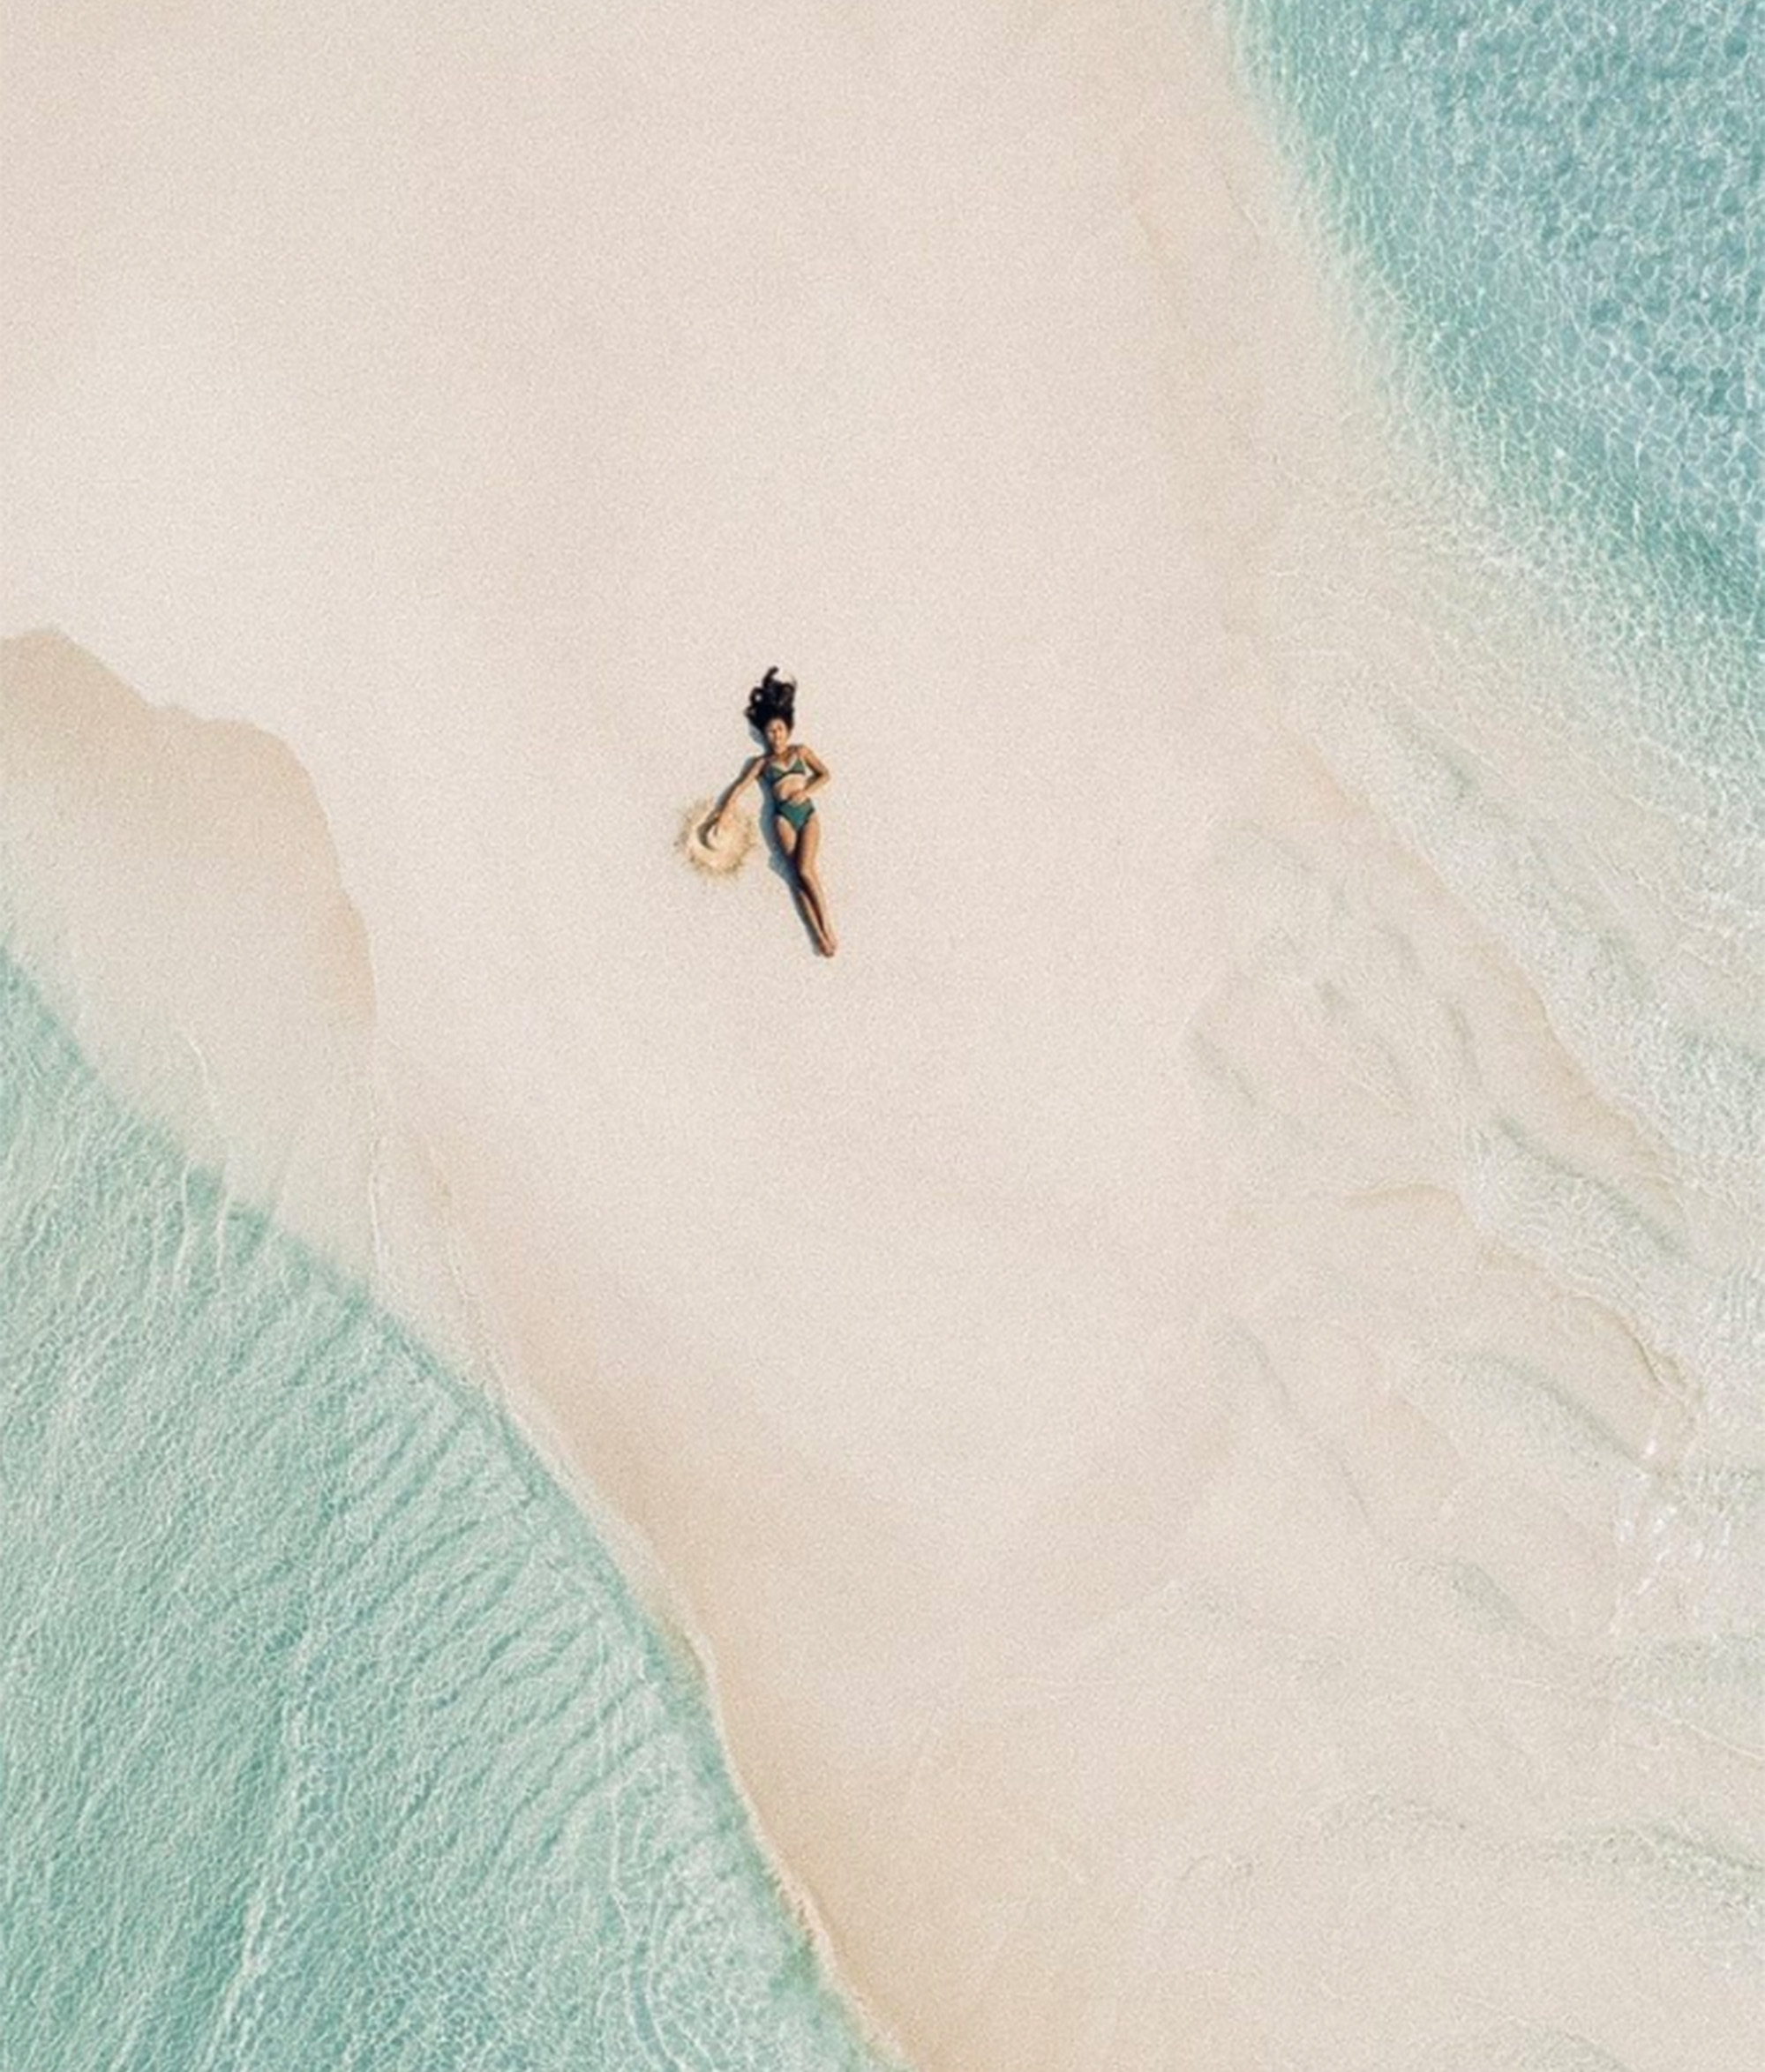
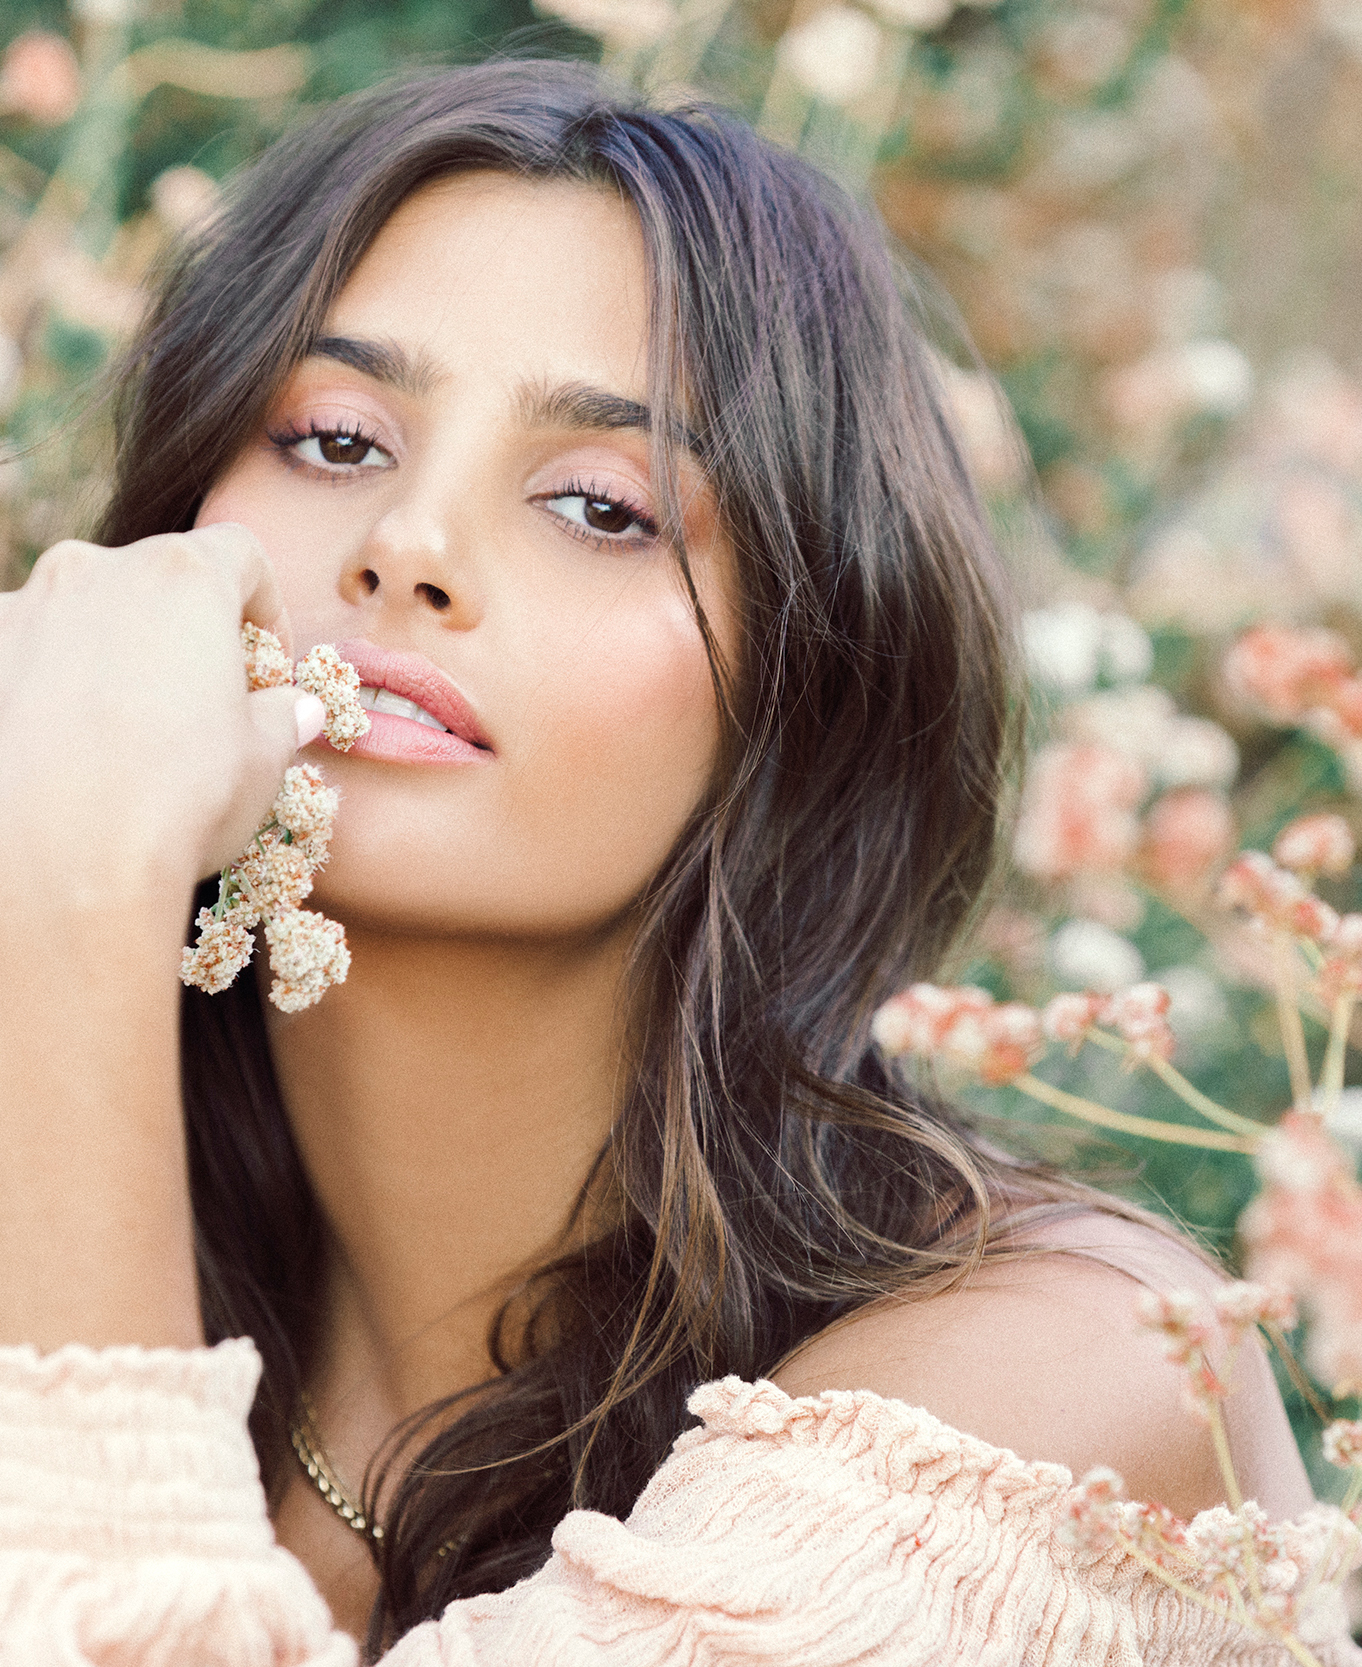
A shallow depth of field means that very little is in focus and will result in a blurrier background, while a deeper depth of field will result in an image that appears in focus all the way from the front to the back of the scene. (You may also hear people refer to this as “bokeh,” but I prefer DOF.)
So now that you understand DOF, let’s talk about how we can use it to achieve that buttercream background of your dreams.
Here are 4 ways to manipulate your depth of field and achieve a blurry background:
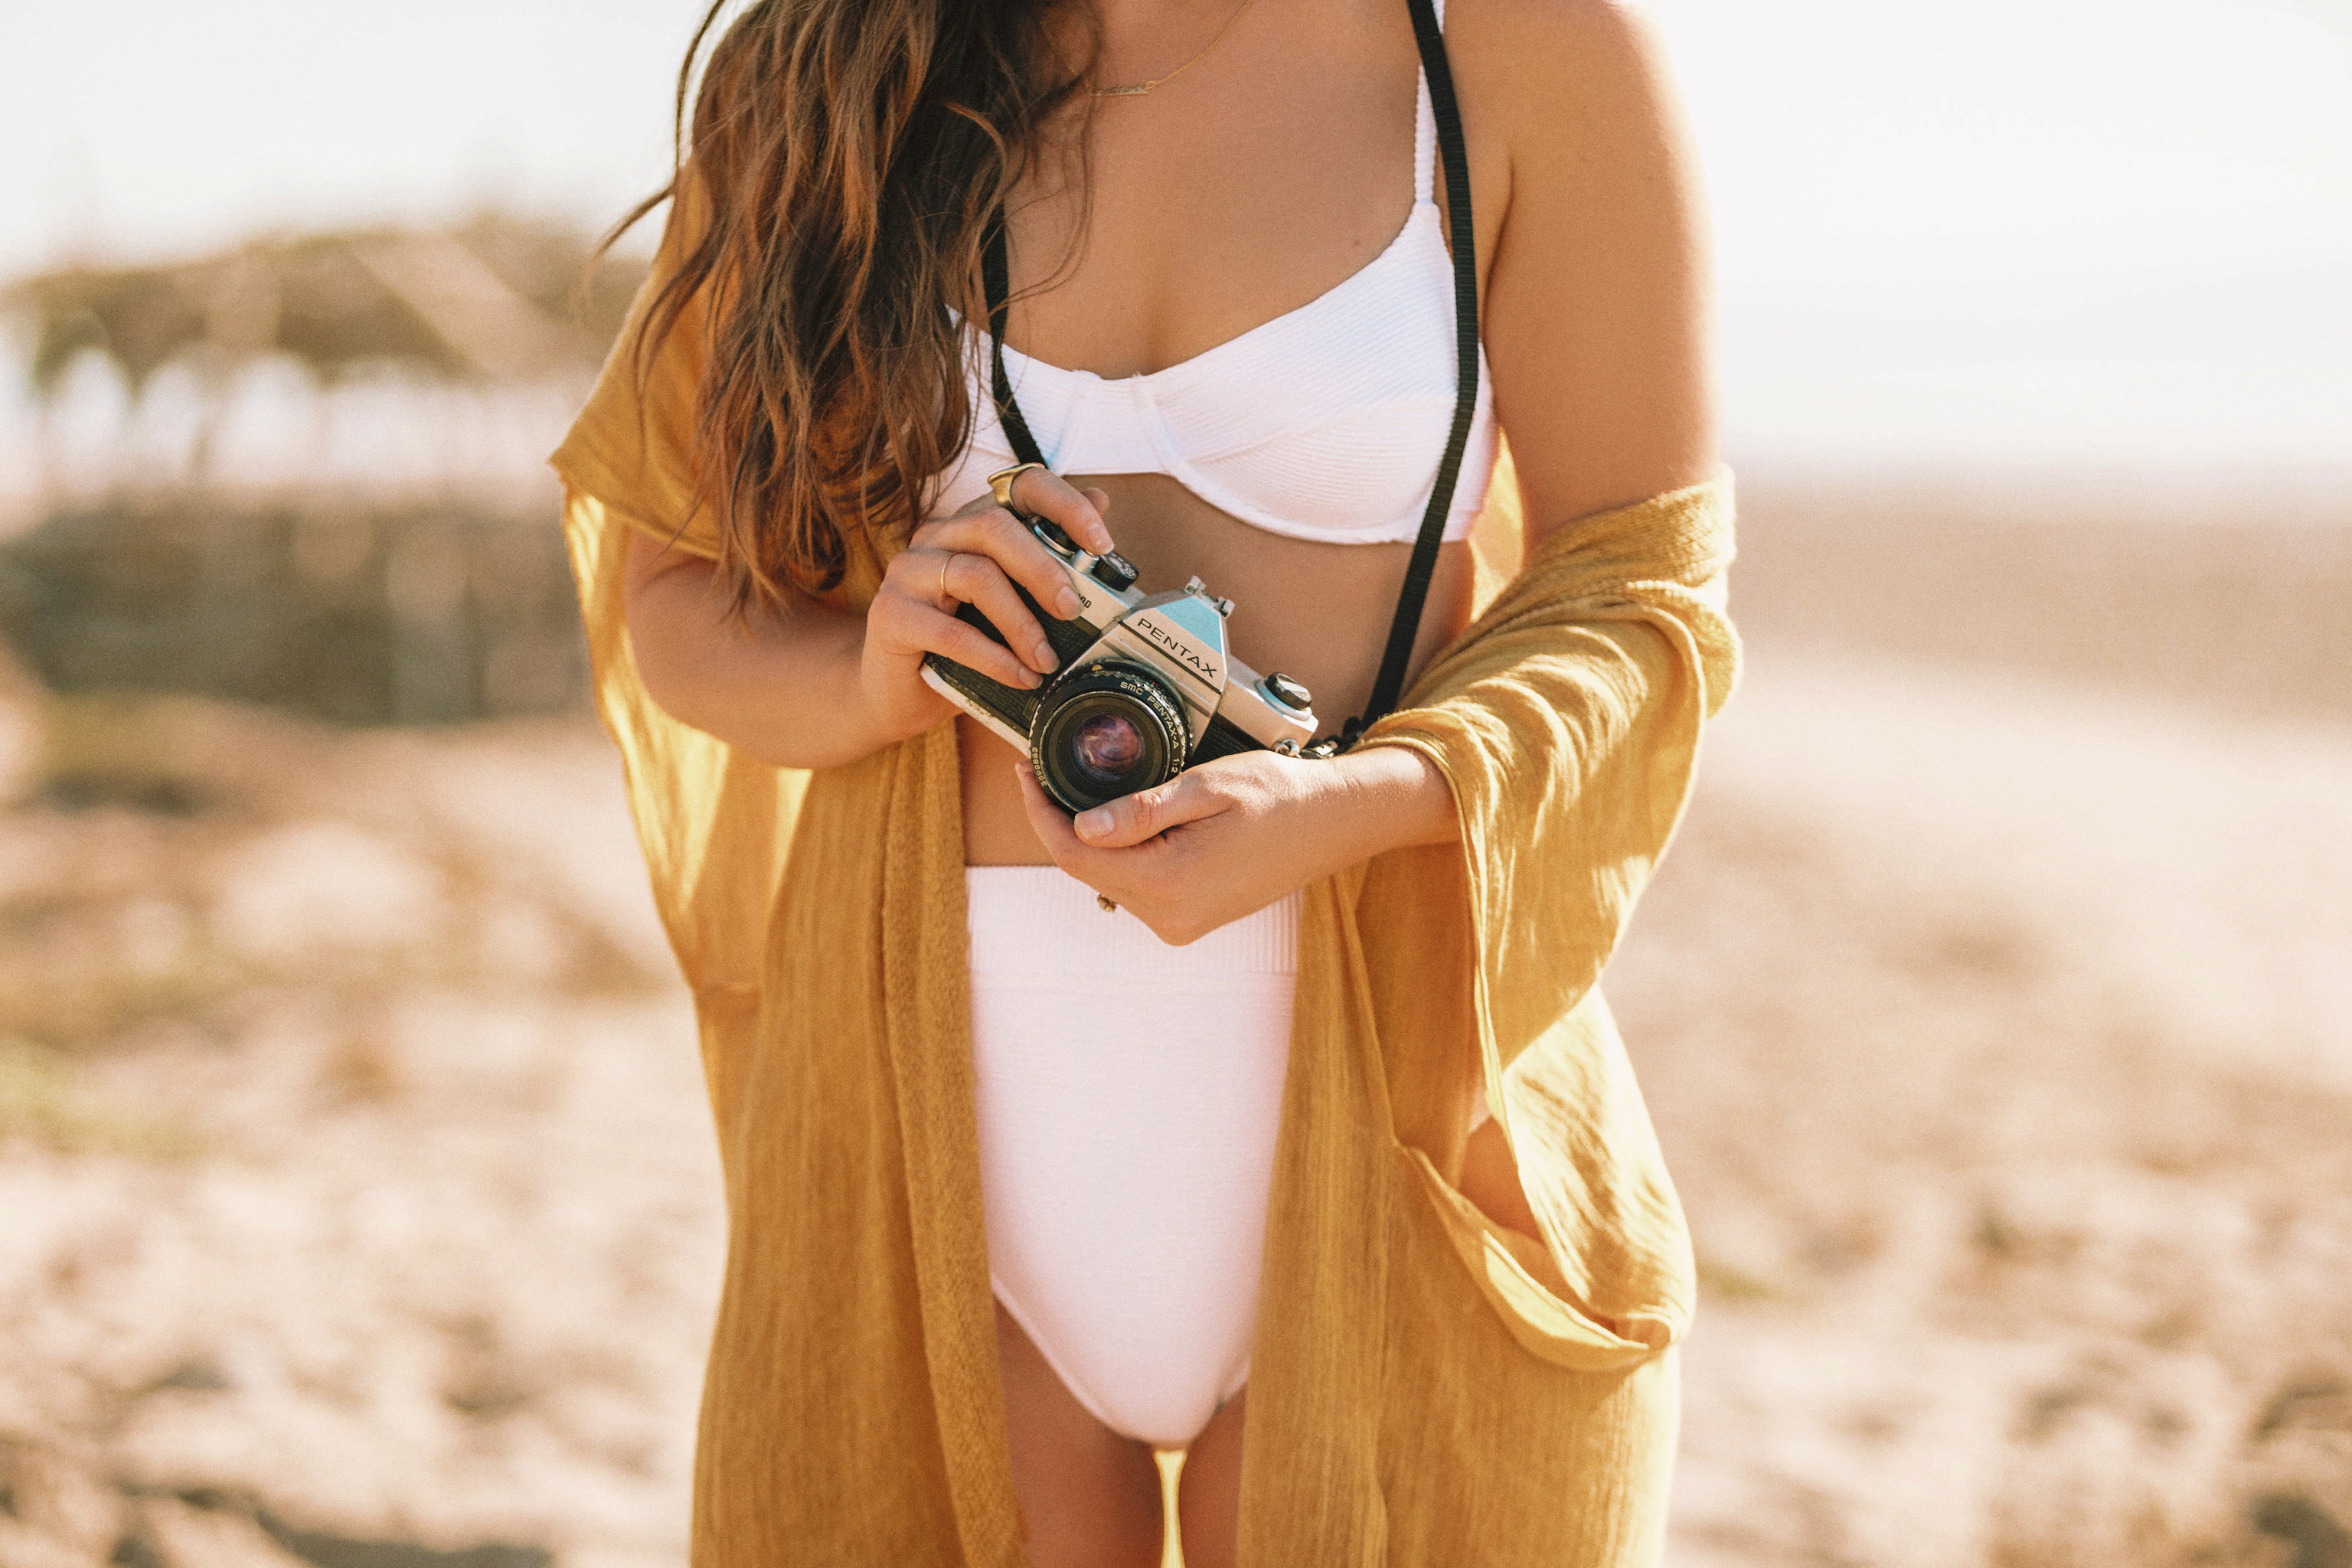
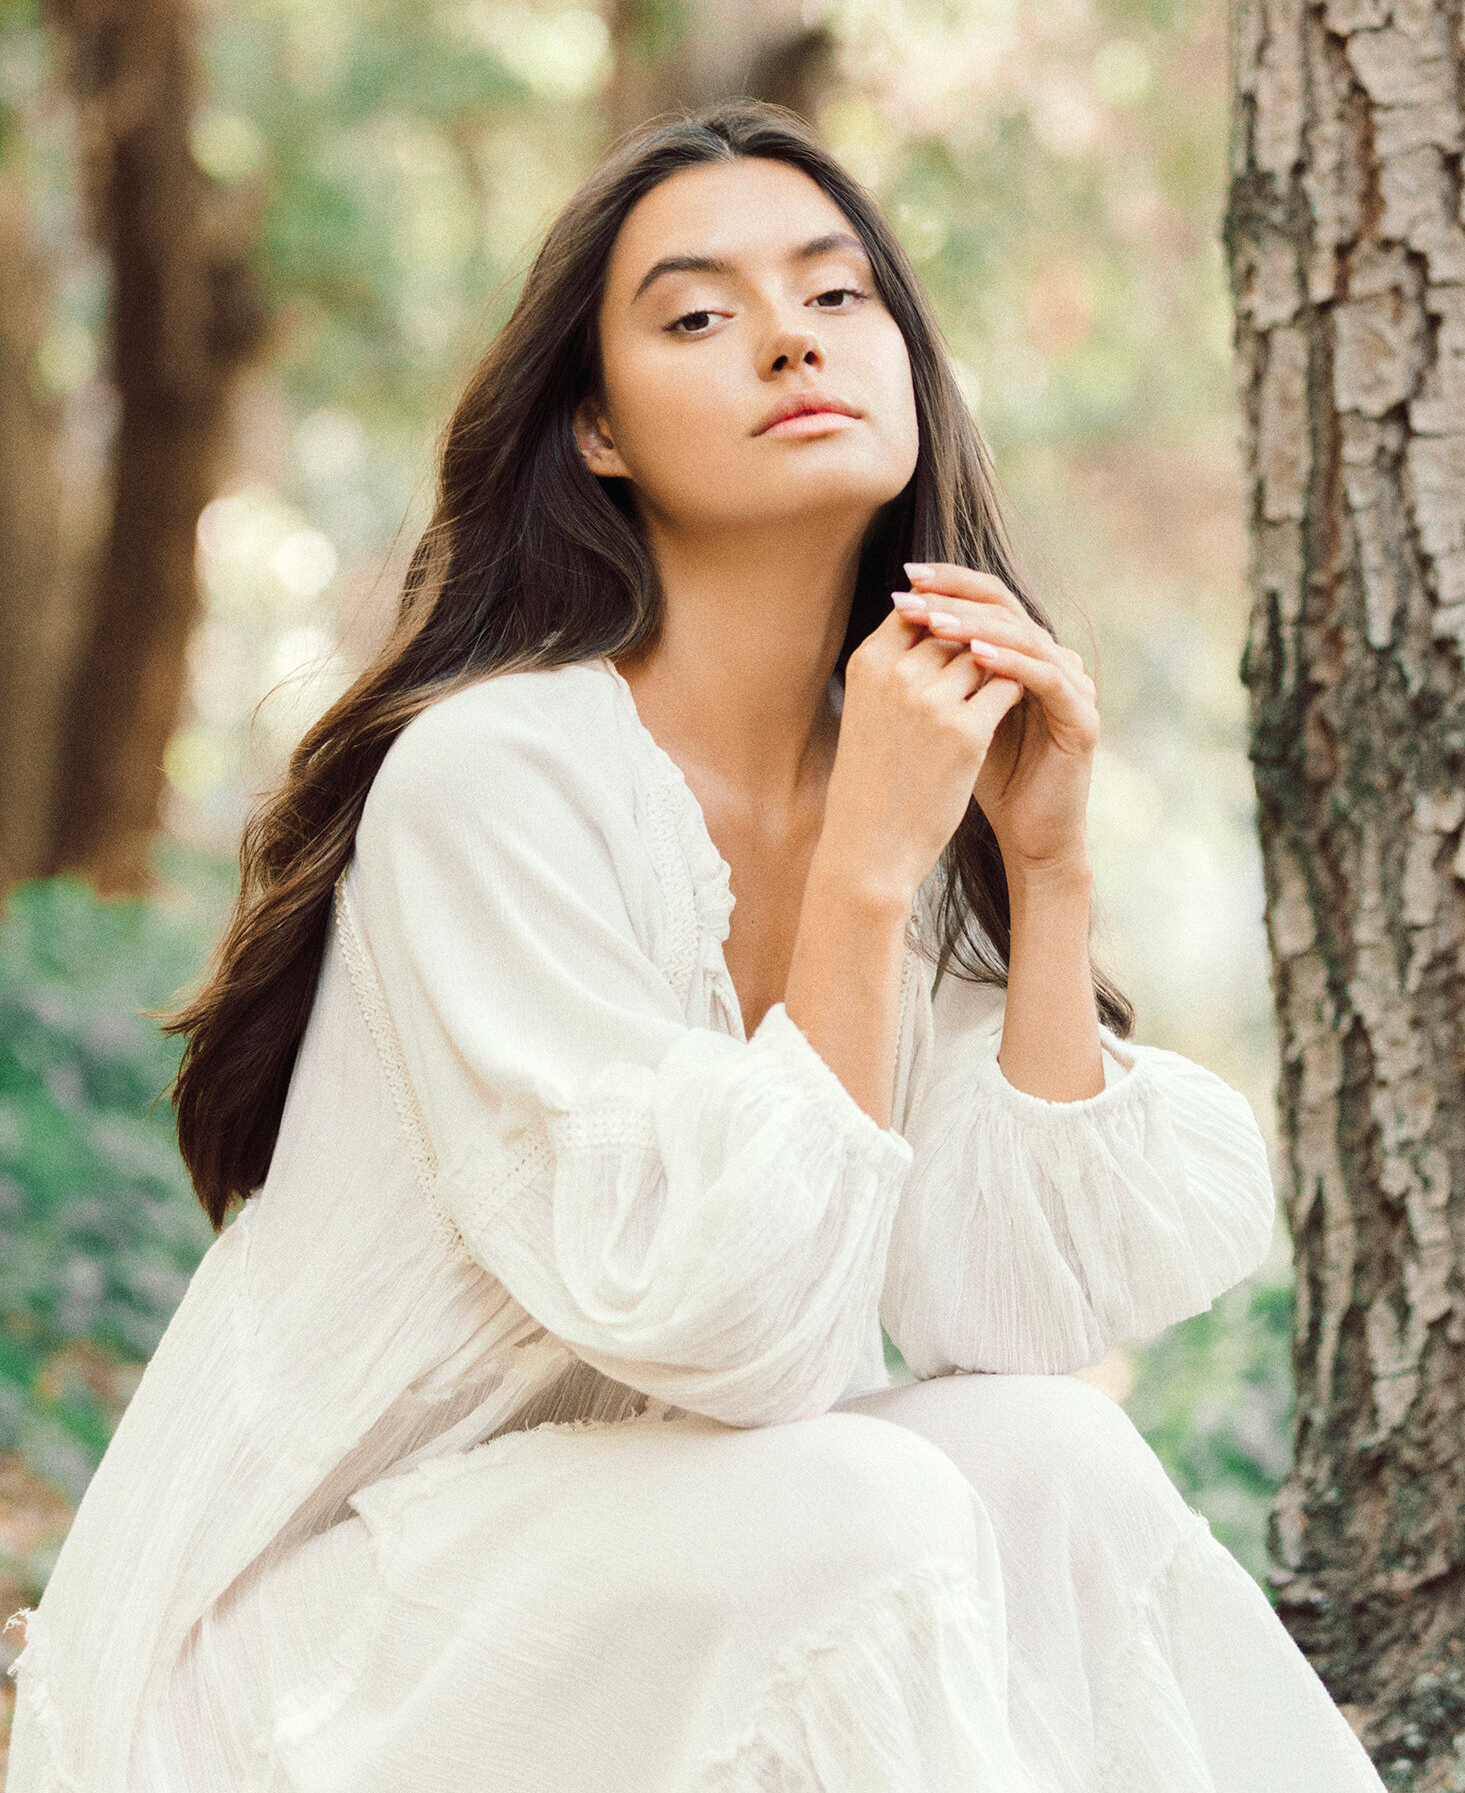
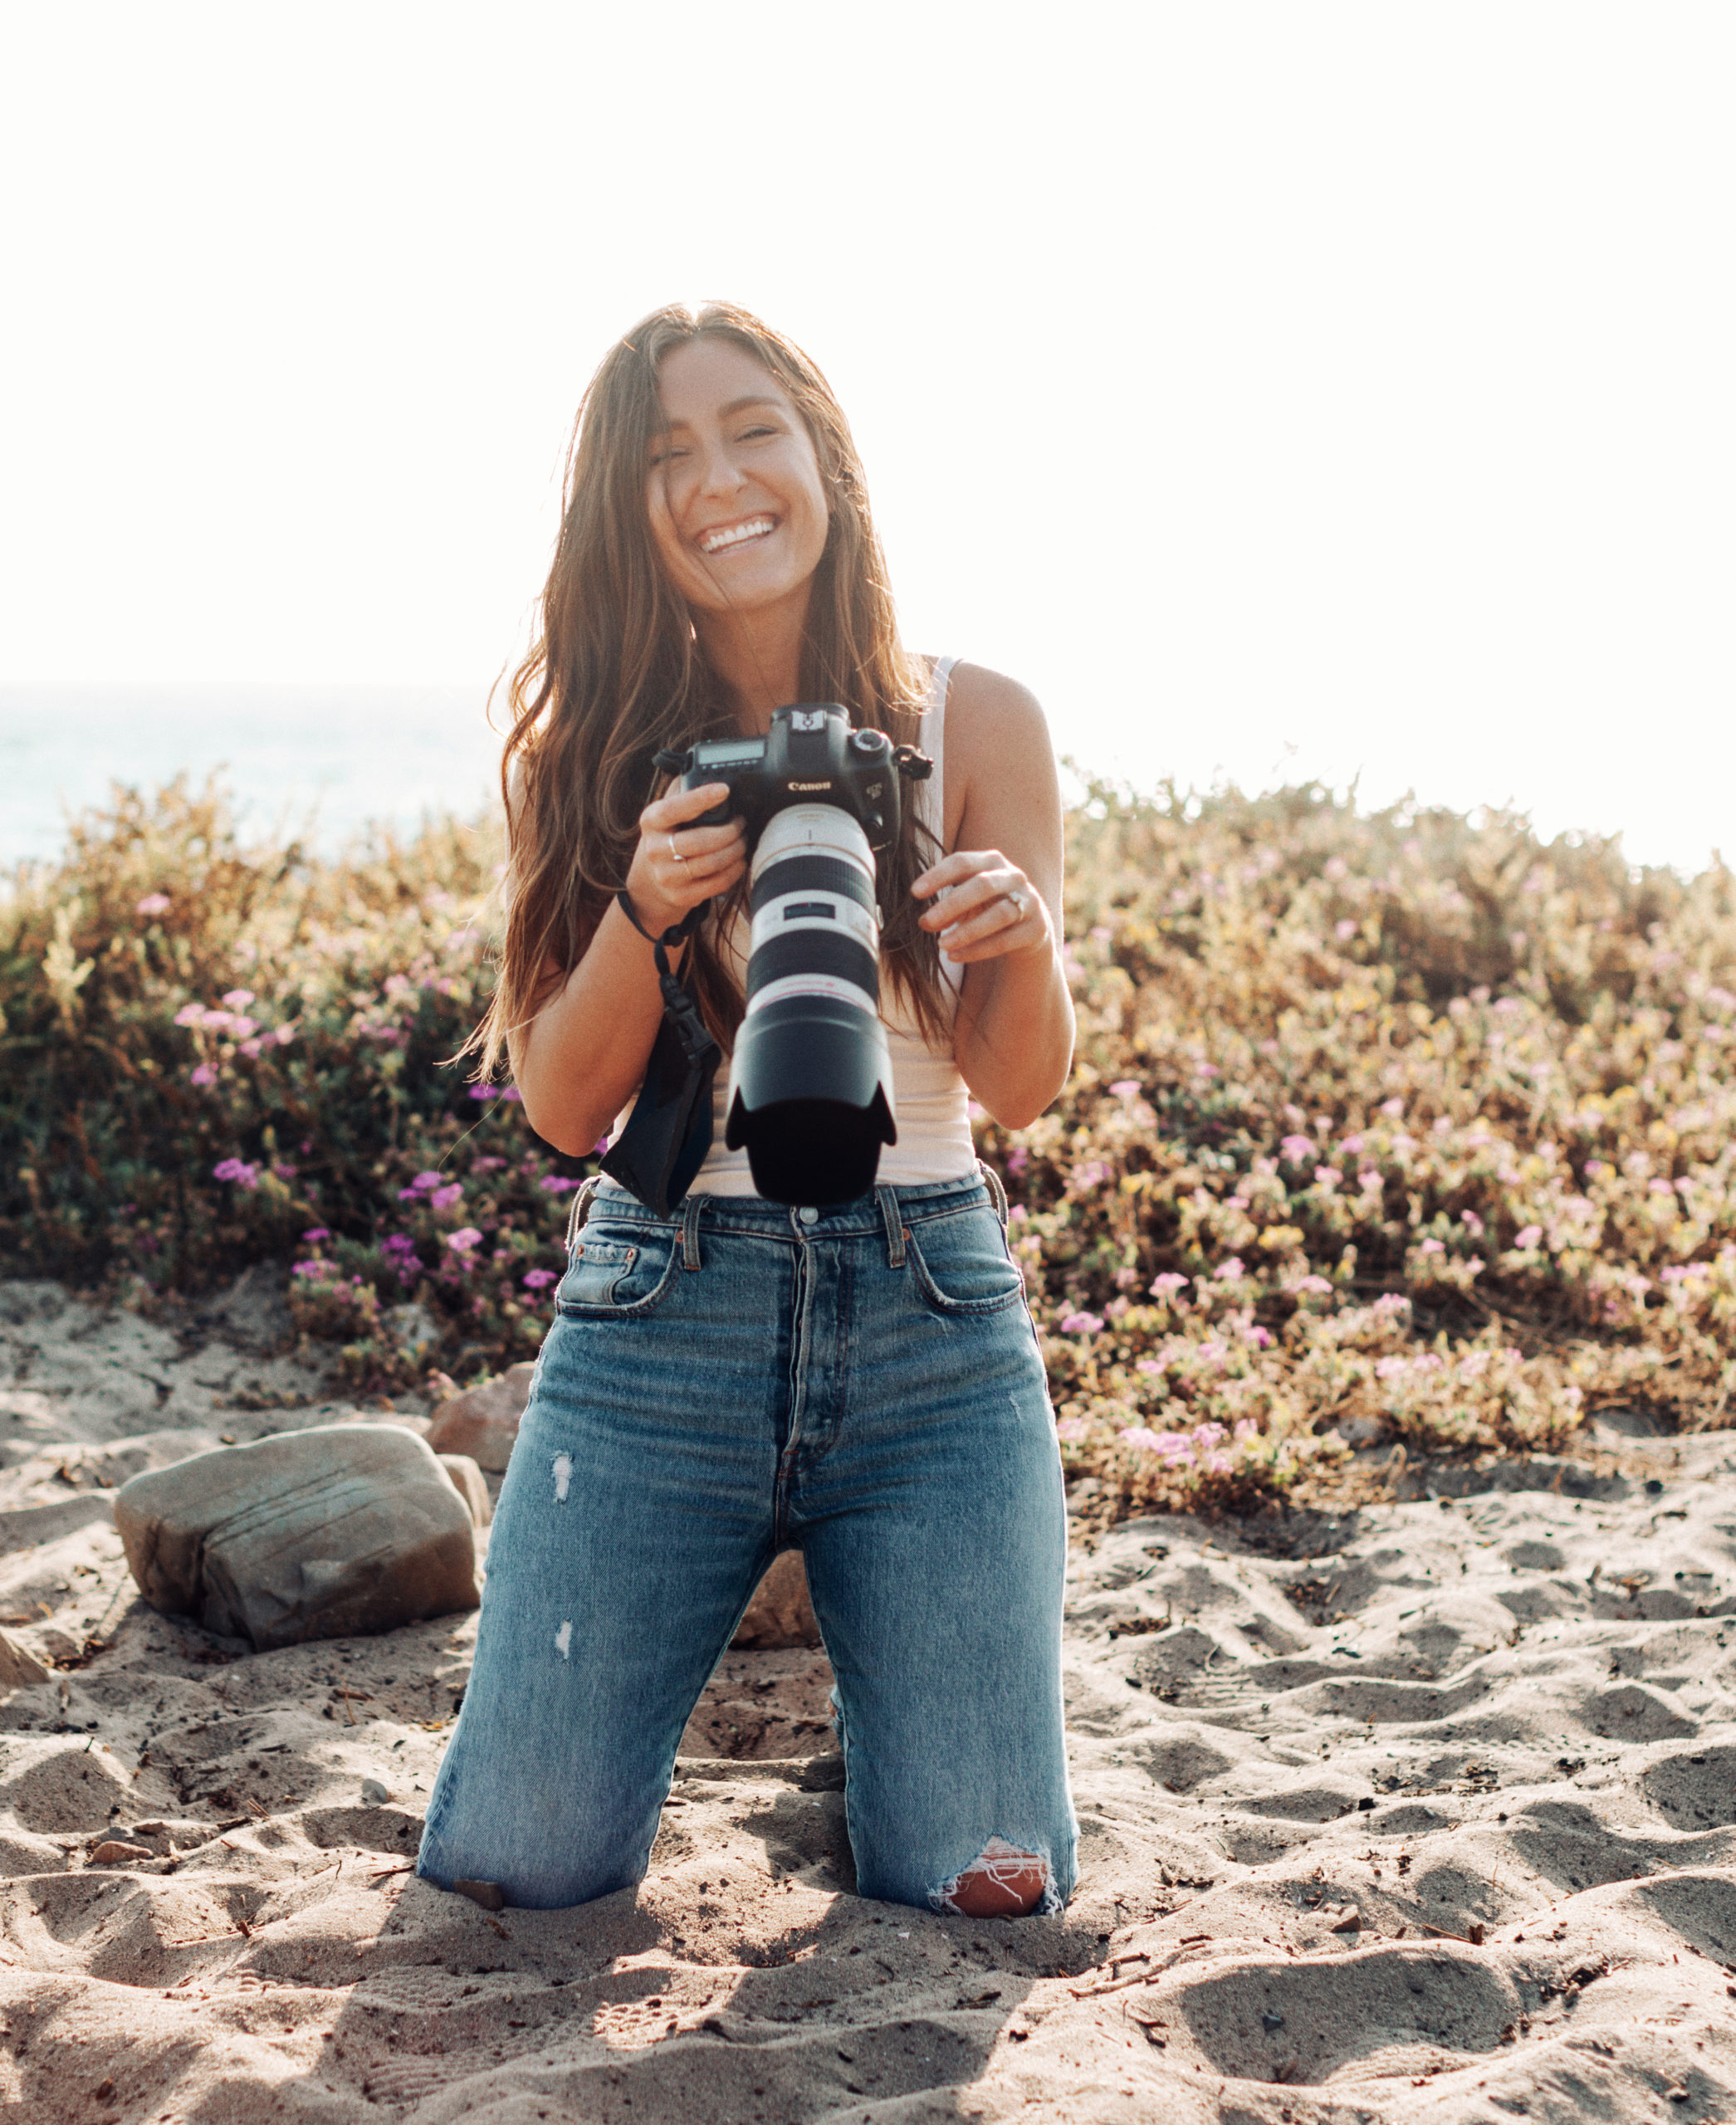
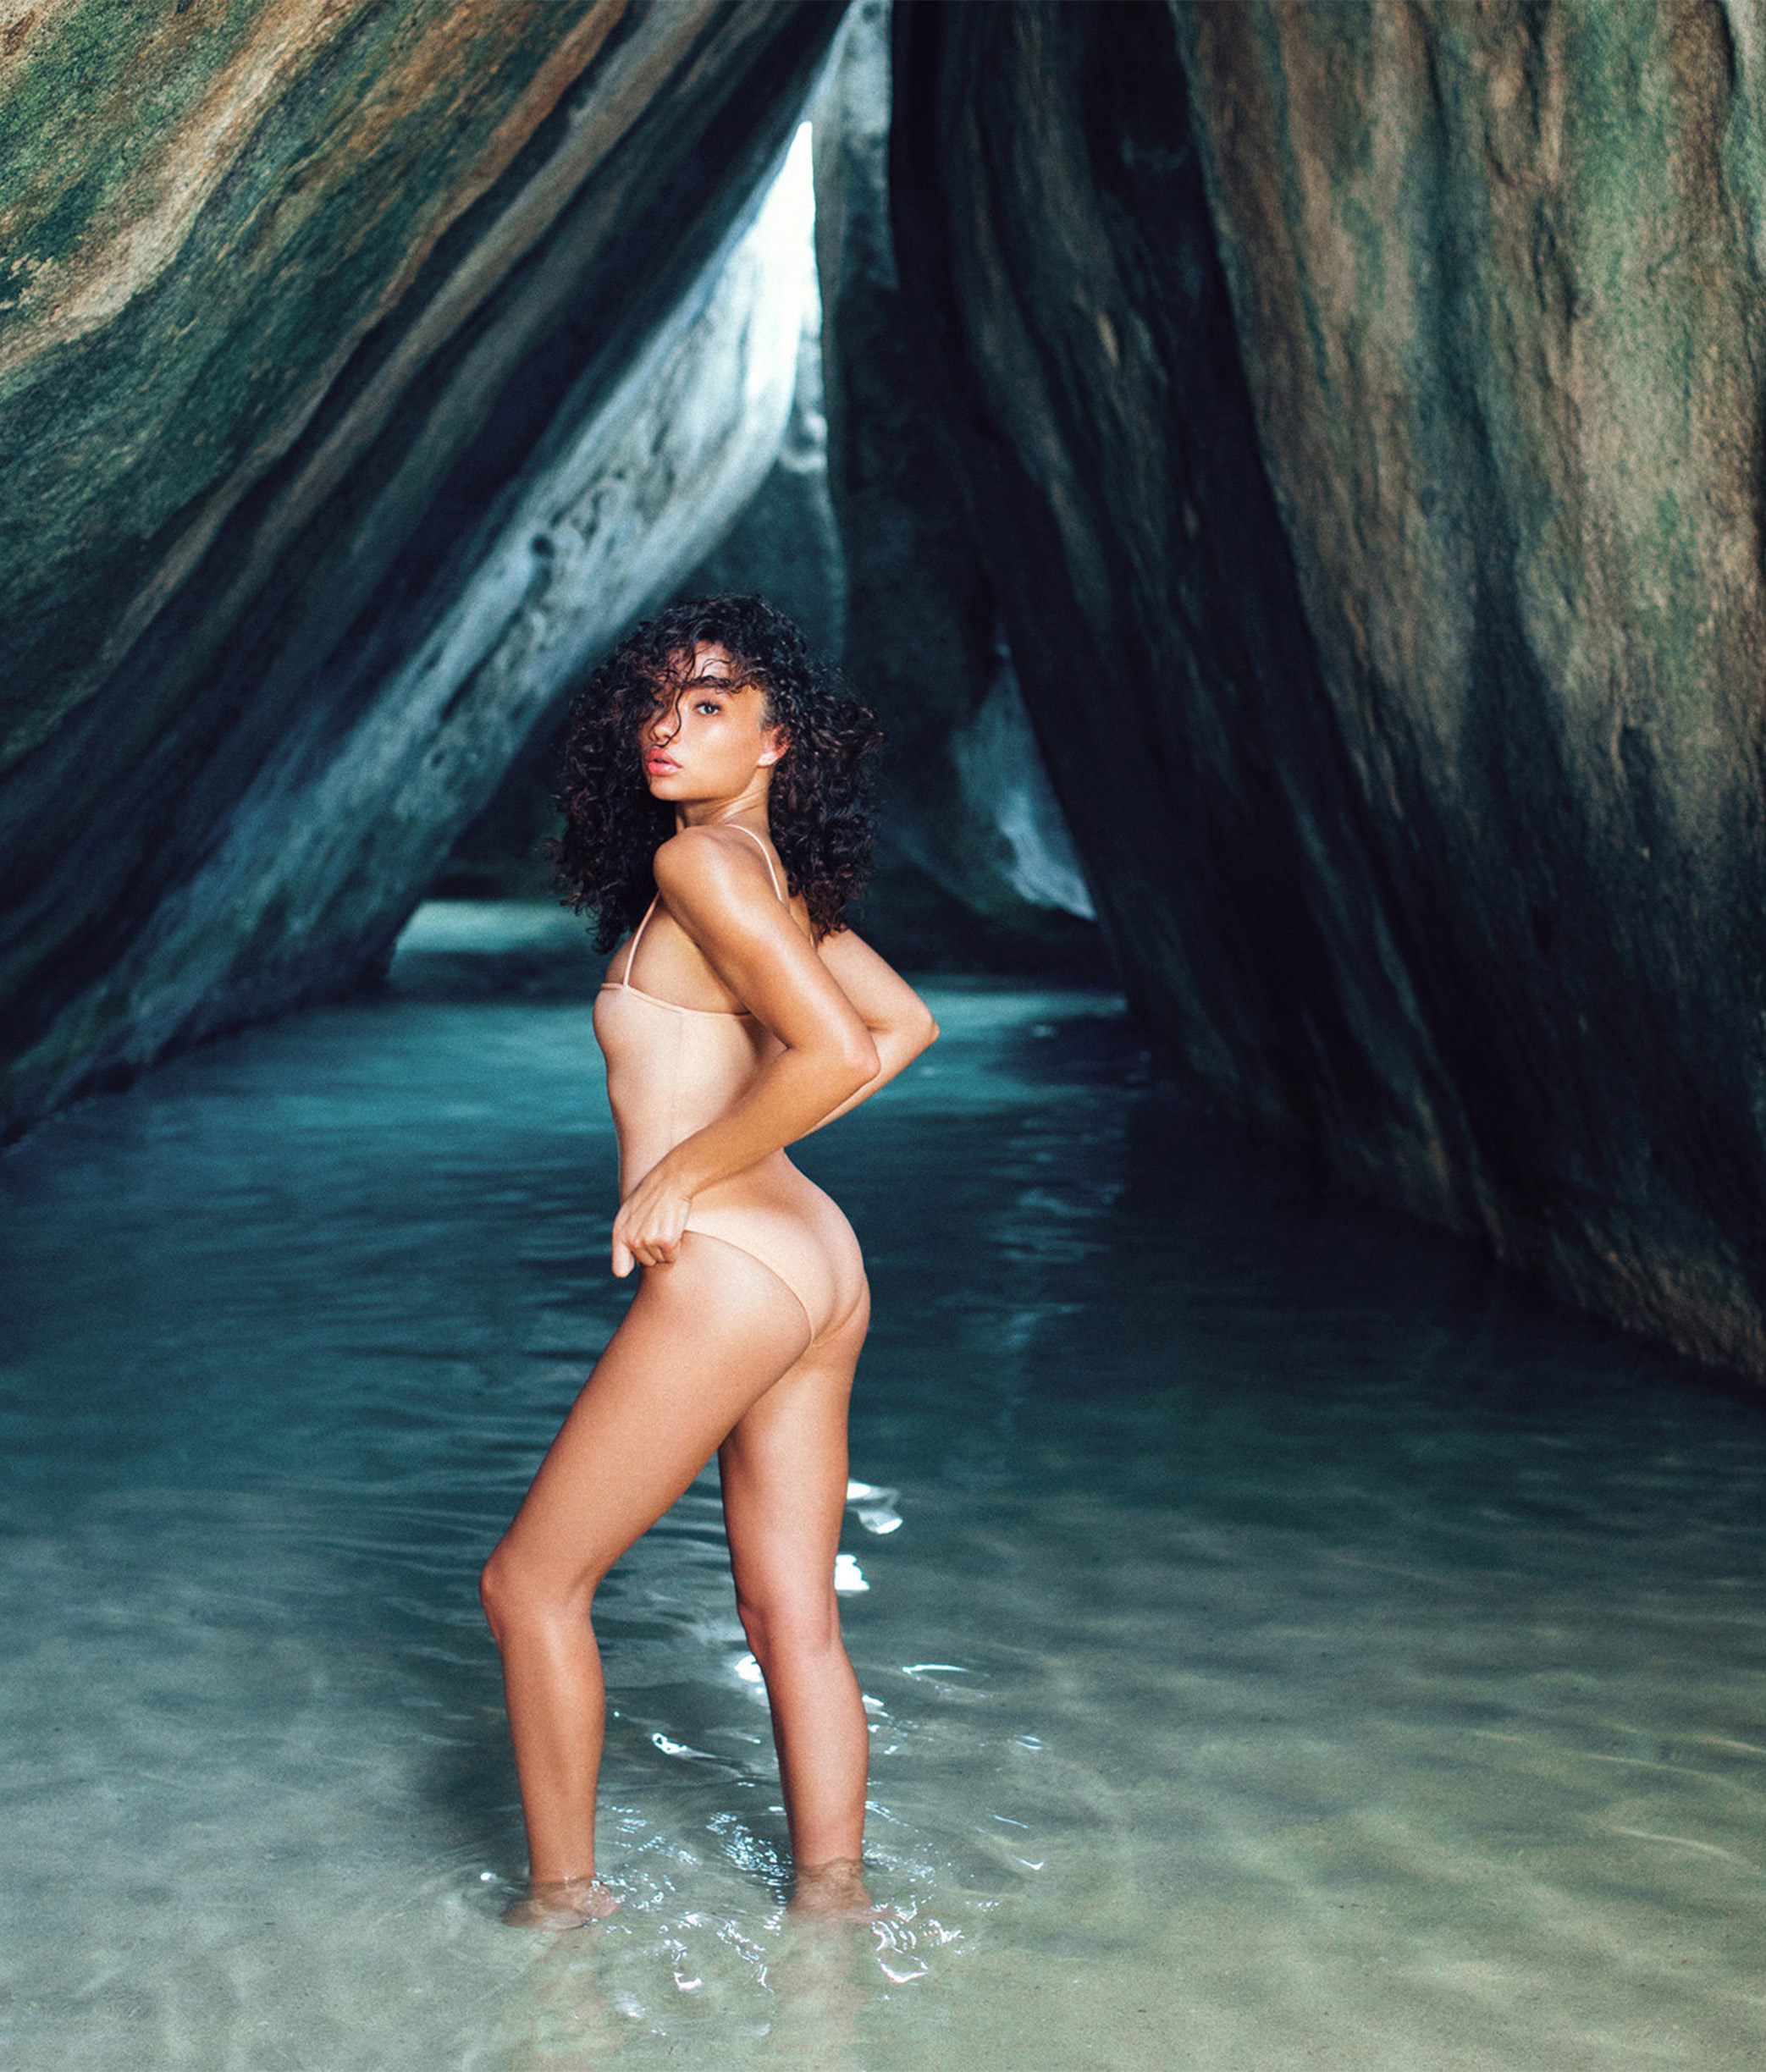
1. Open Up Your aperture
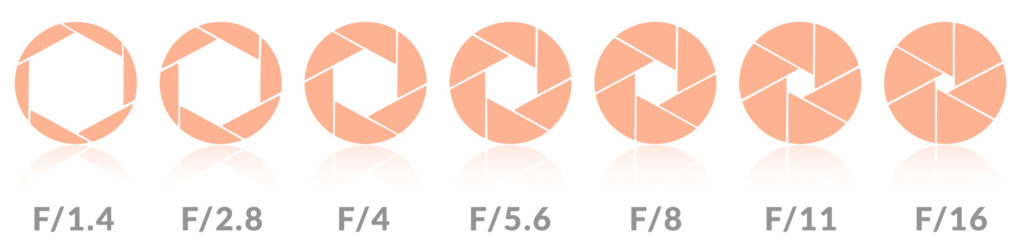
As we talked about in the episode the ONLY camera setting that enables you to control your depth of field is your aperture, and the way that we control this when shooting in manual mode is by adjusting the F-Stop of our lens.
So, if you’re having trouble achieving those creamy, blurry backgrounds, try opening up your aperture to your lens’s widest F-Stop setting and see what changes.
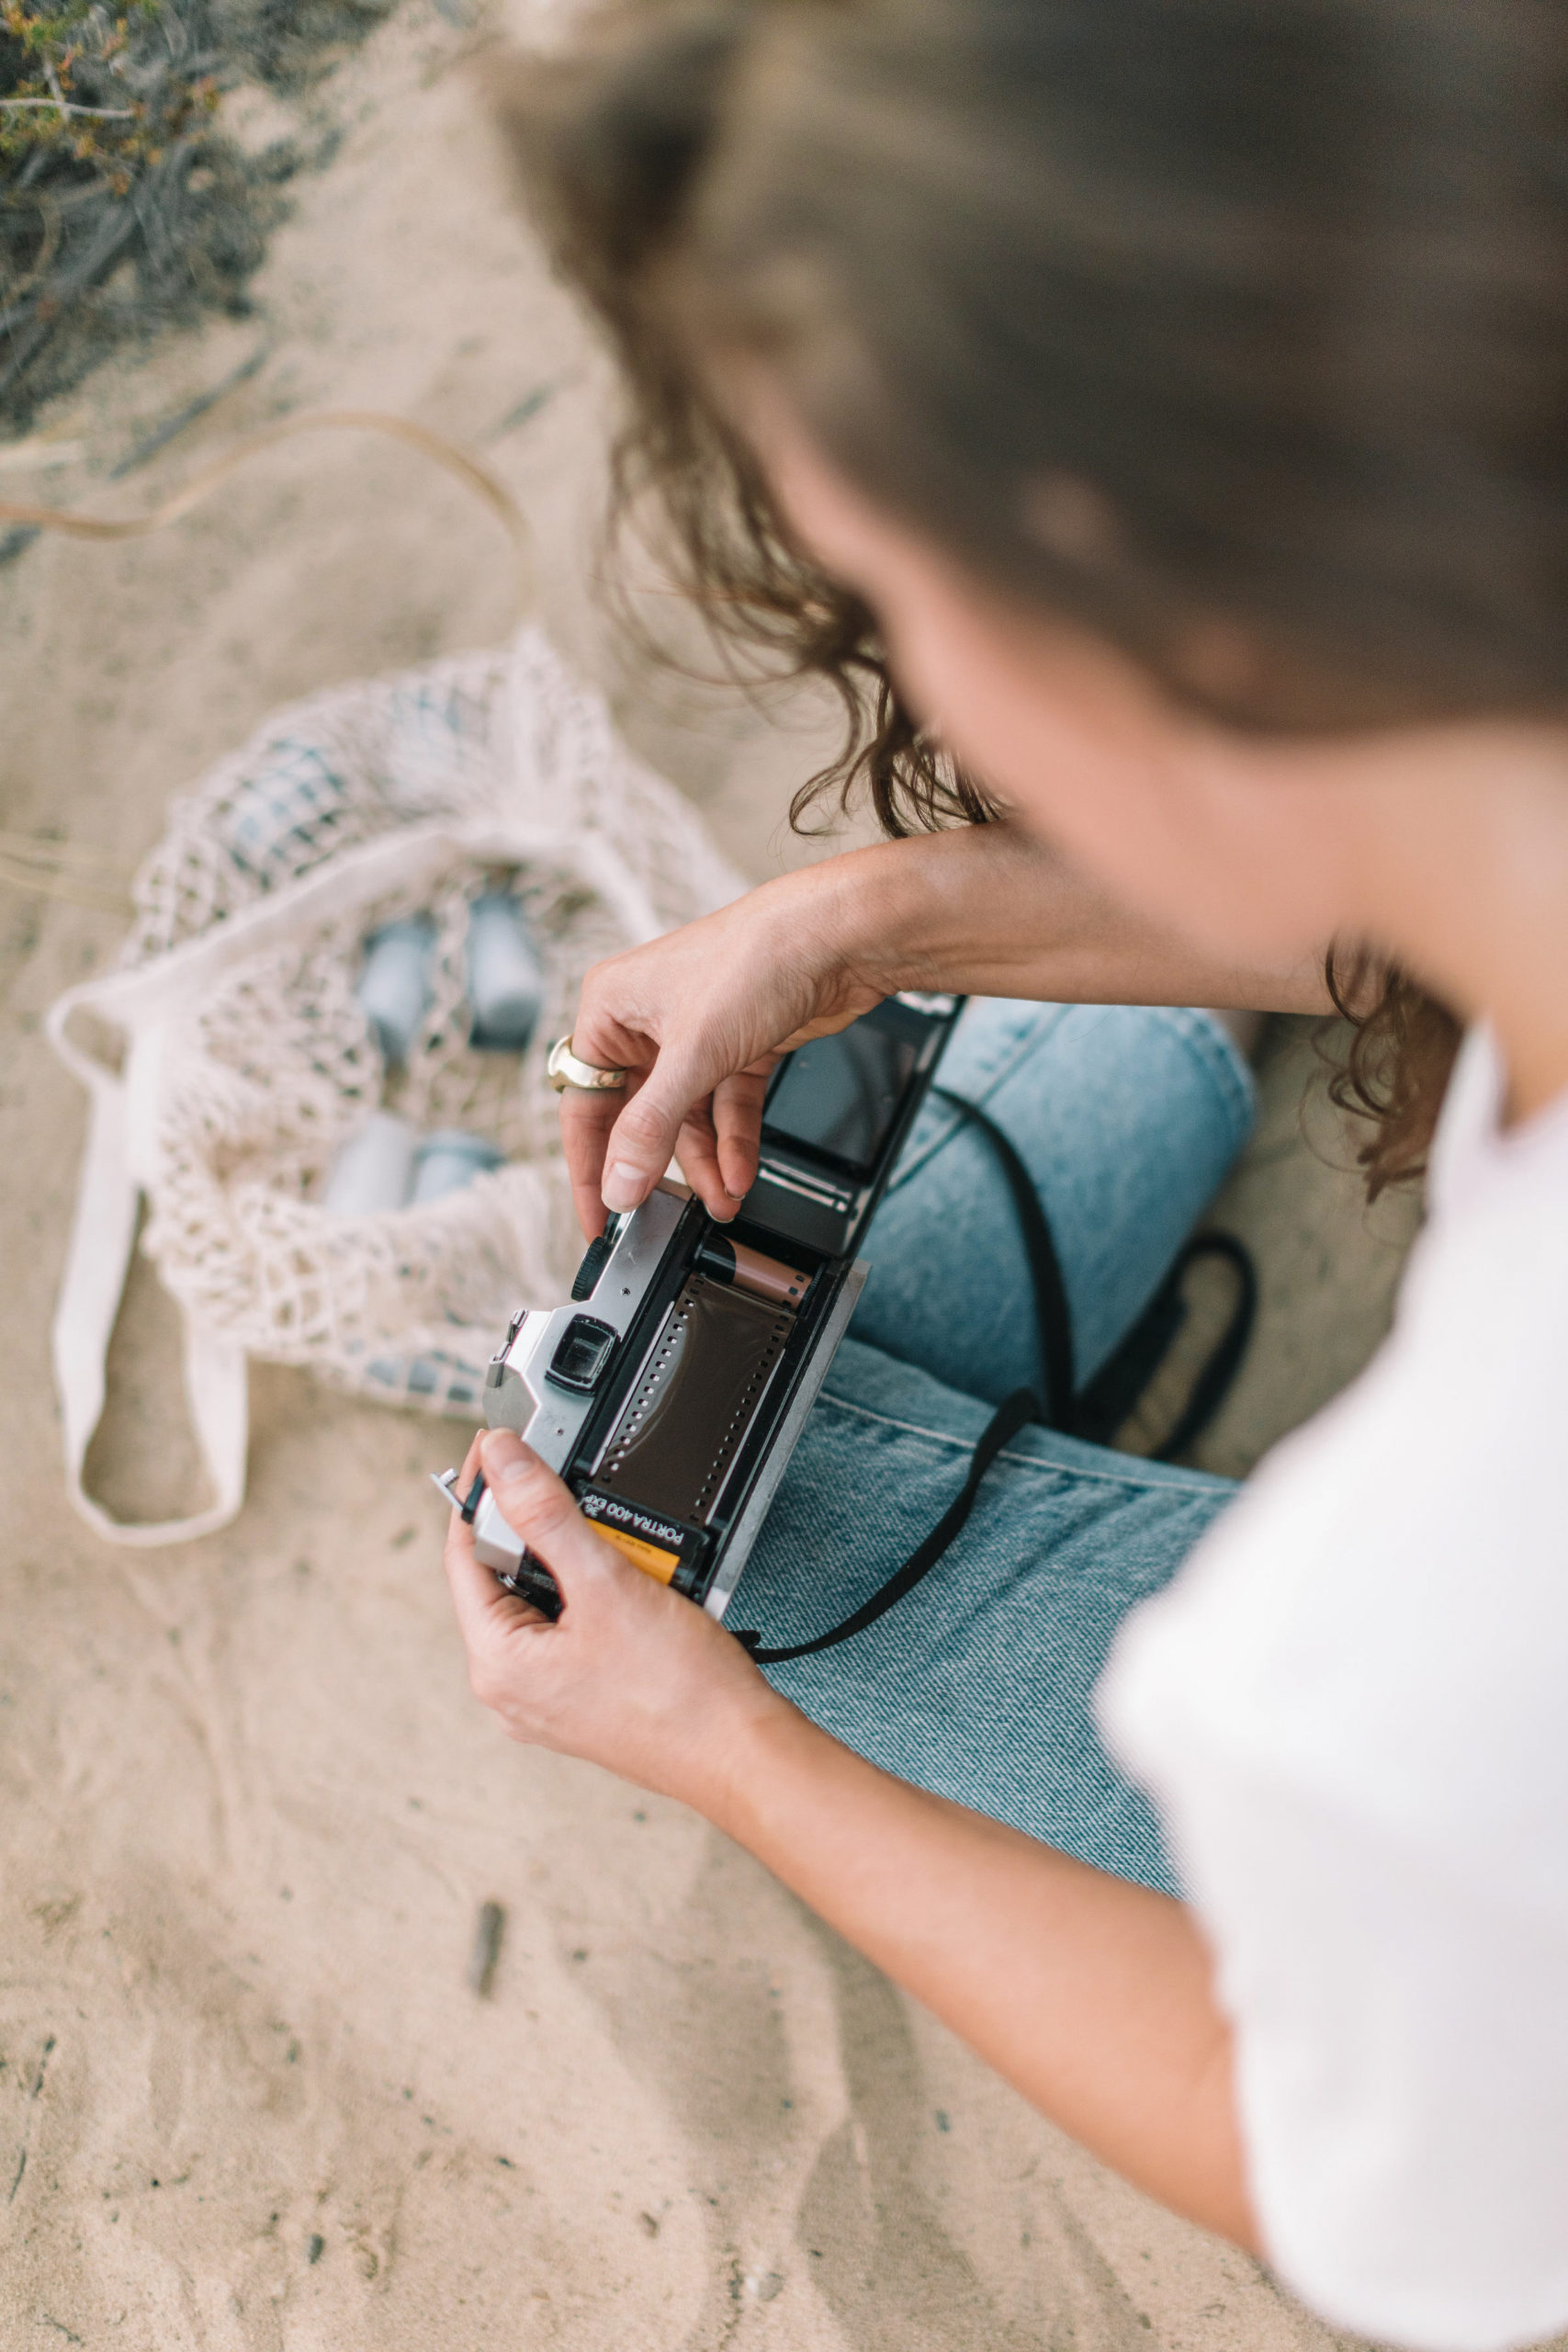
And if you haven’t yet PLEASE download our free manual mode cheat sheet click here and download our manual mode cheat sheet which helps simplify the big picture for all of your camera’s manual settings. This sucker will make it all make a whole lot more sense!
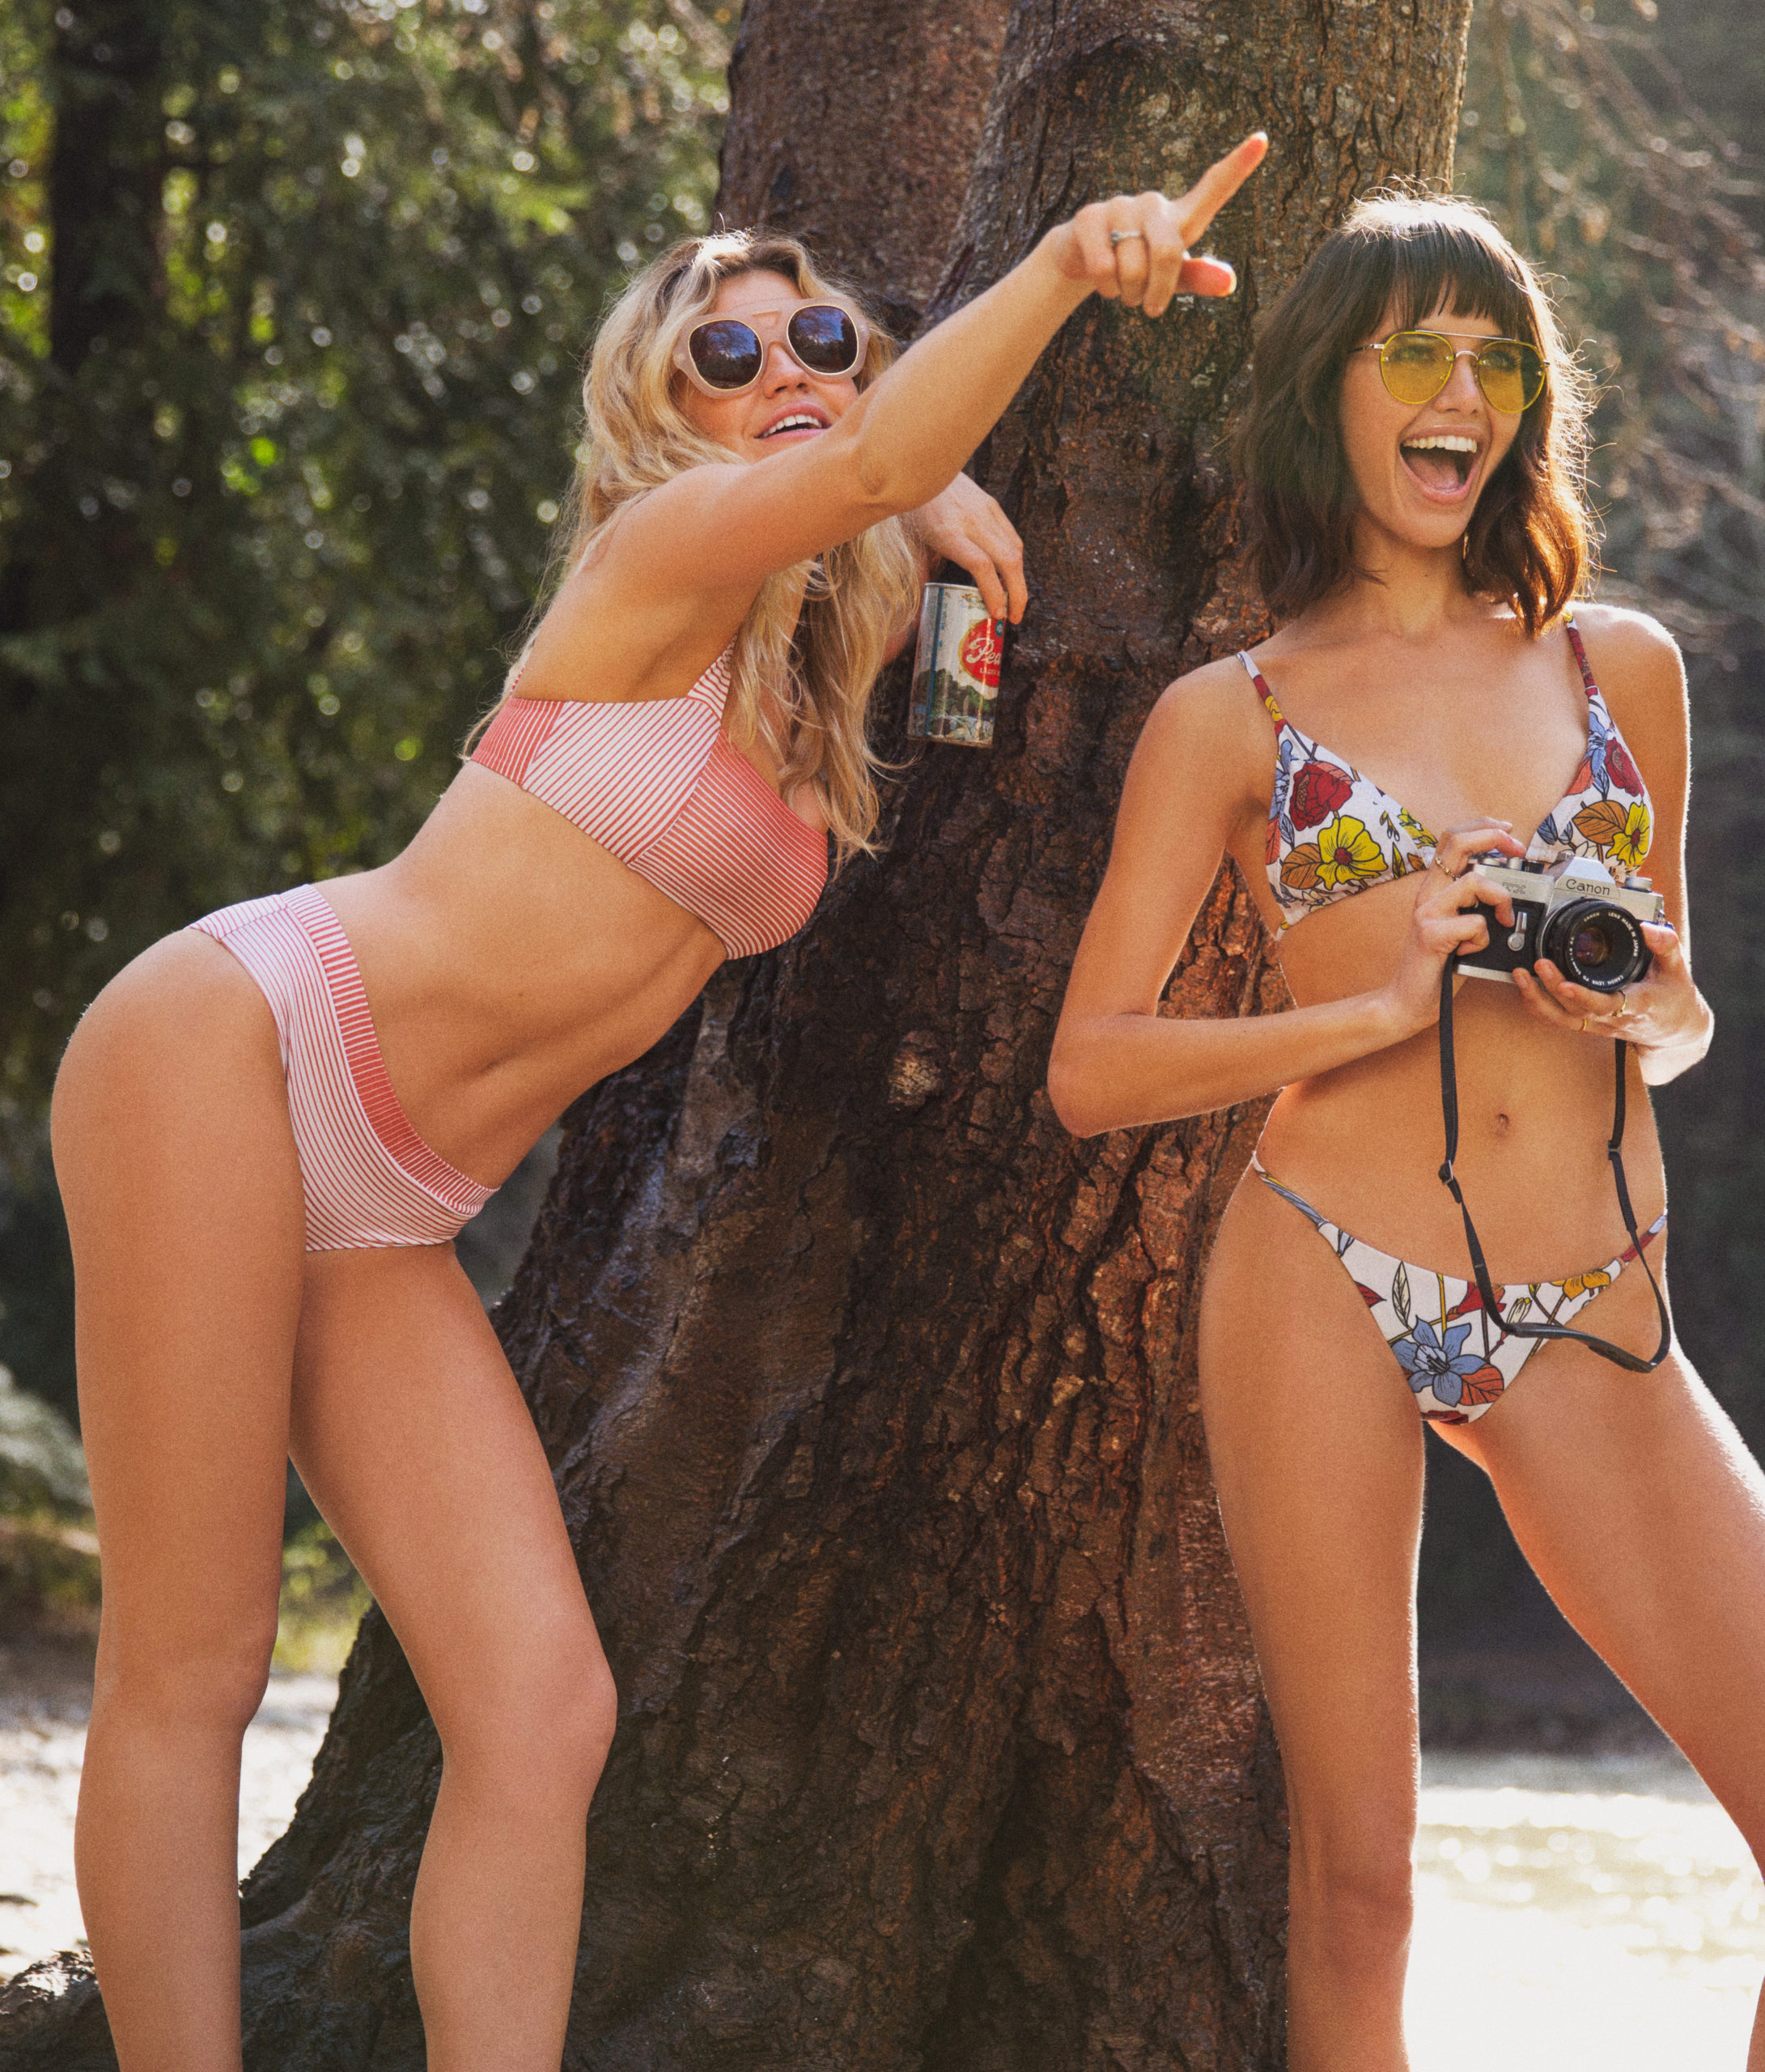
2. Distance
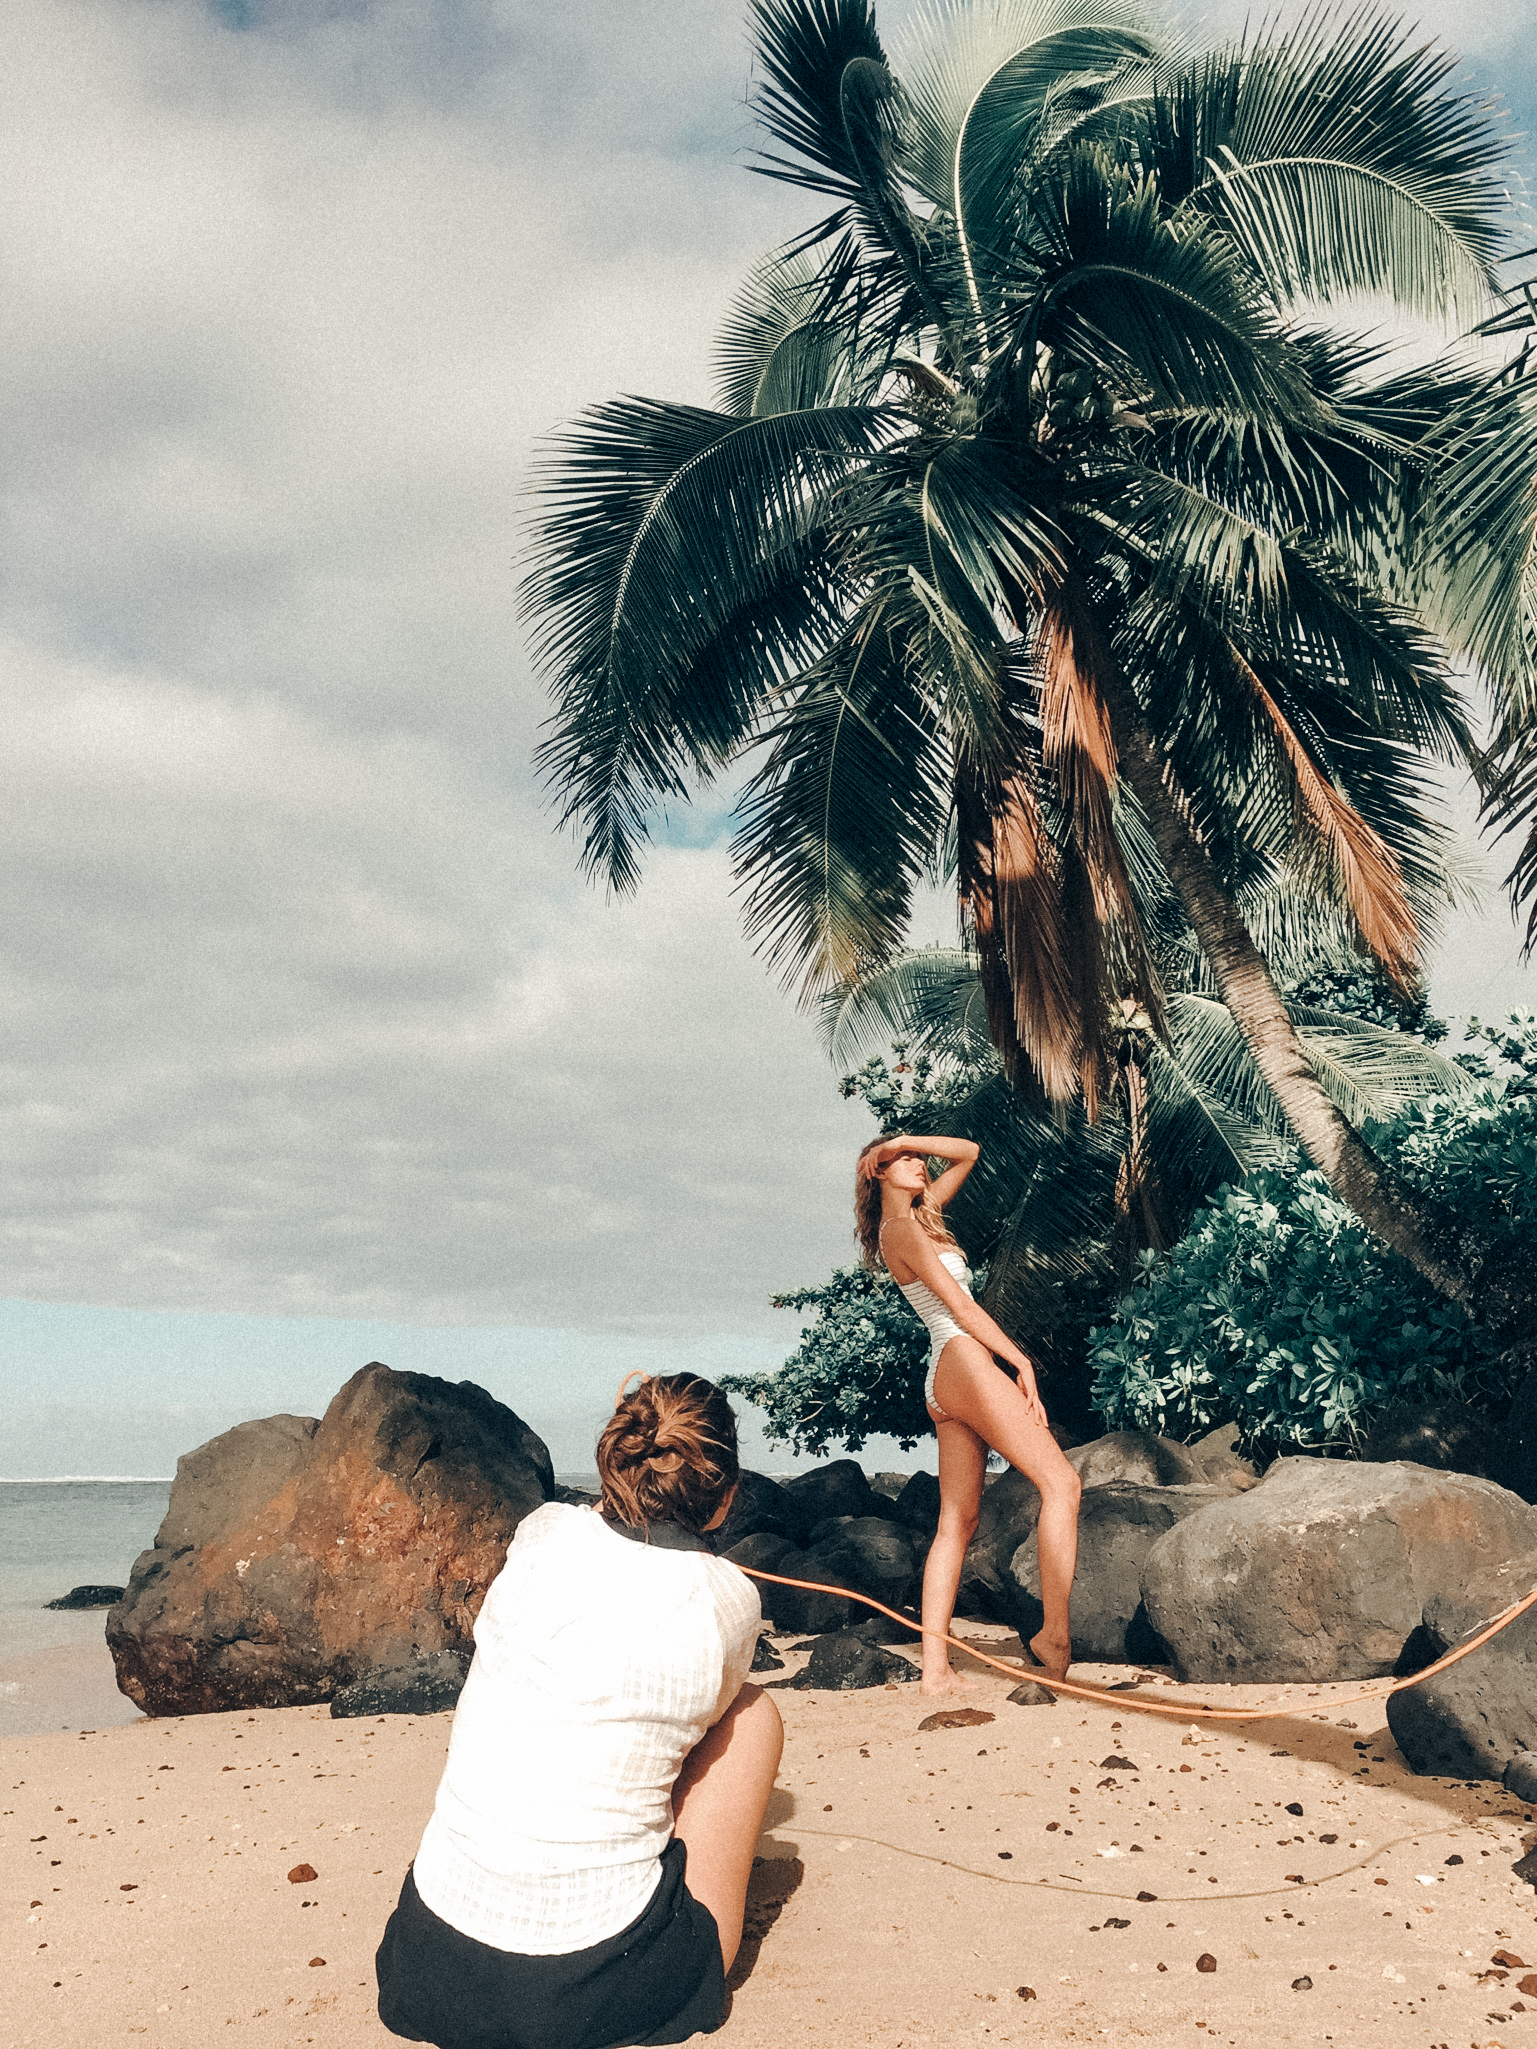
Now that you’ve got a feel for how your aperture can impact your depth of field, the next thing for you to think about is distance. At first, the distances you’re dealing with may seem set in stone, but there are actually a few ways you can tweak the perceived distance in your images:
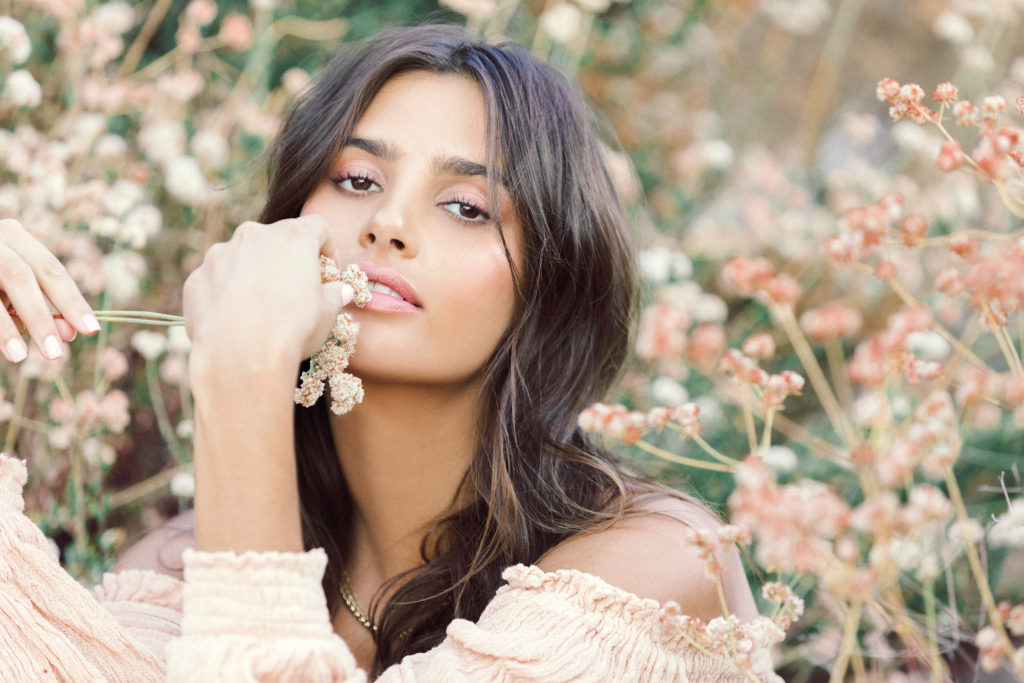
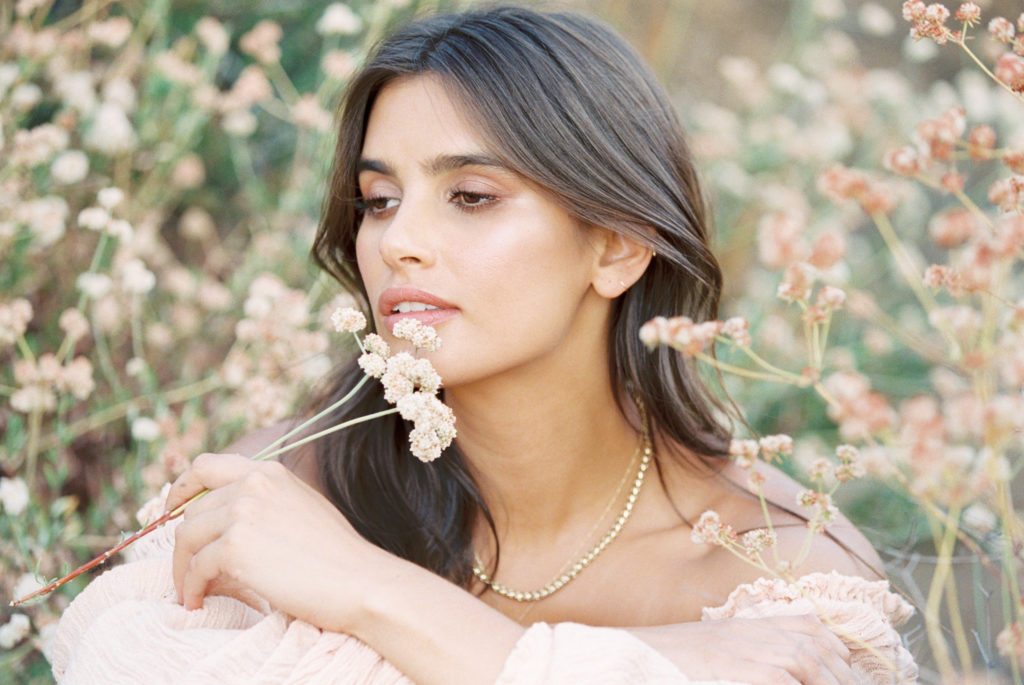
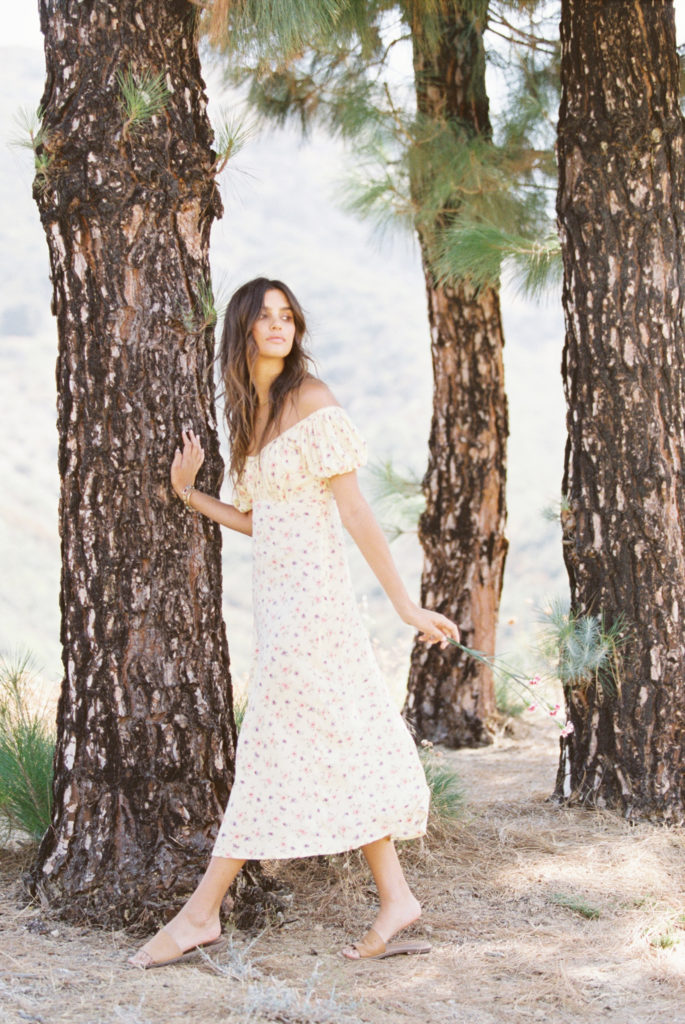
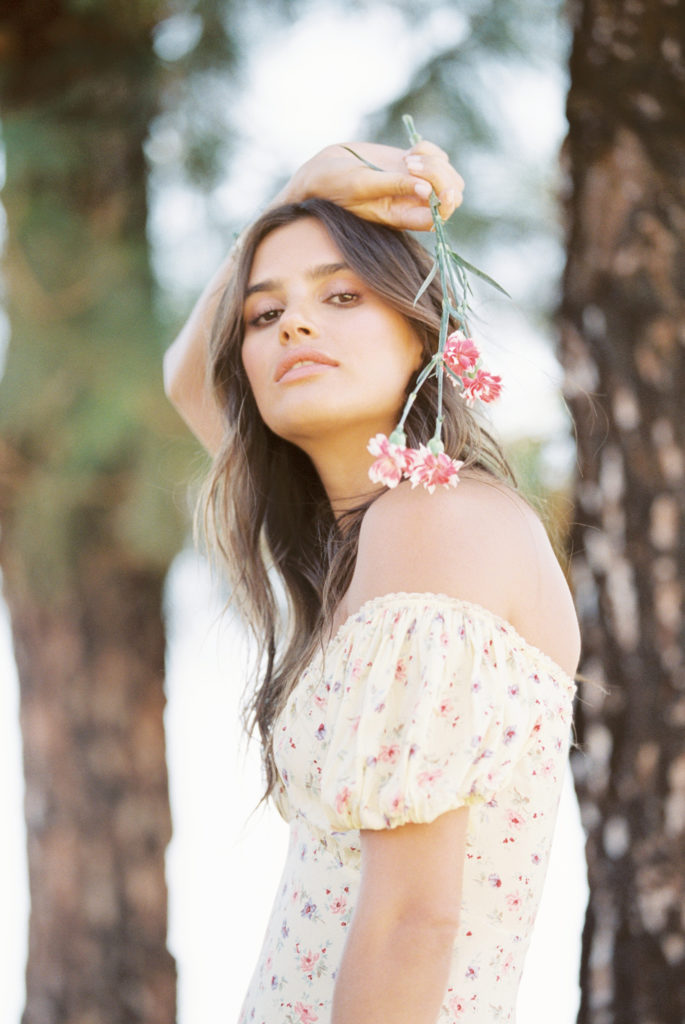
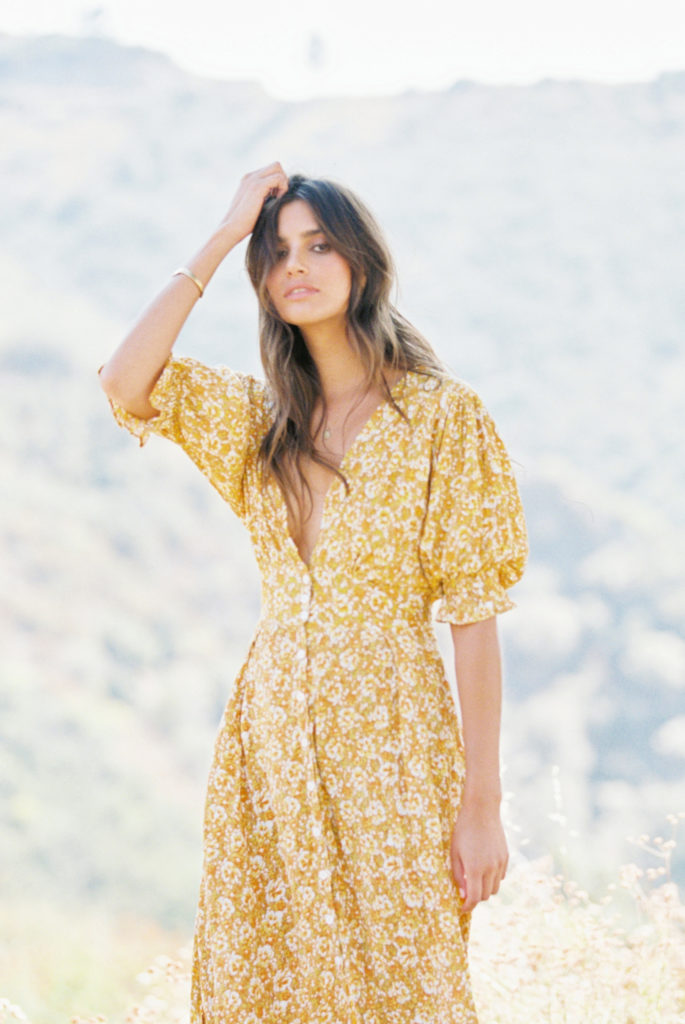
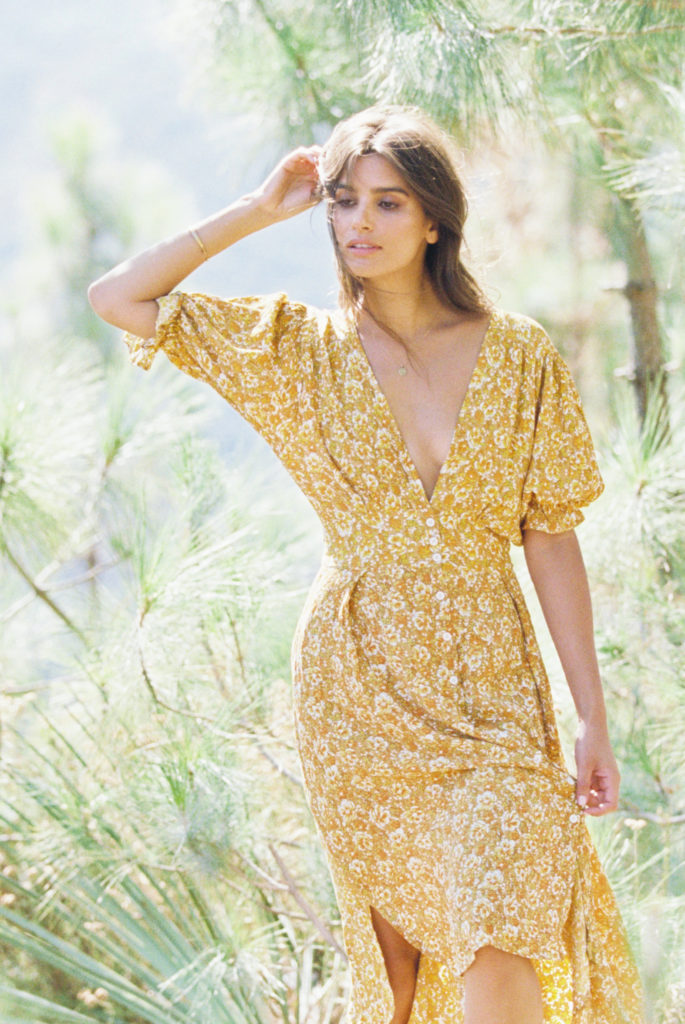
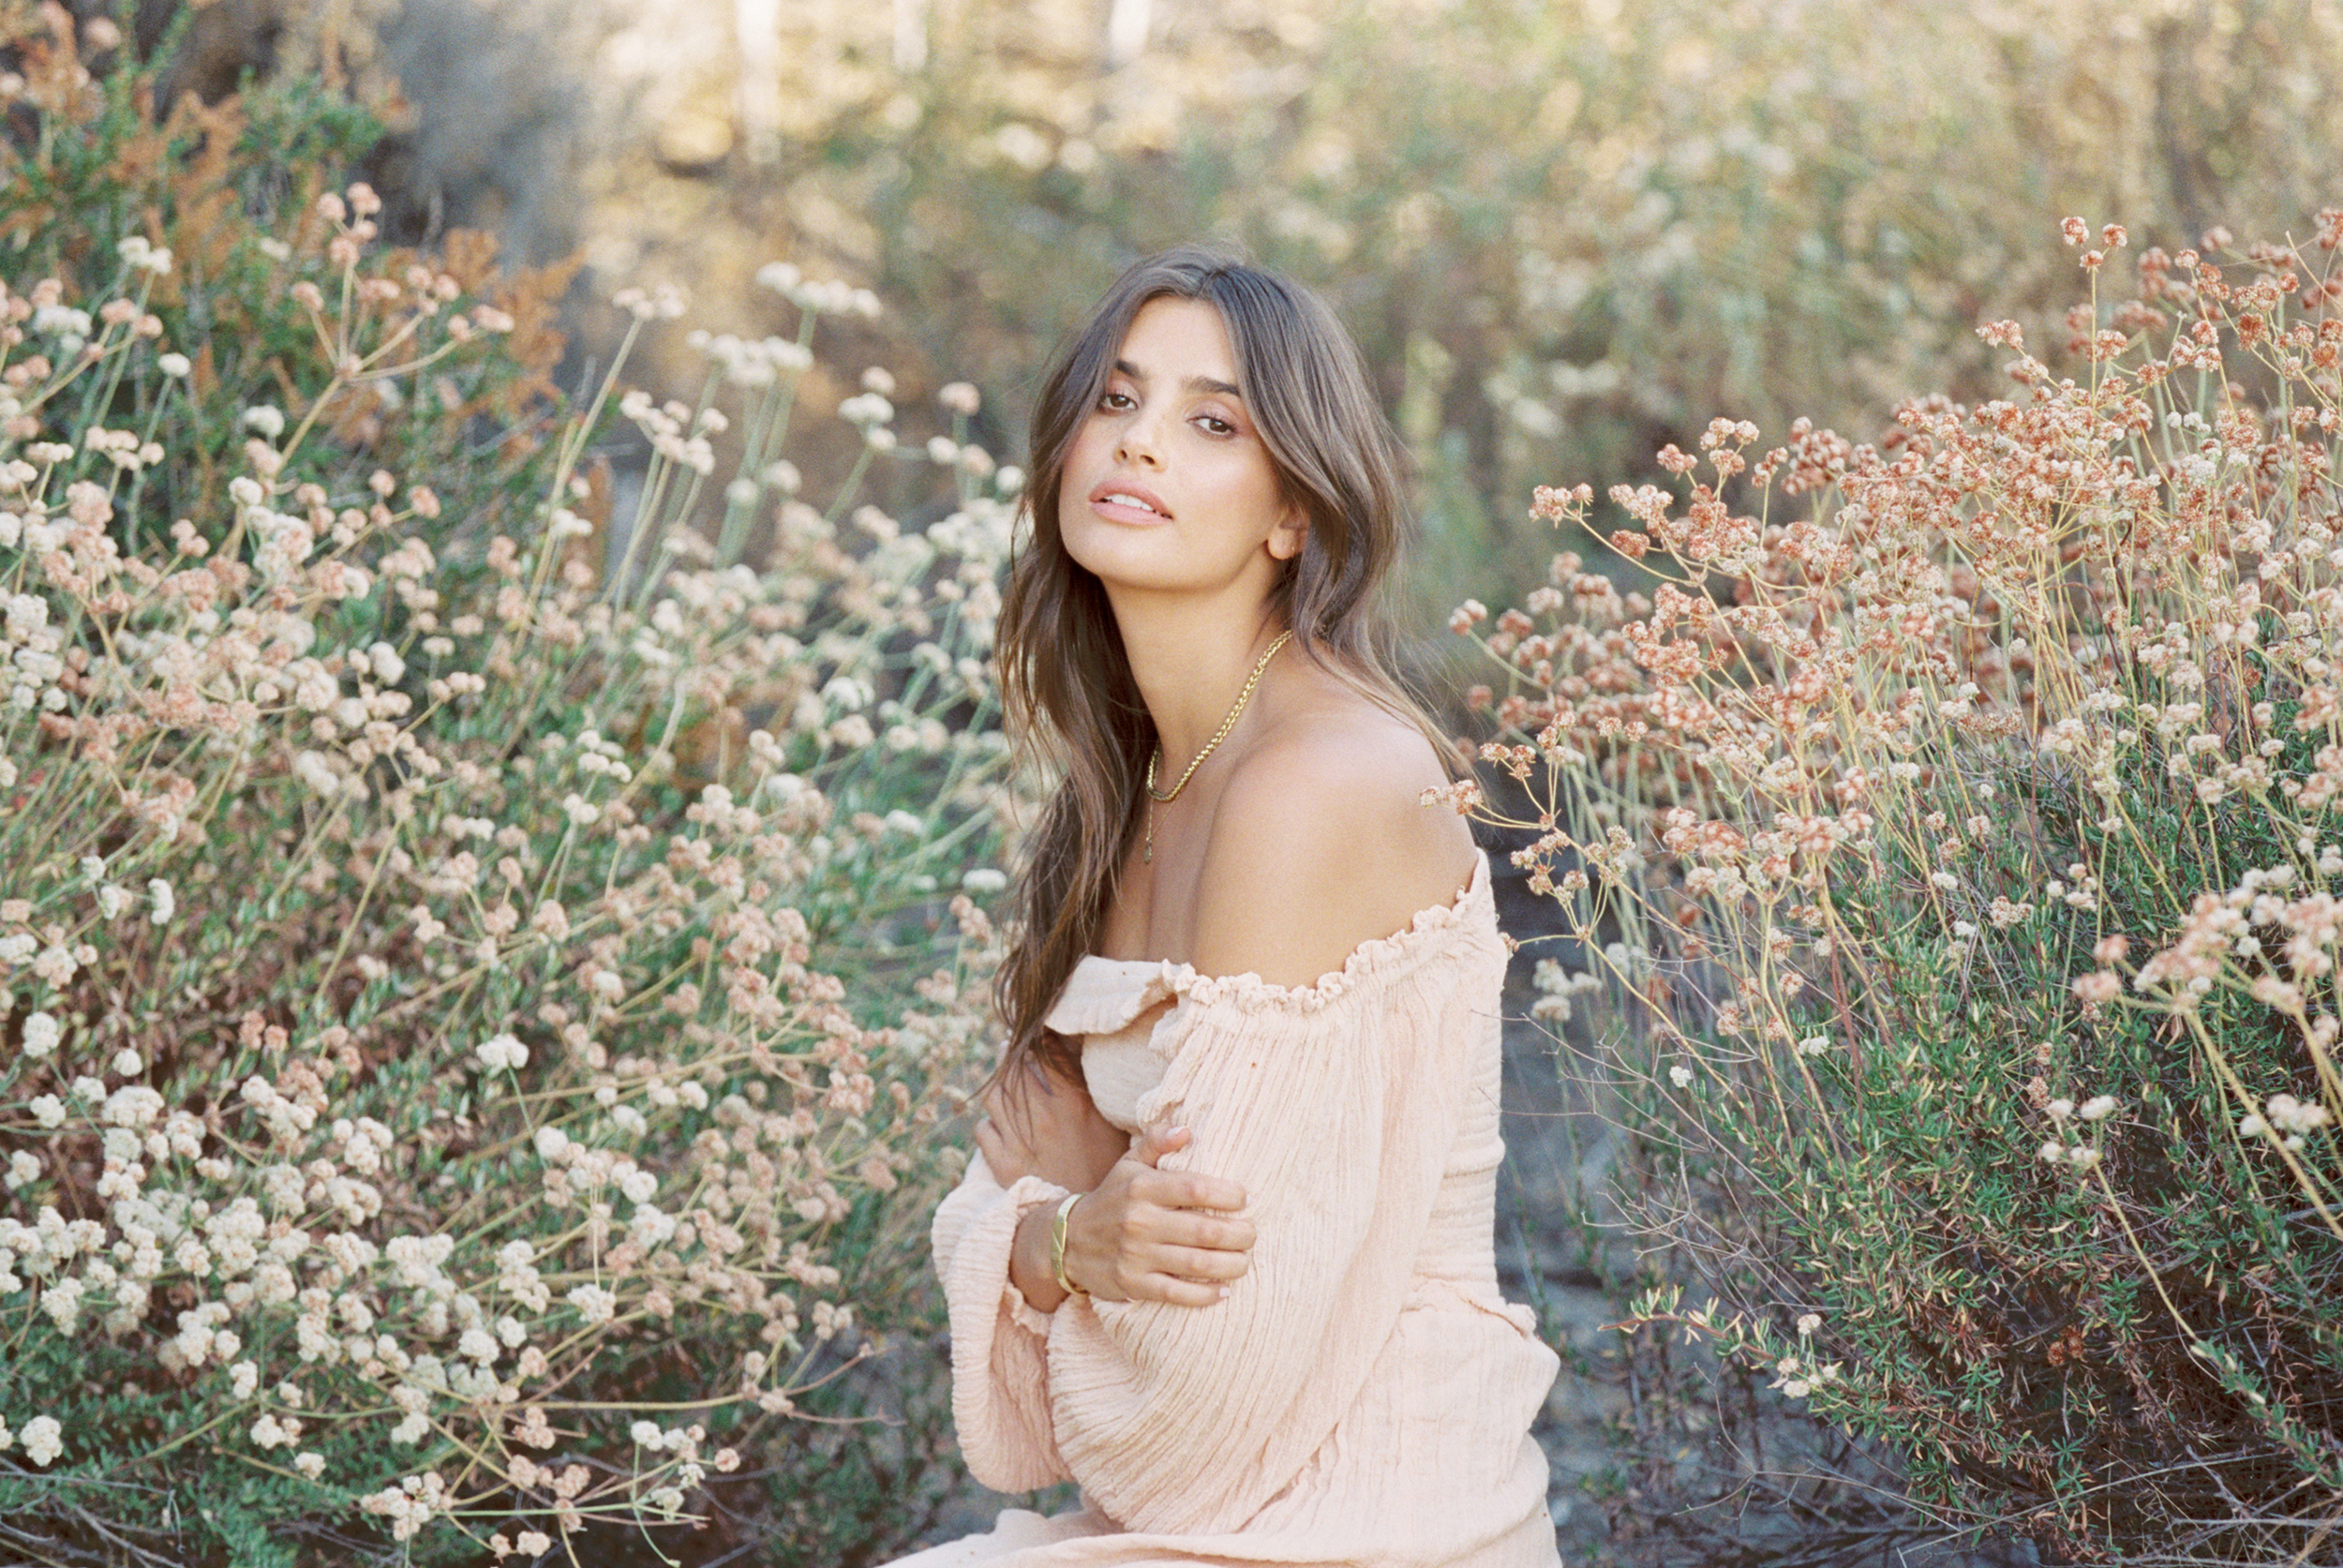
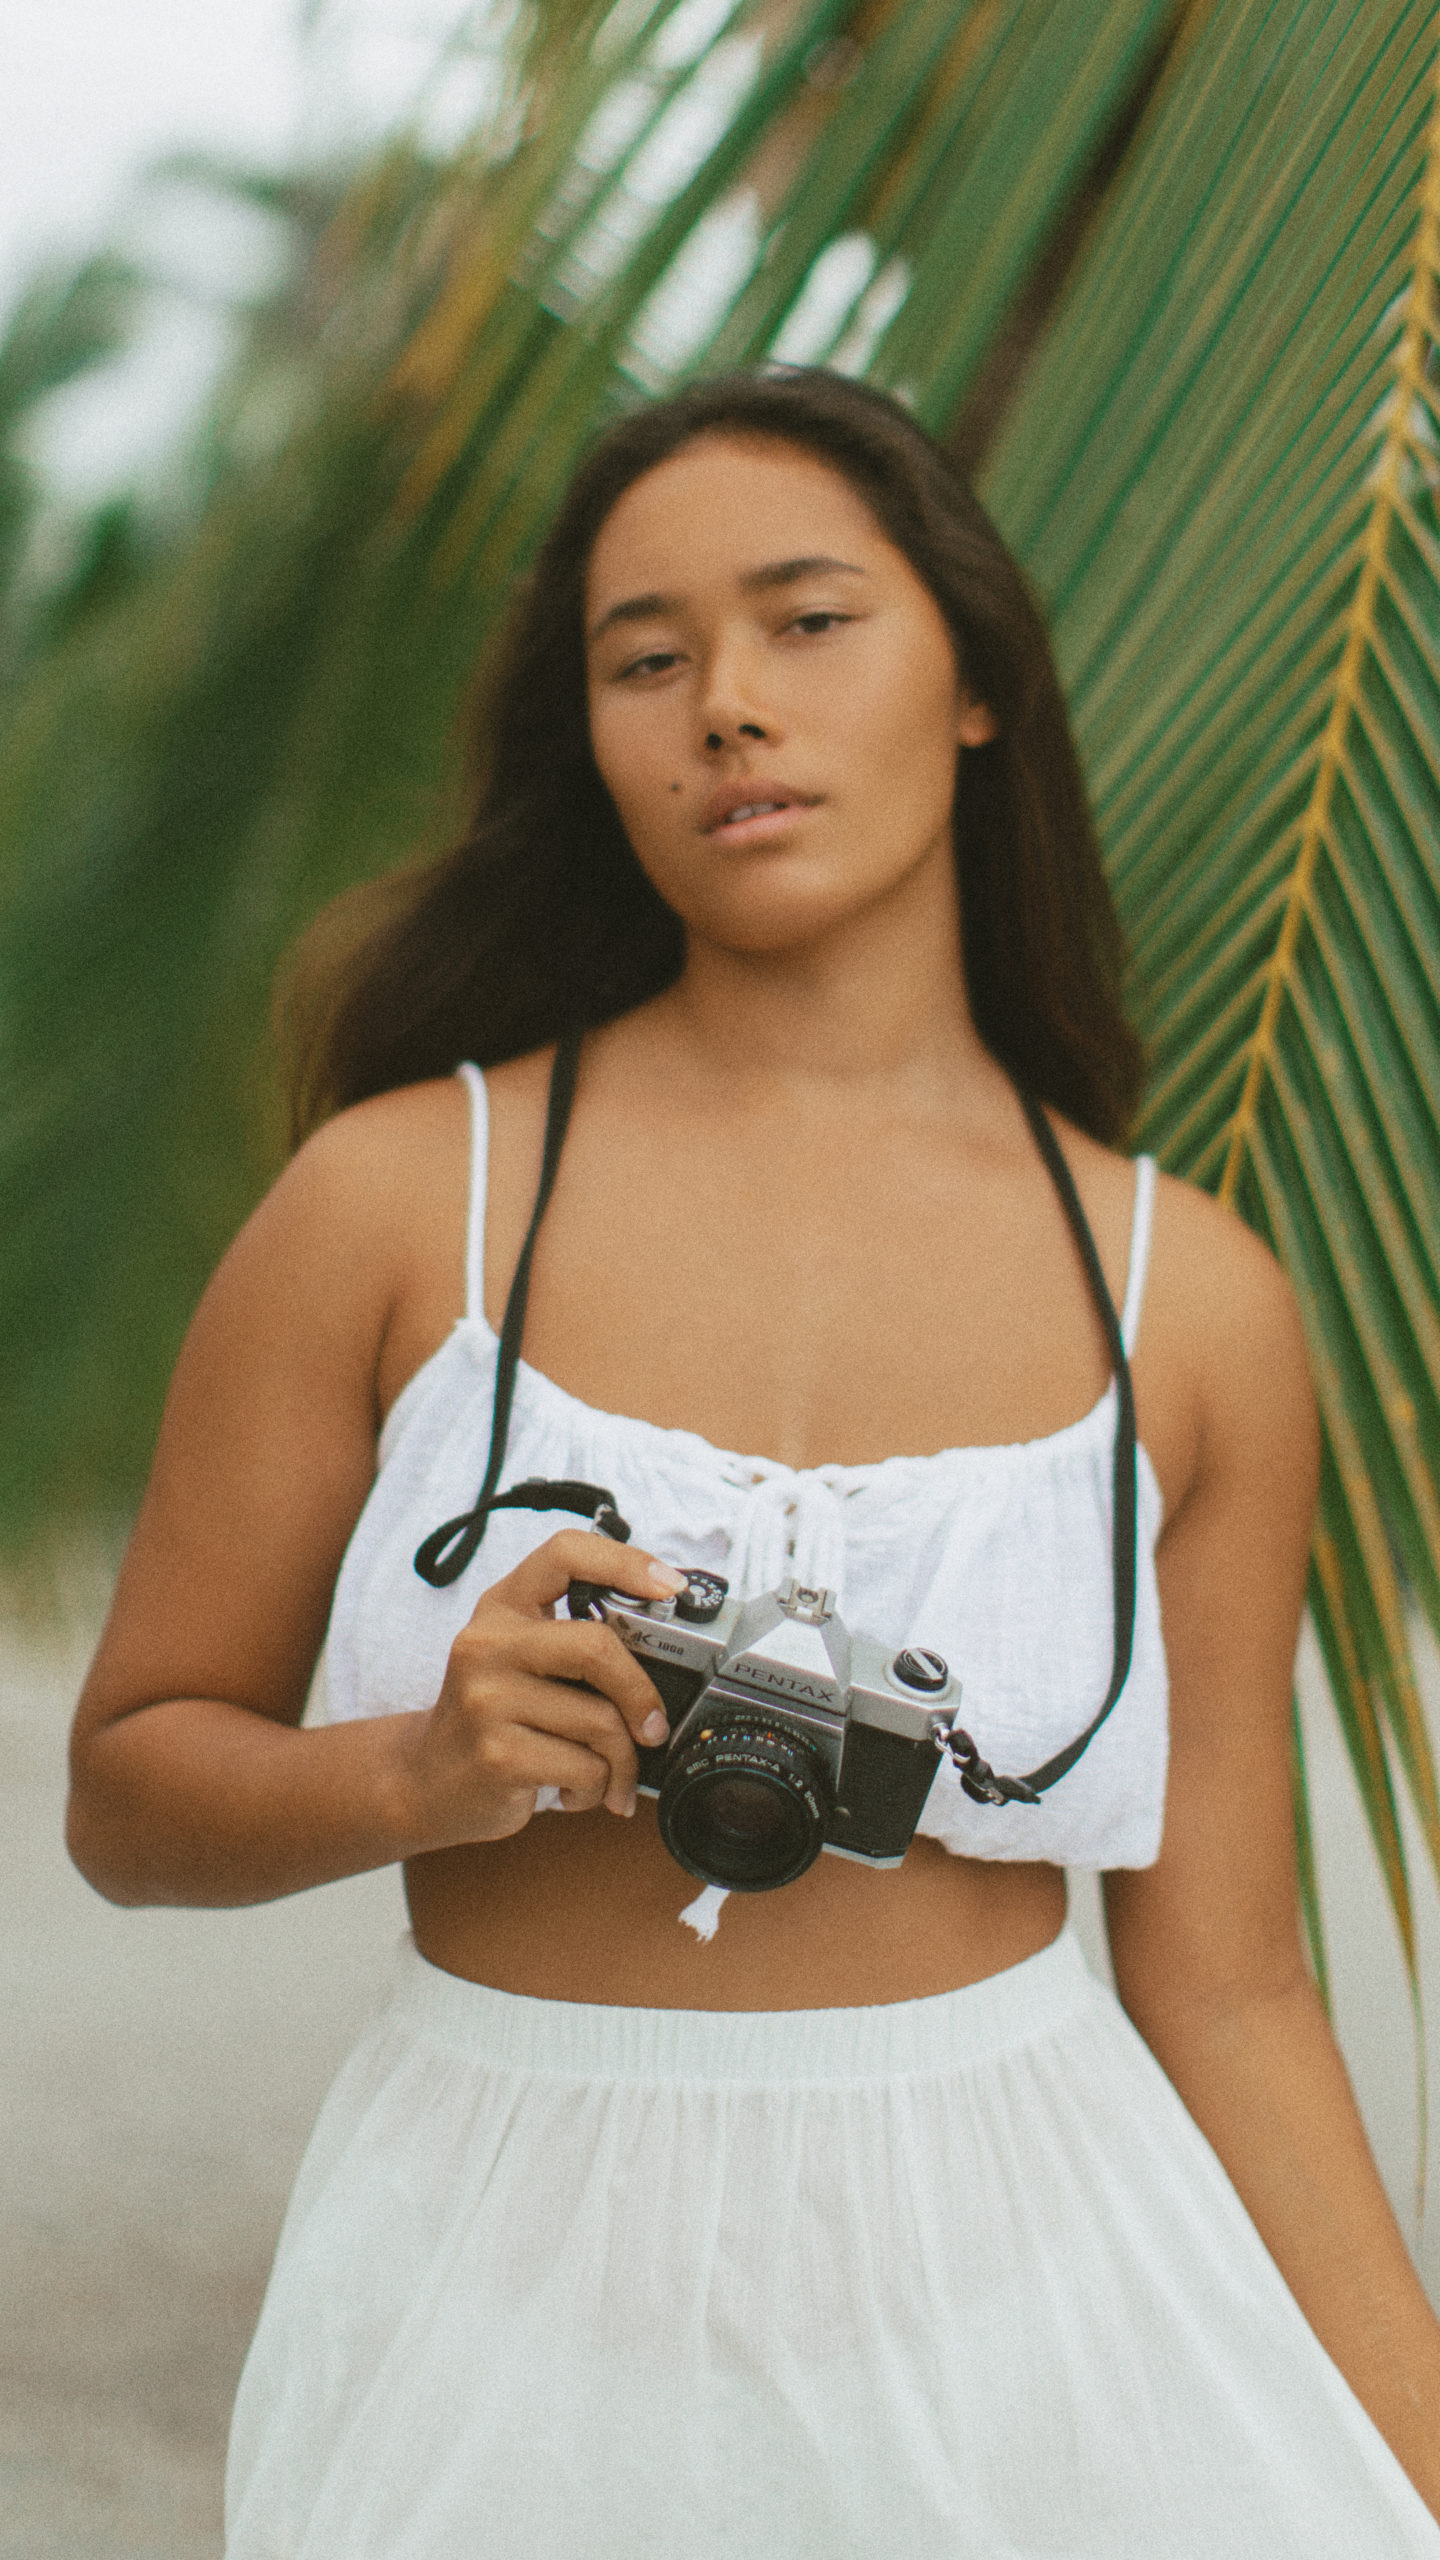
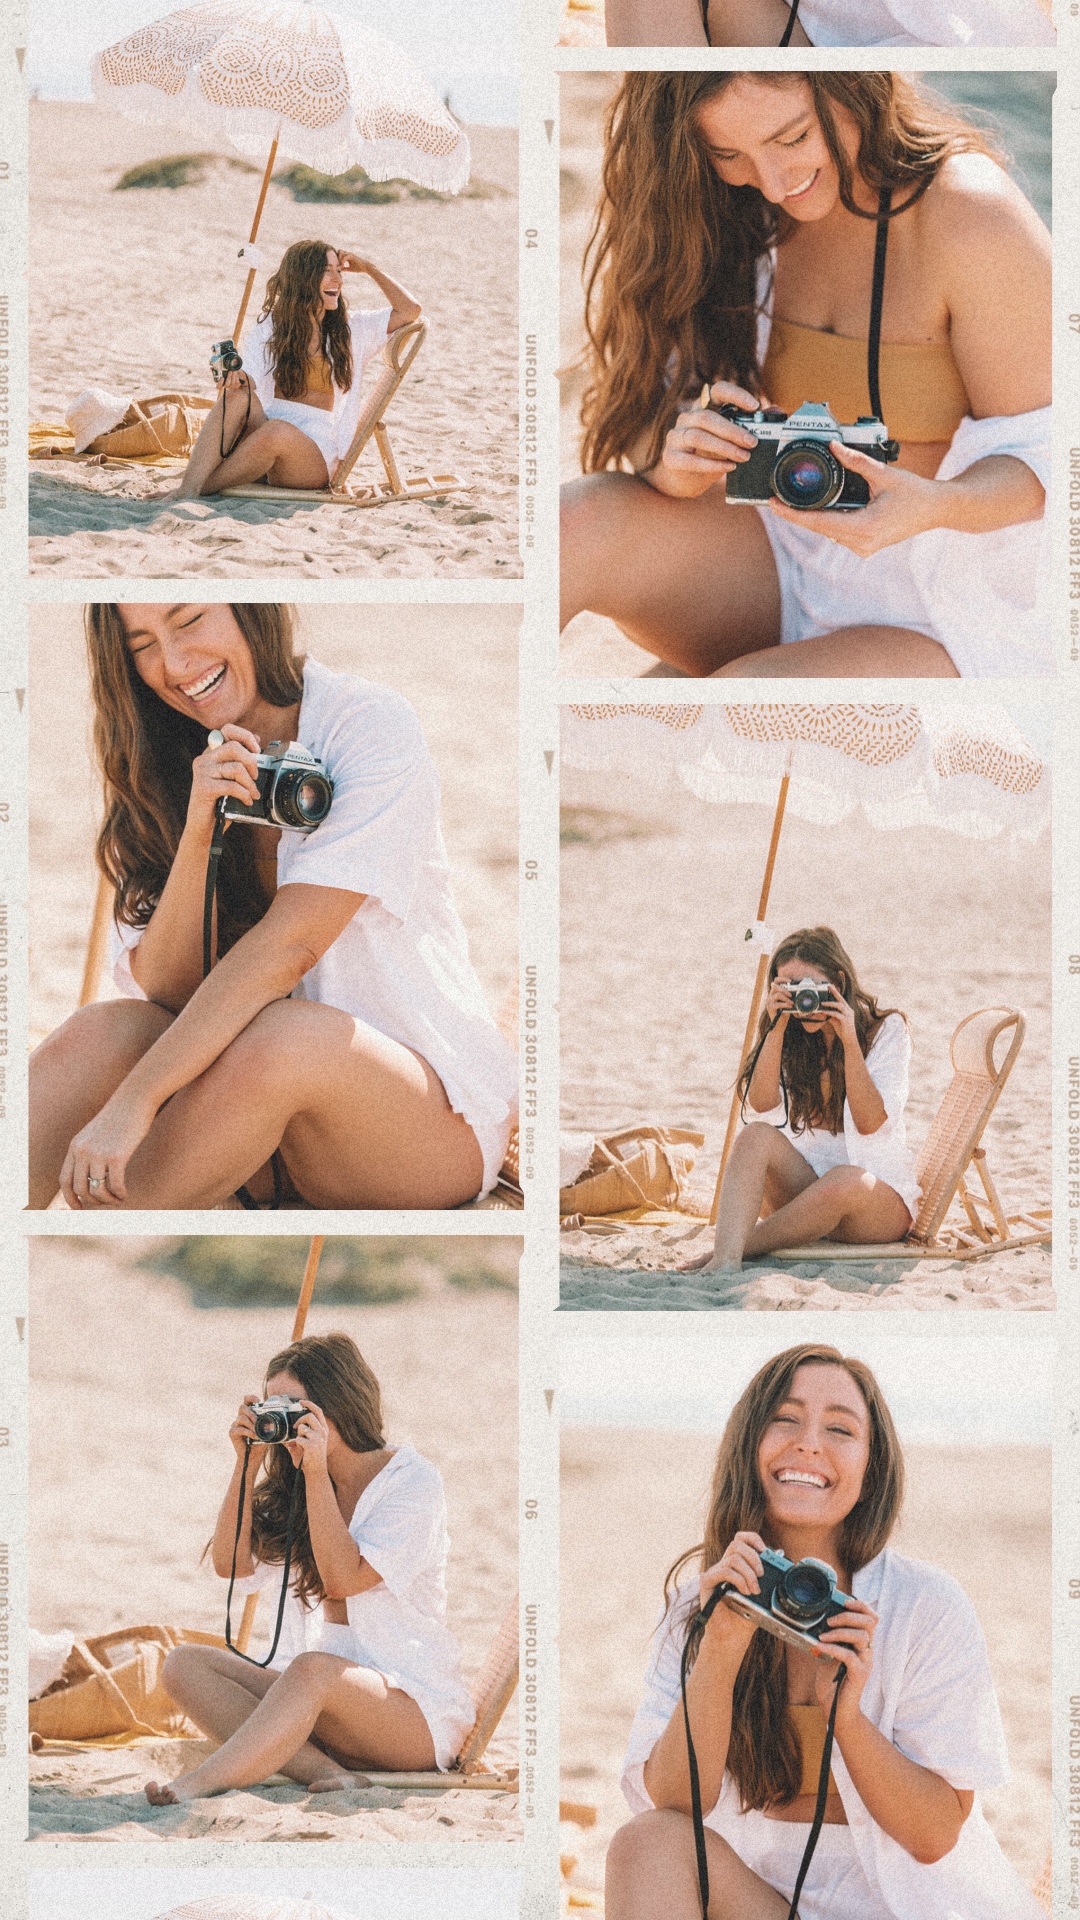
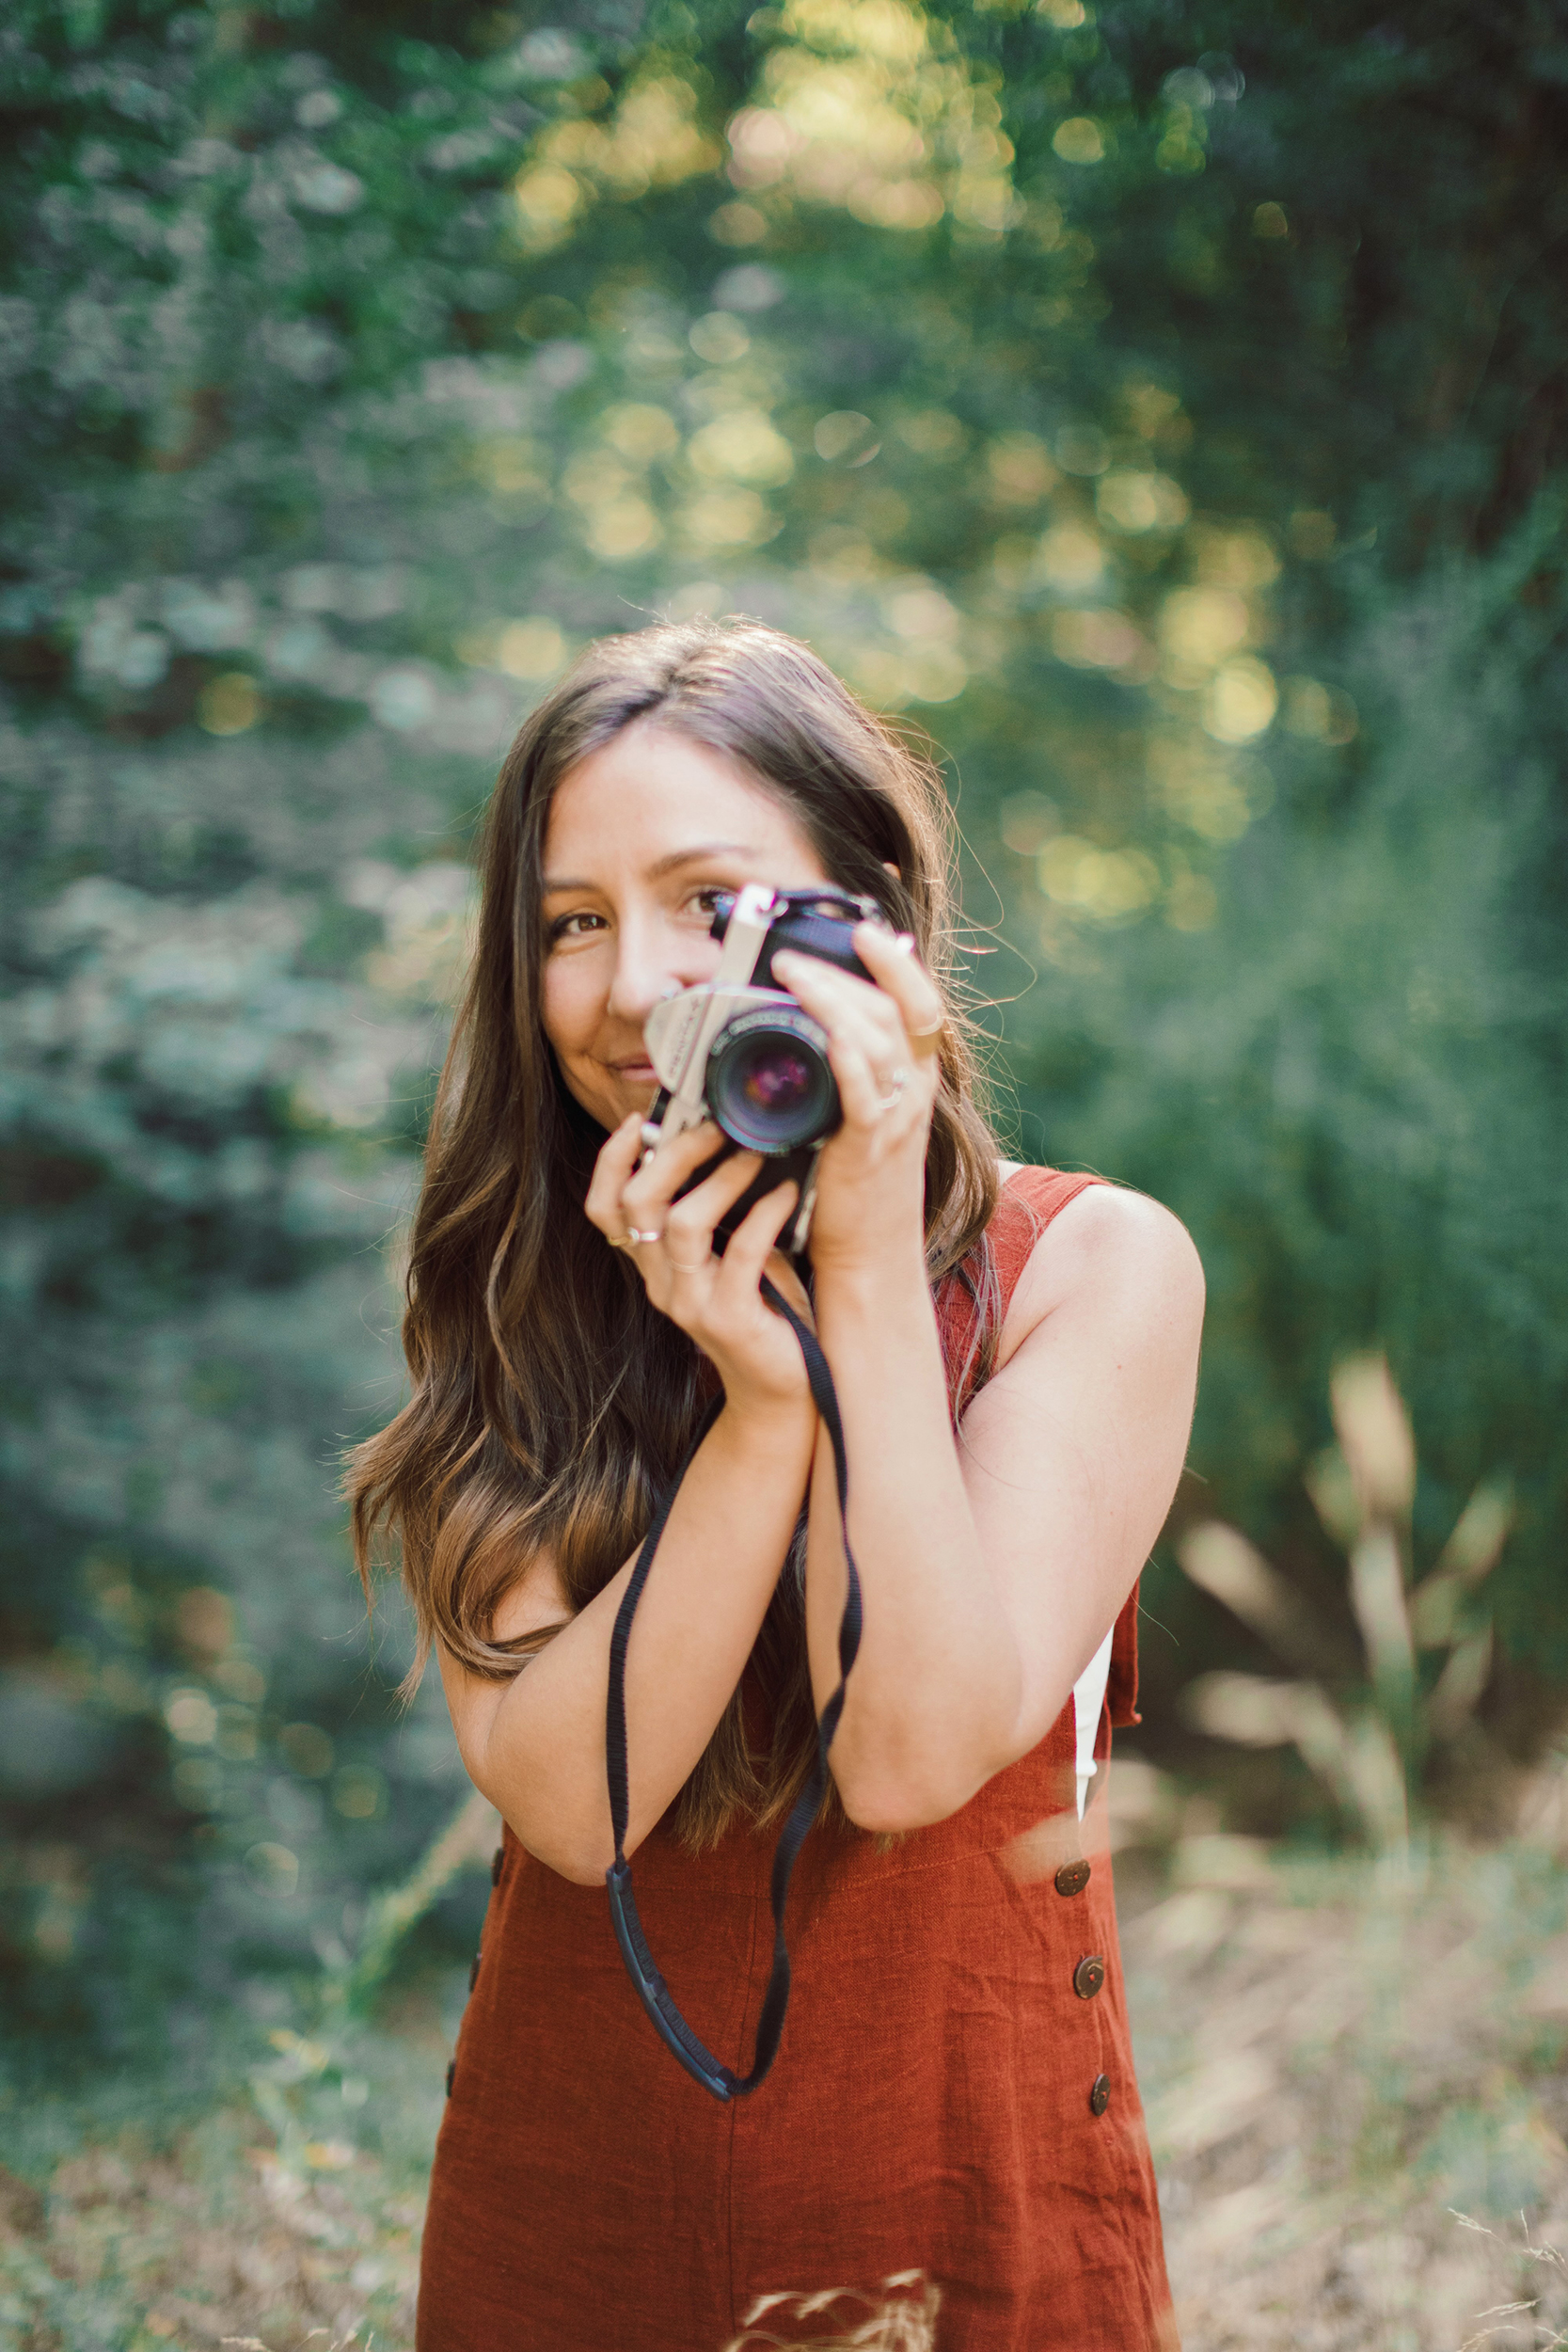
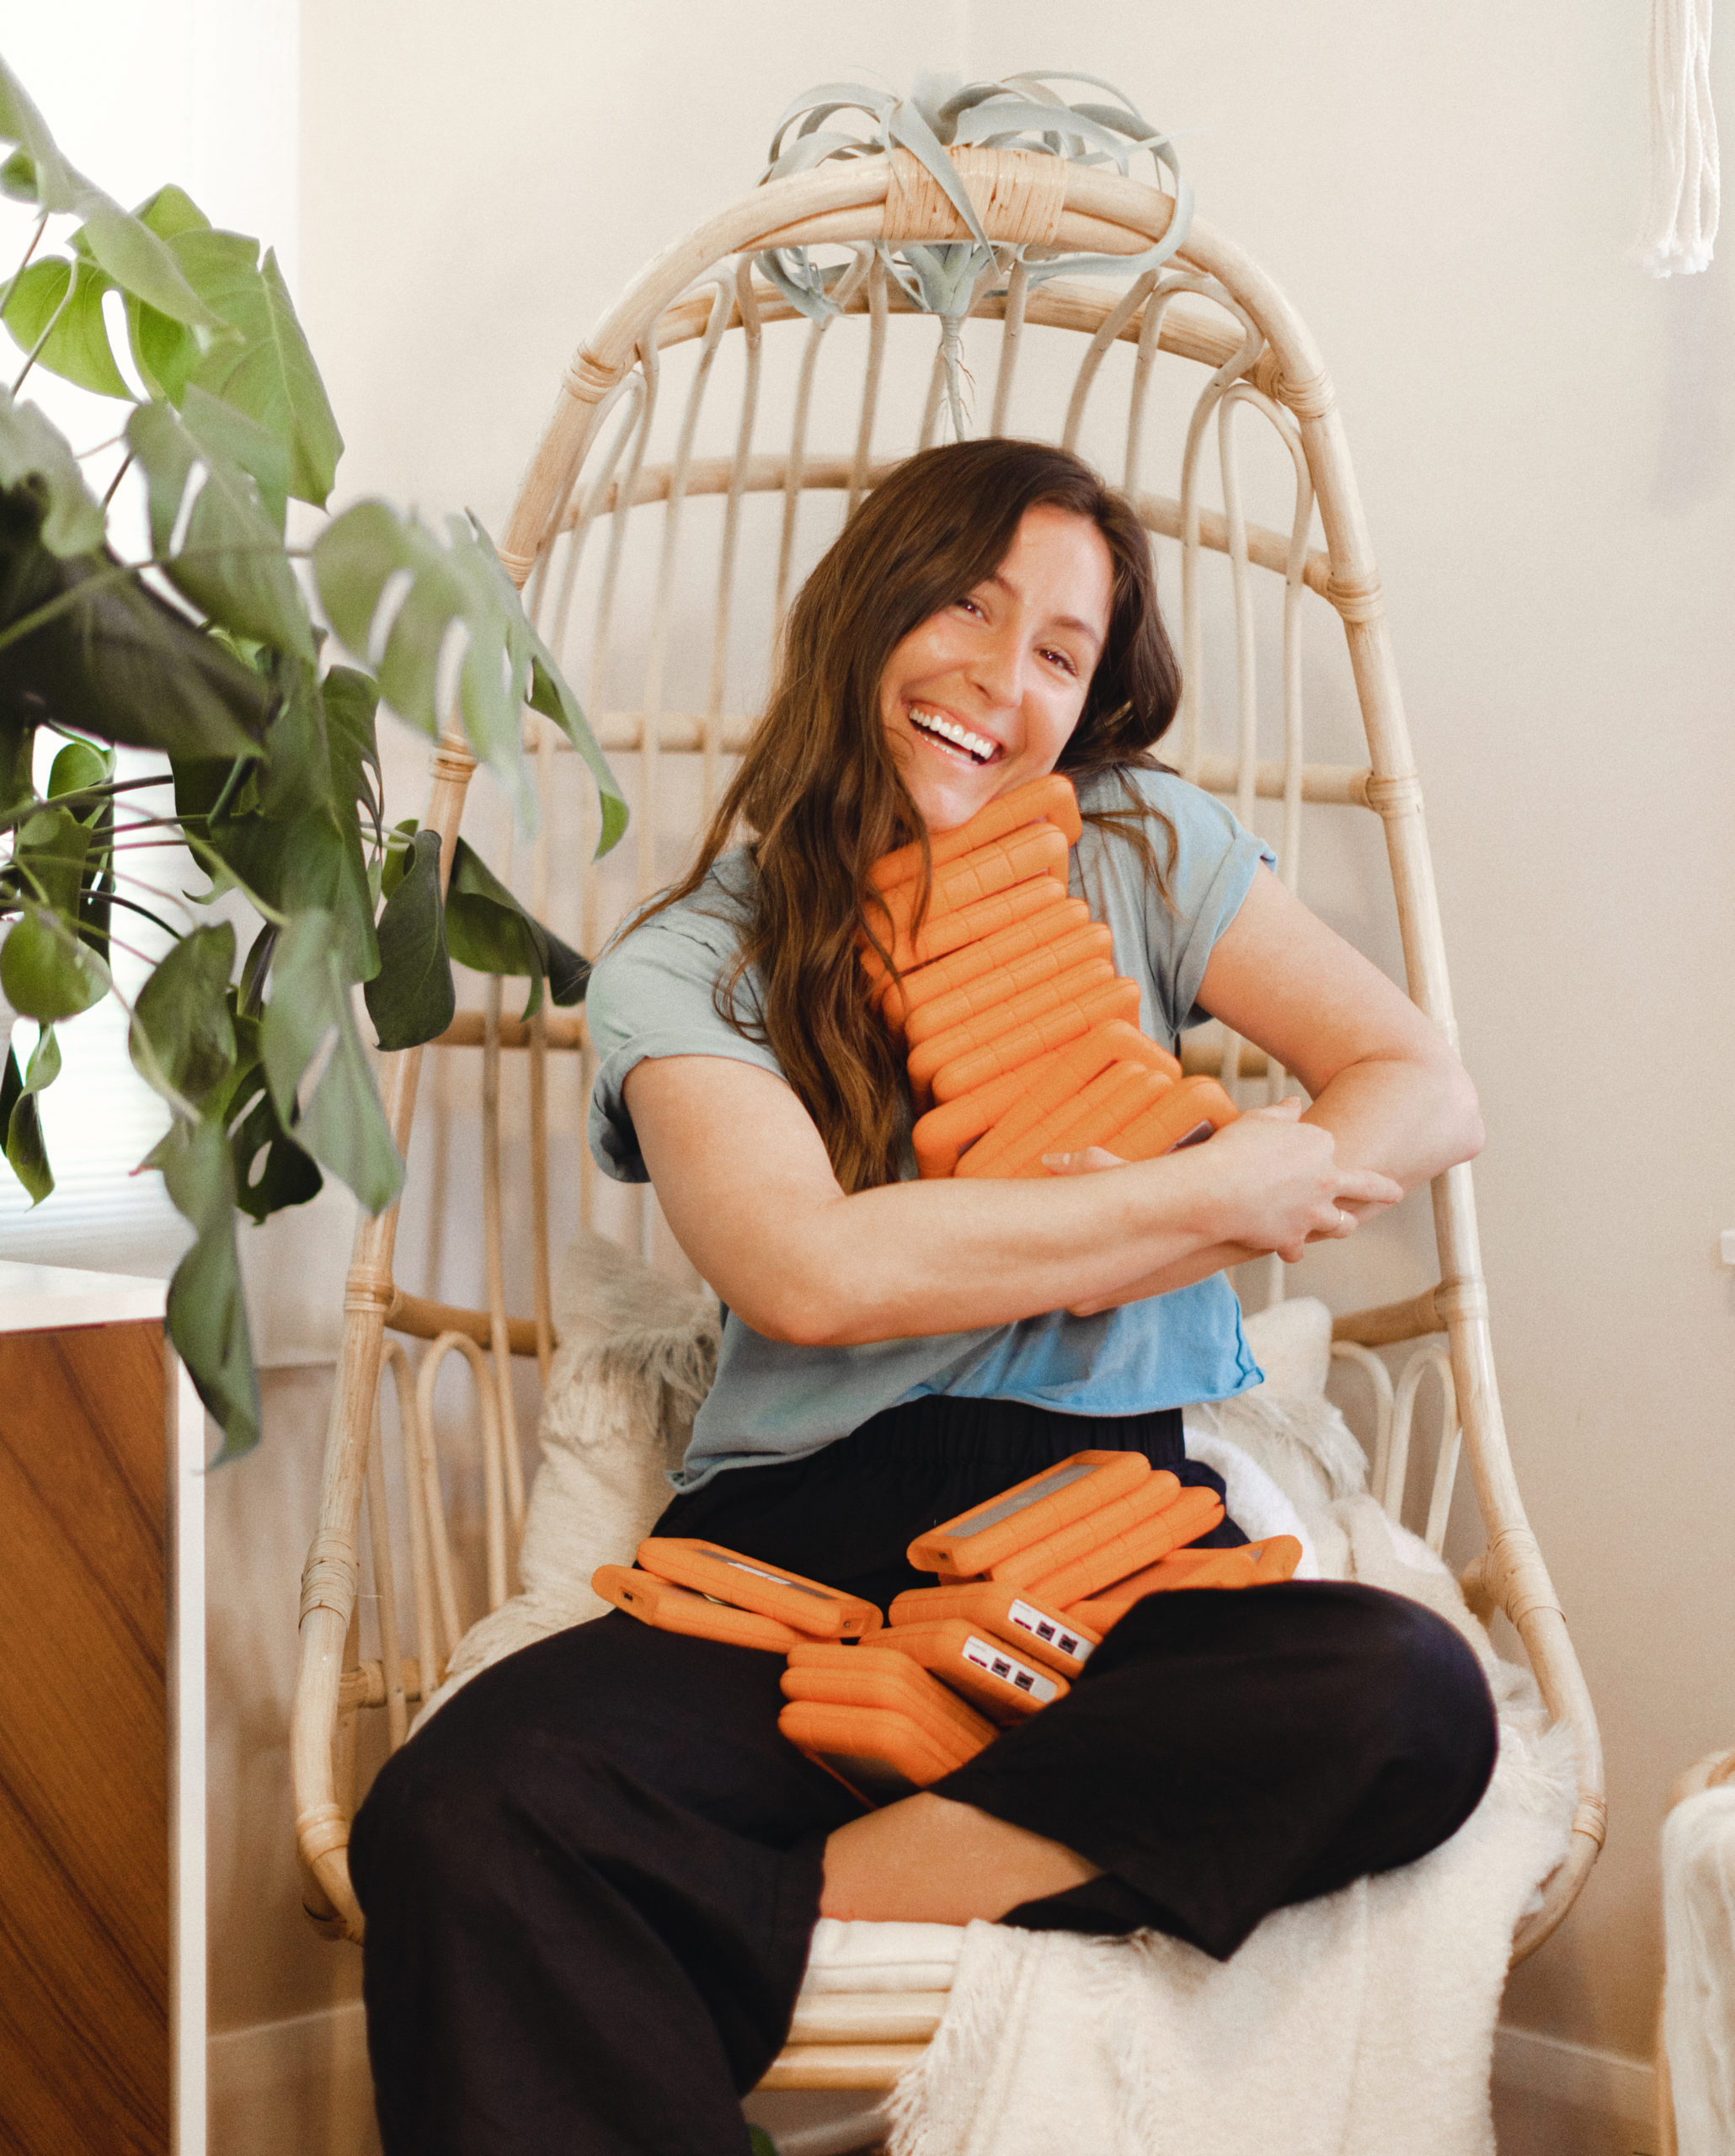
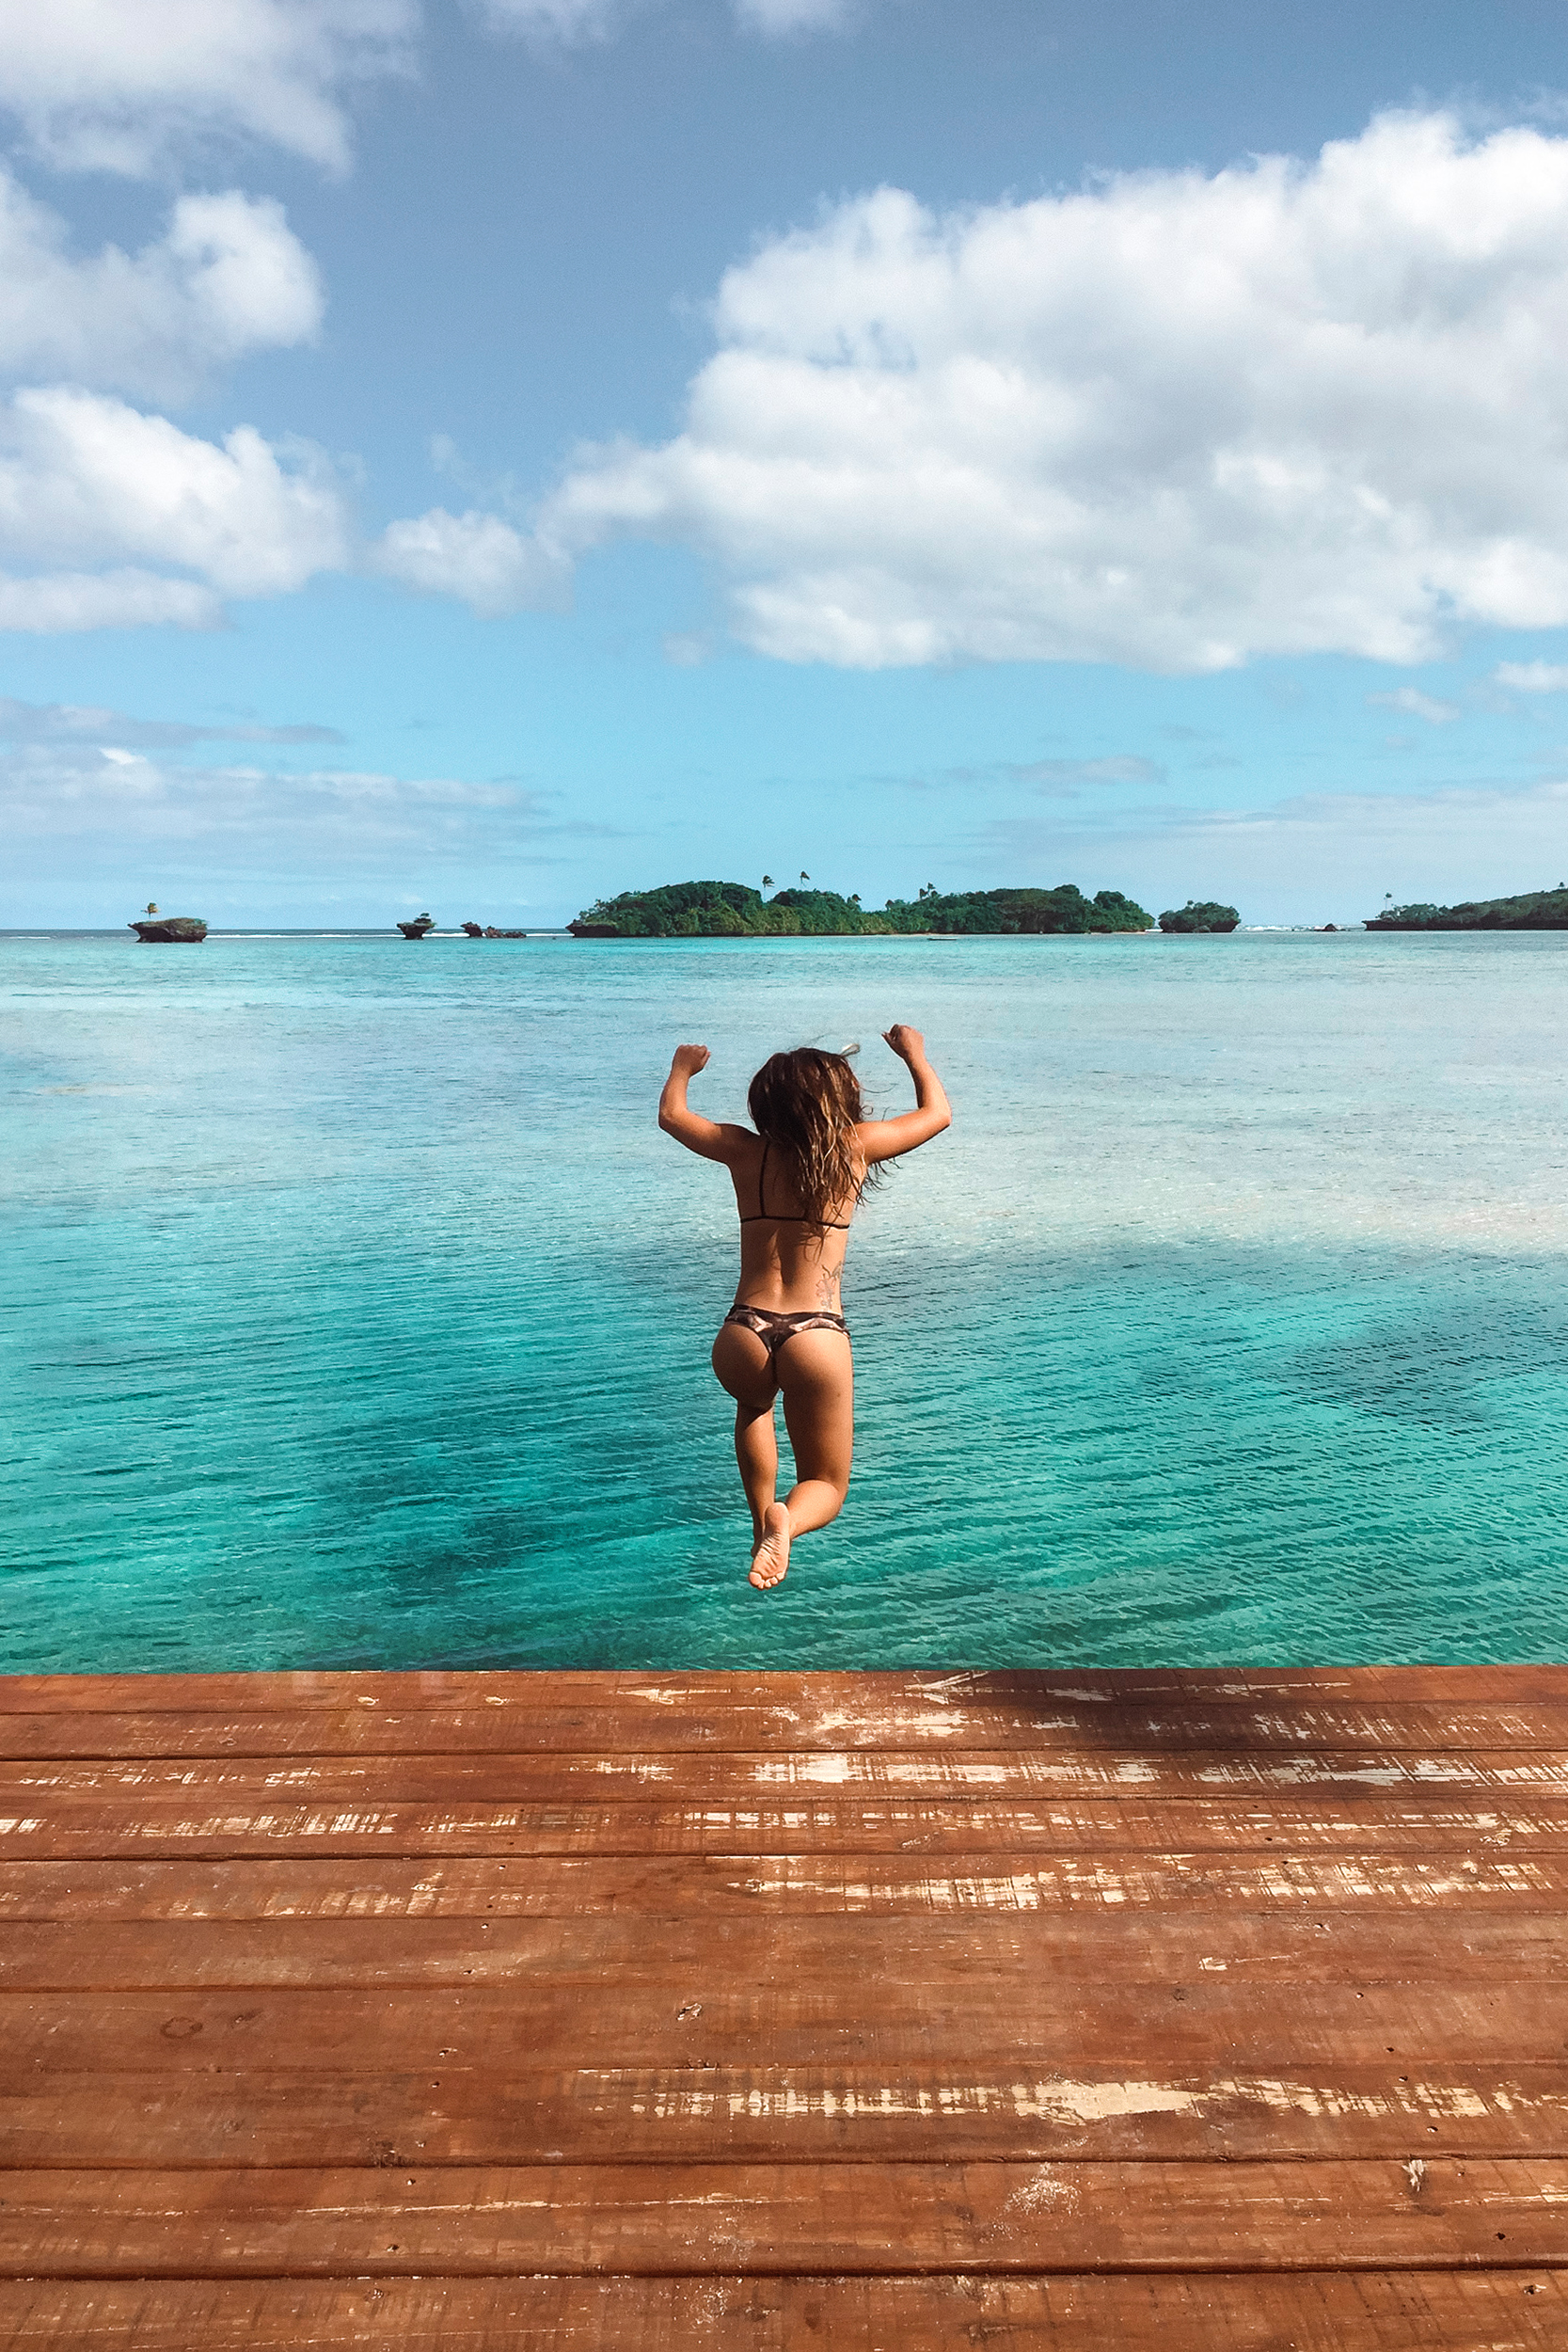
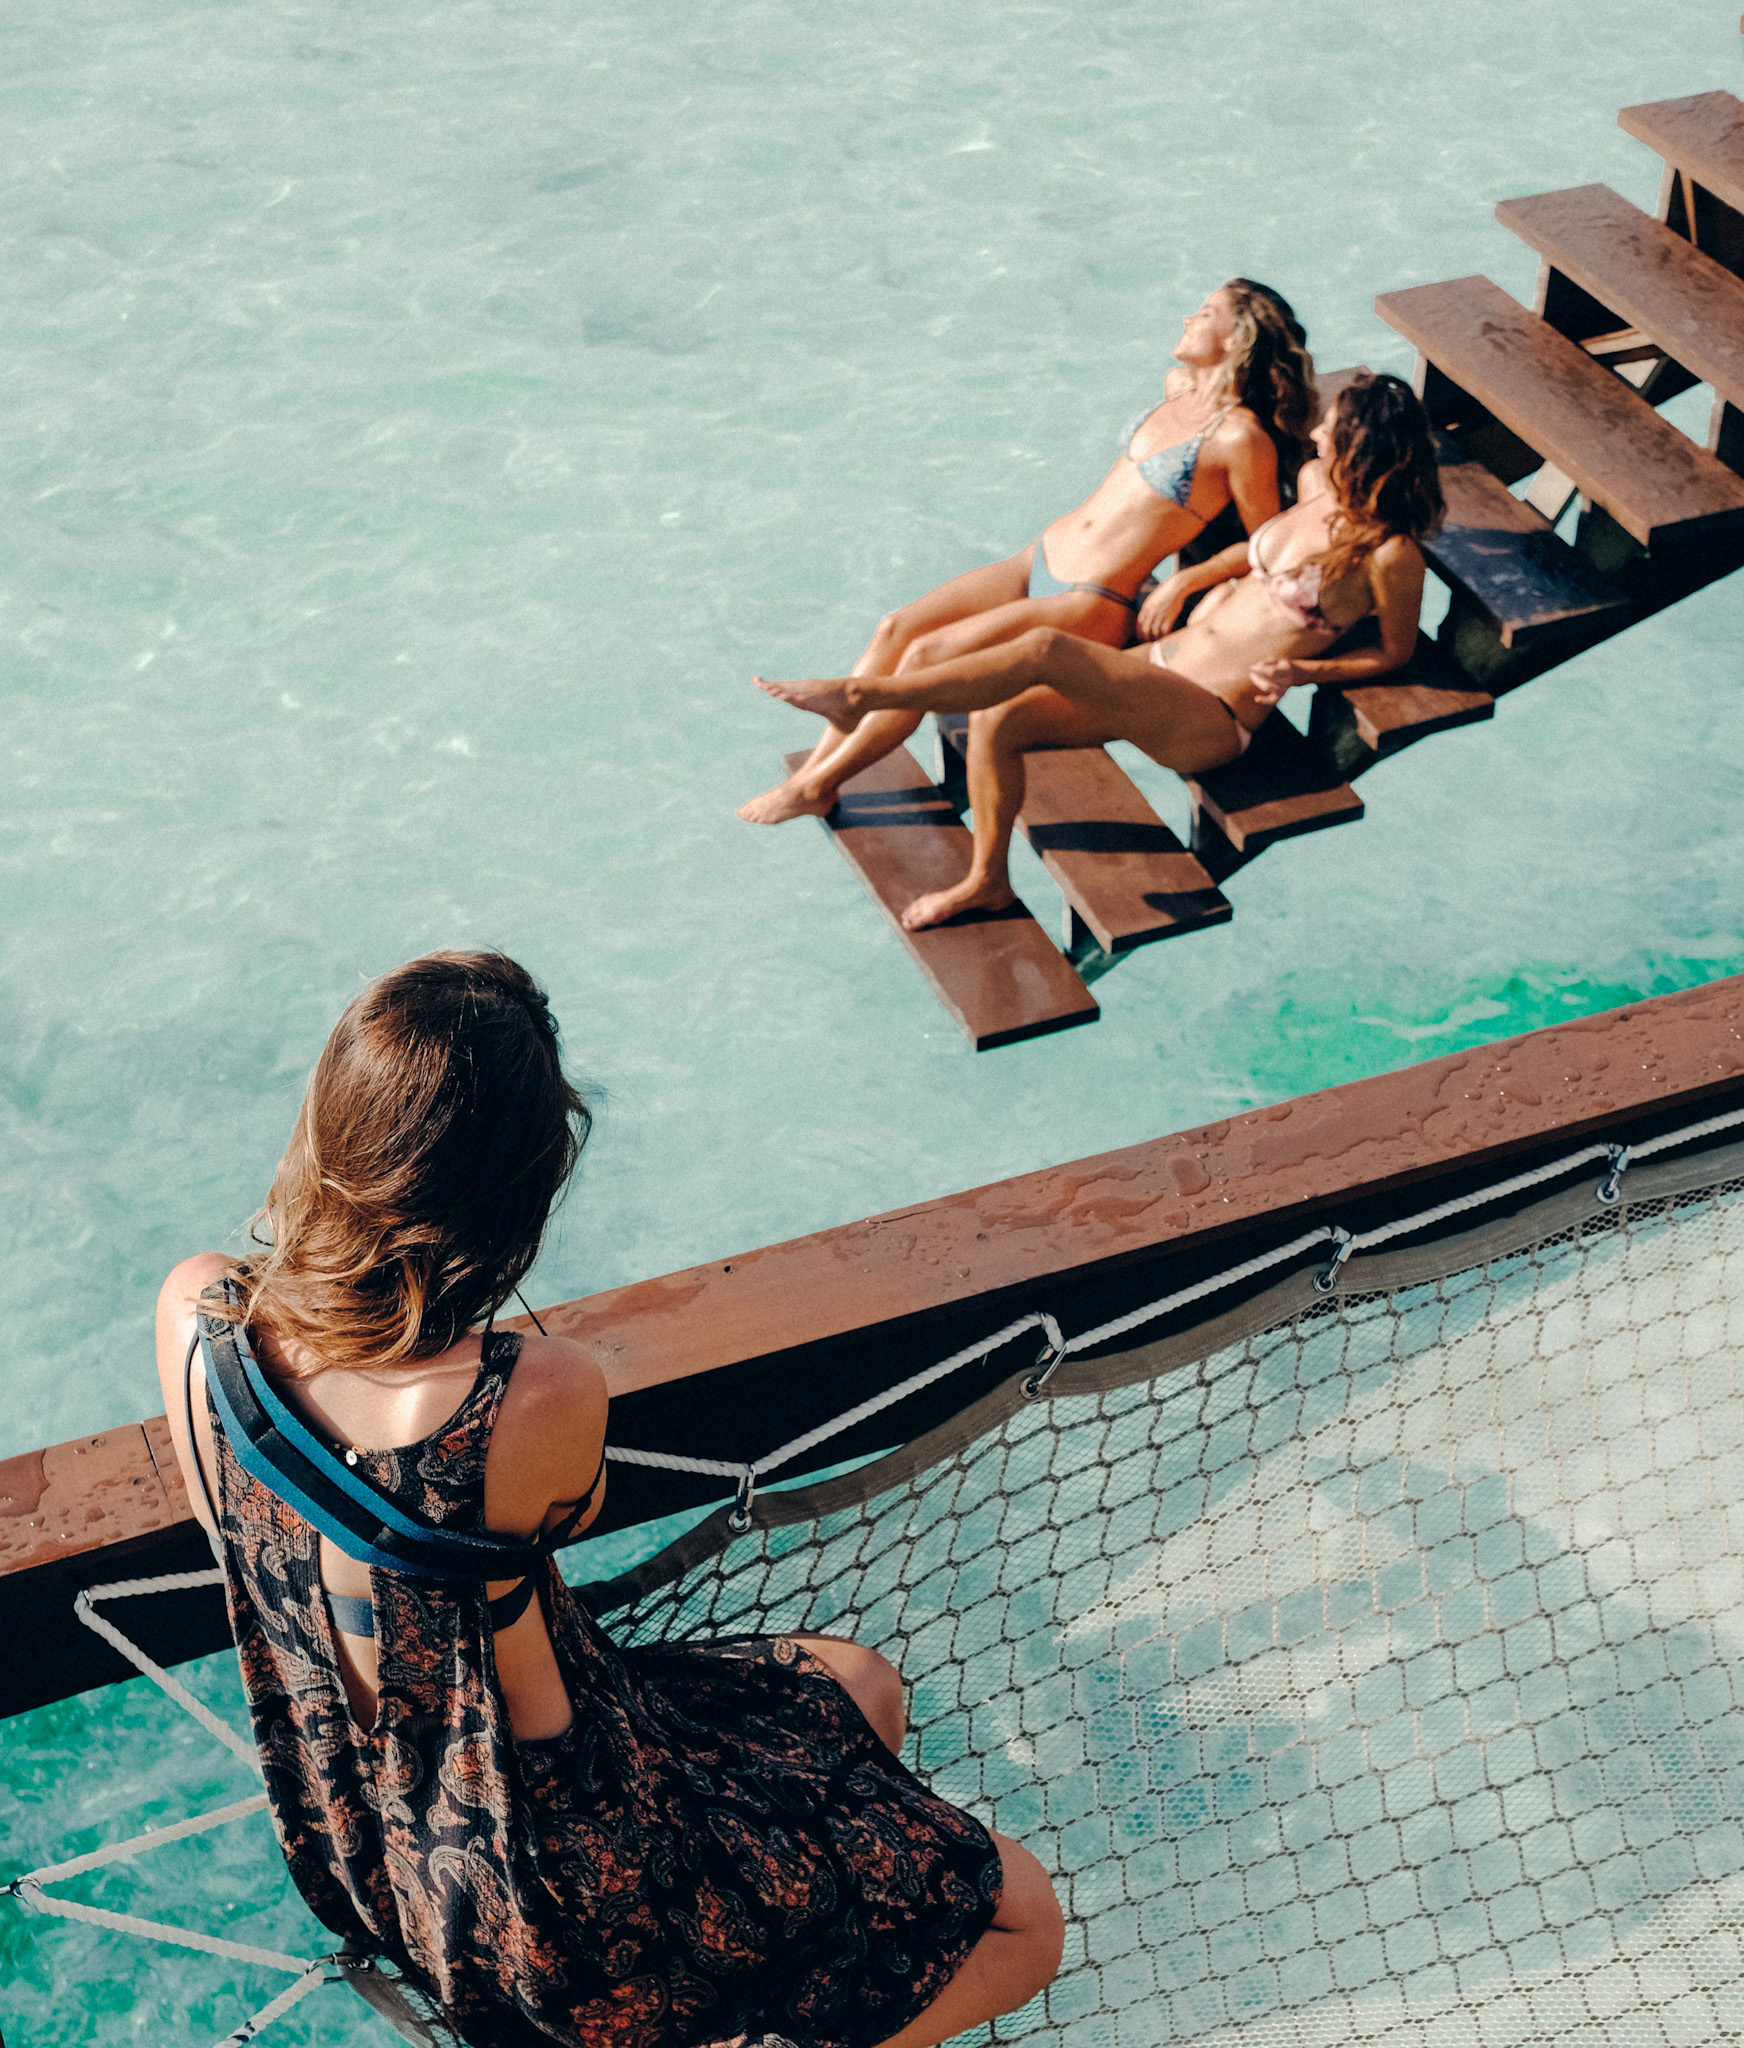
Get closer to your subject
In the examples below, all of my camera settings were the same and the ONLY thing that changed was me moving closer to the subject:
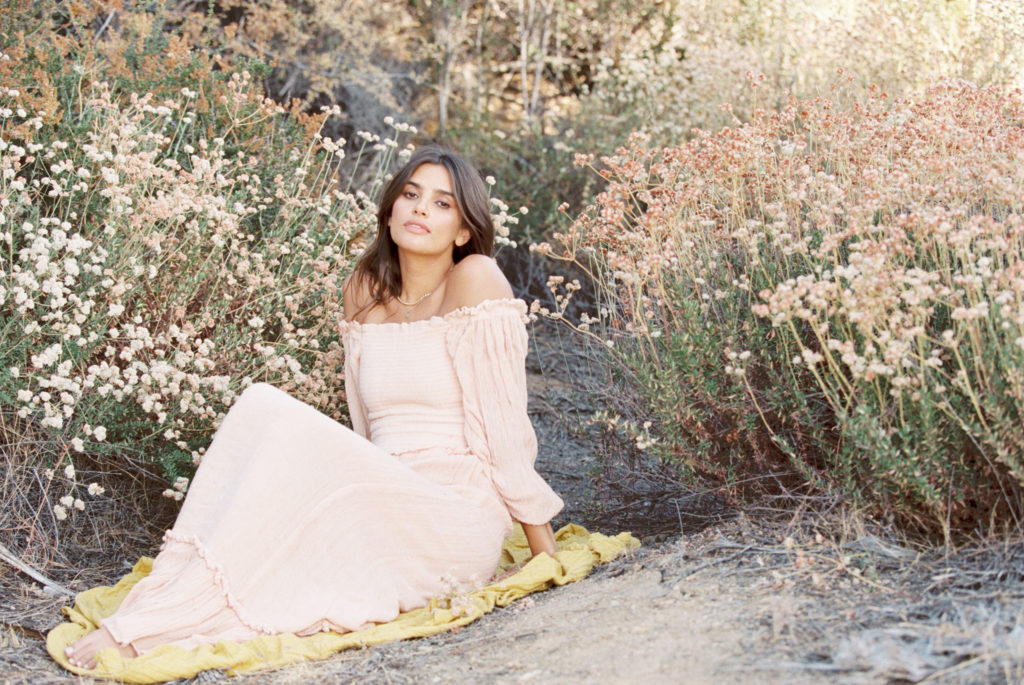

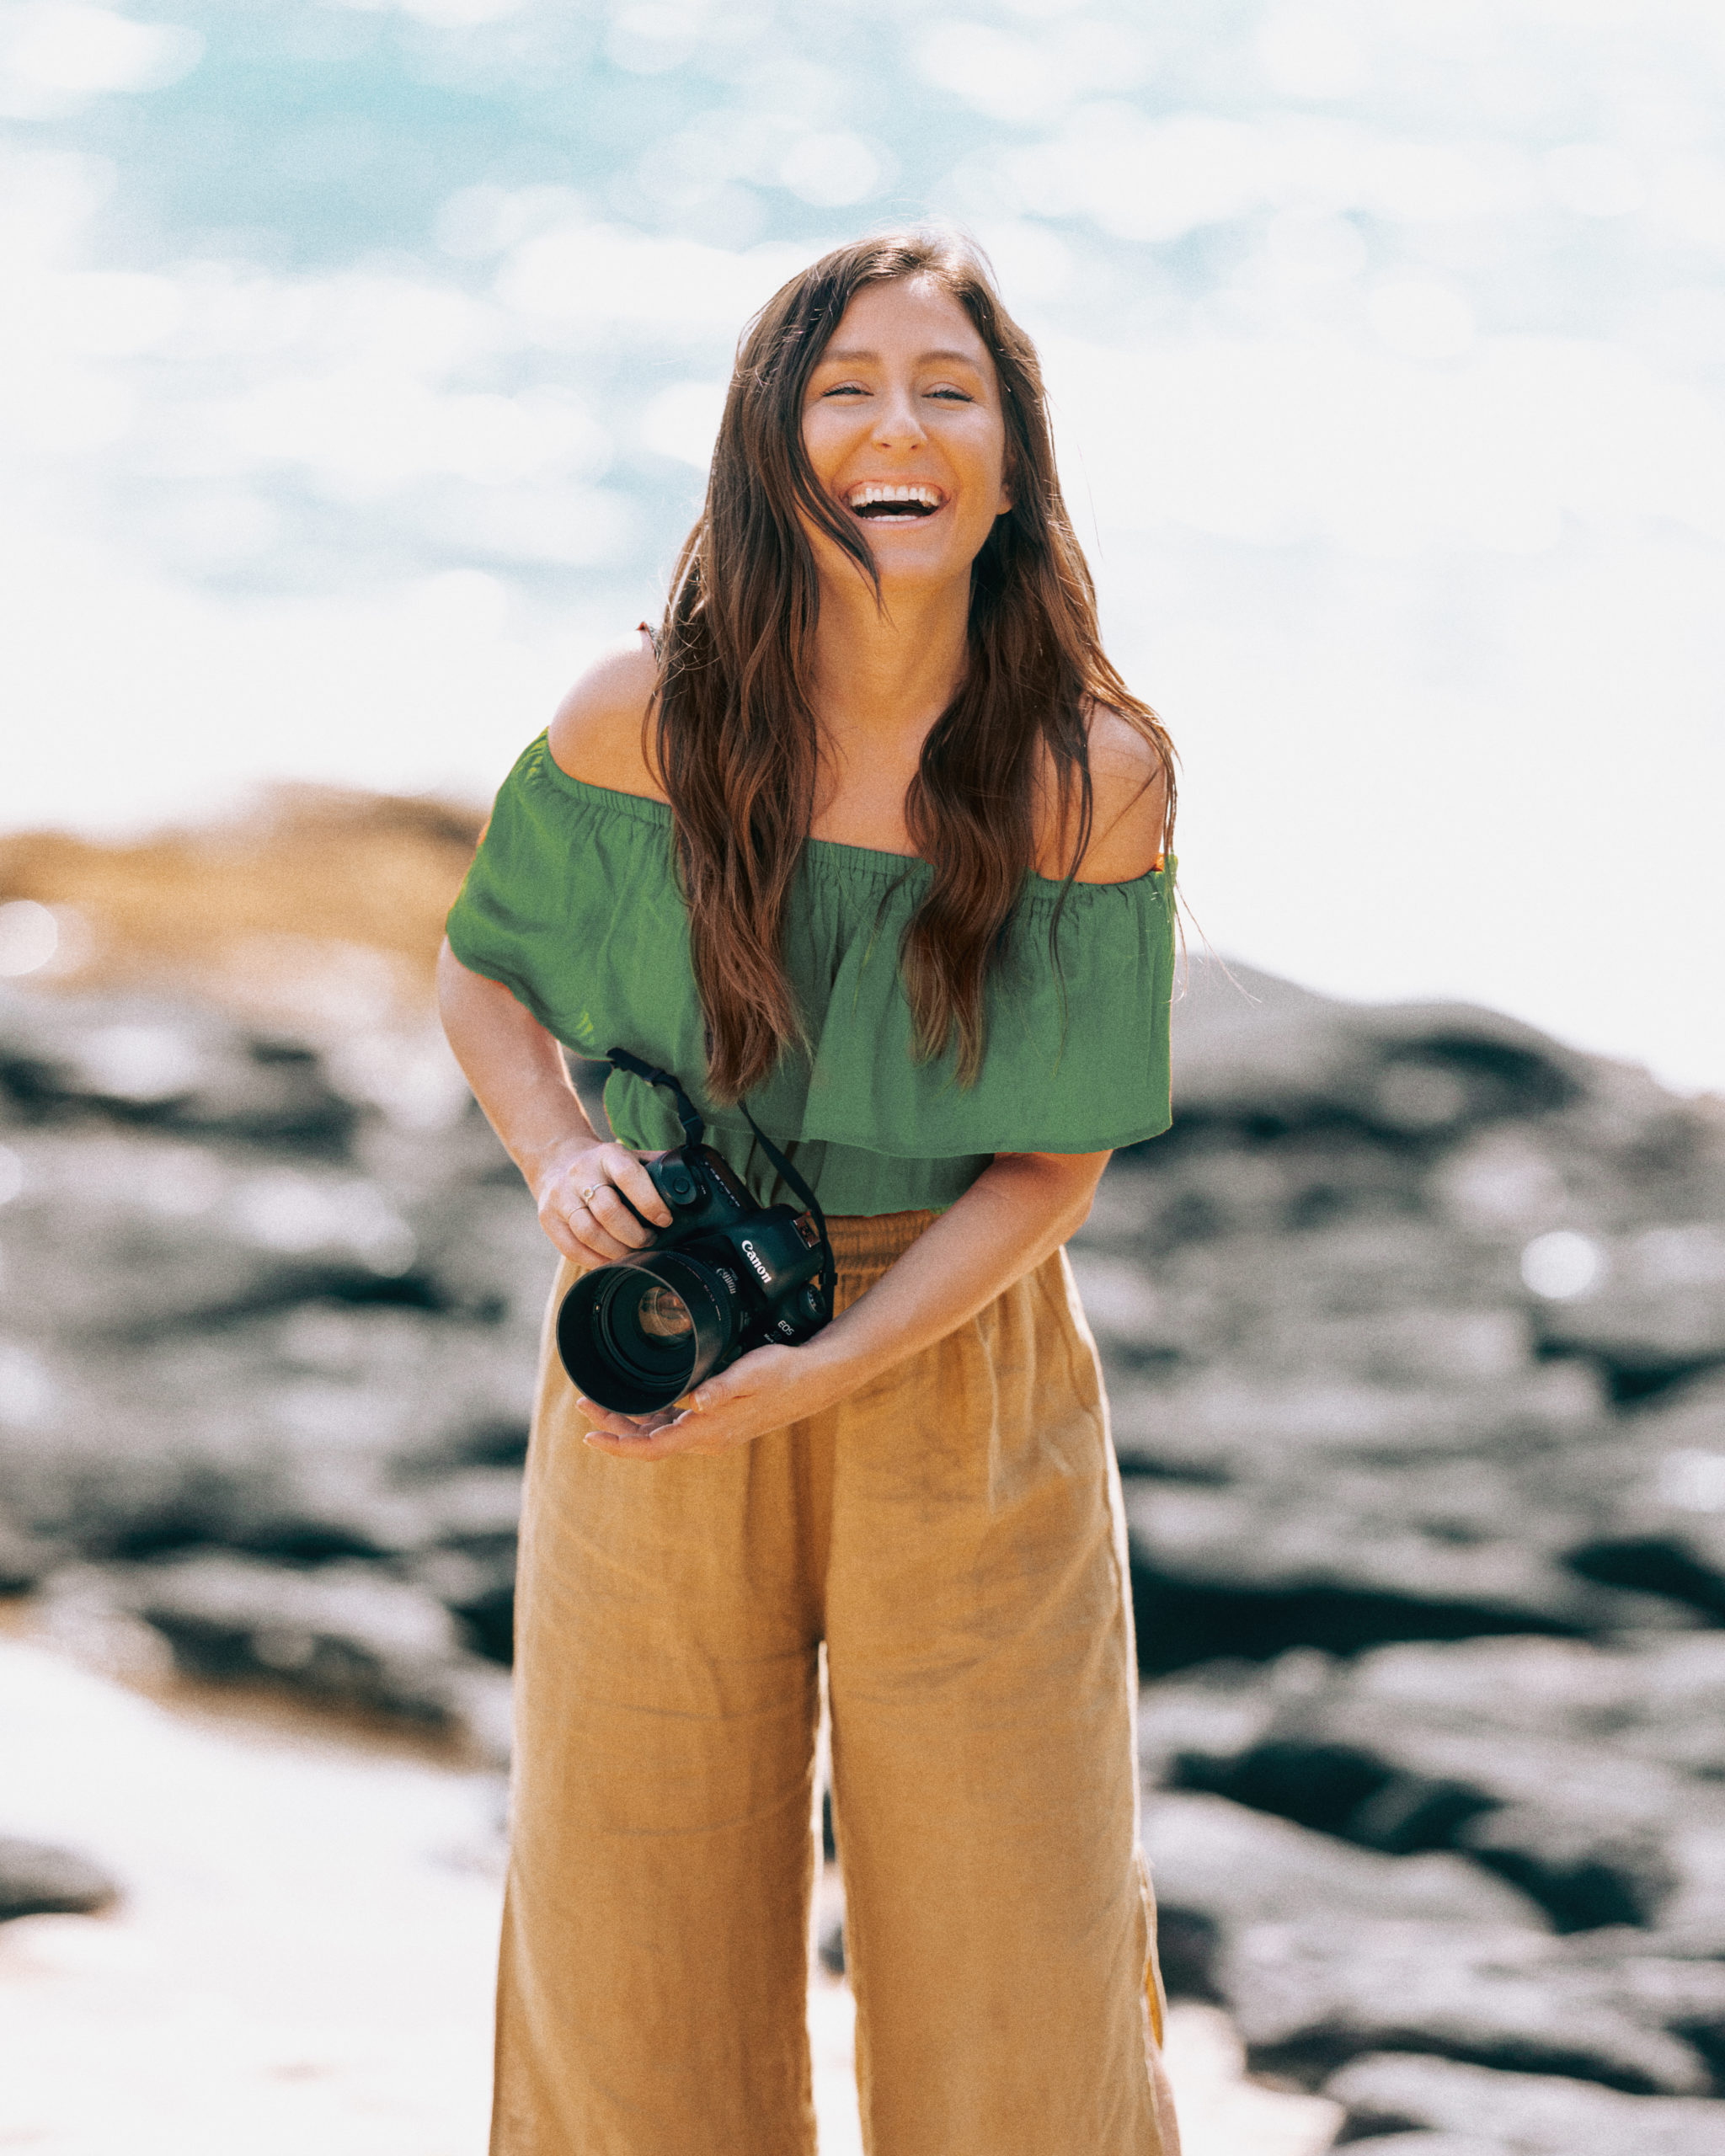
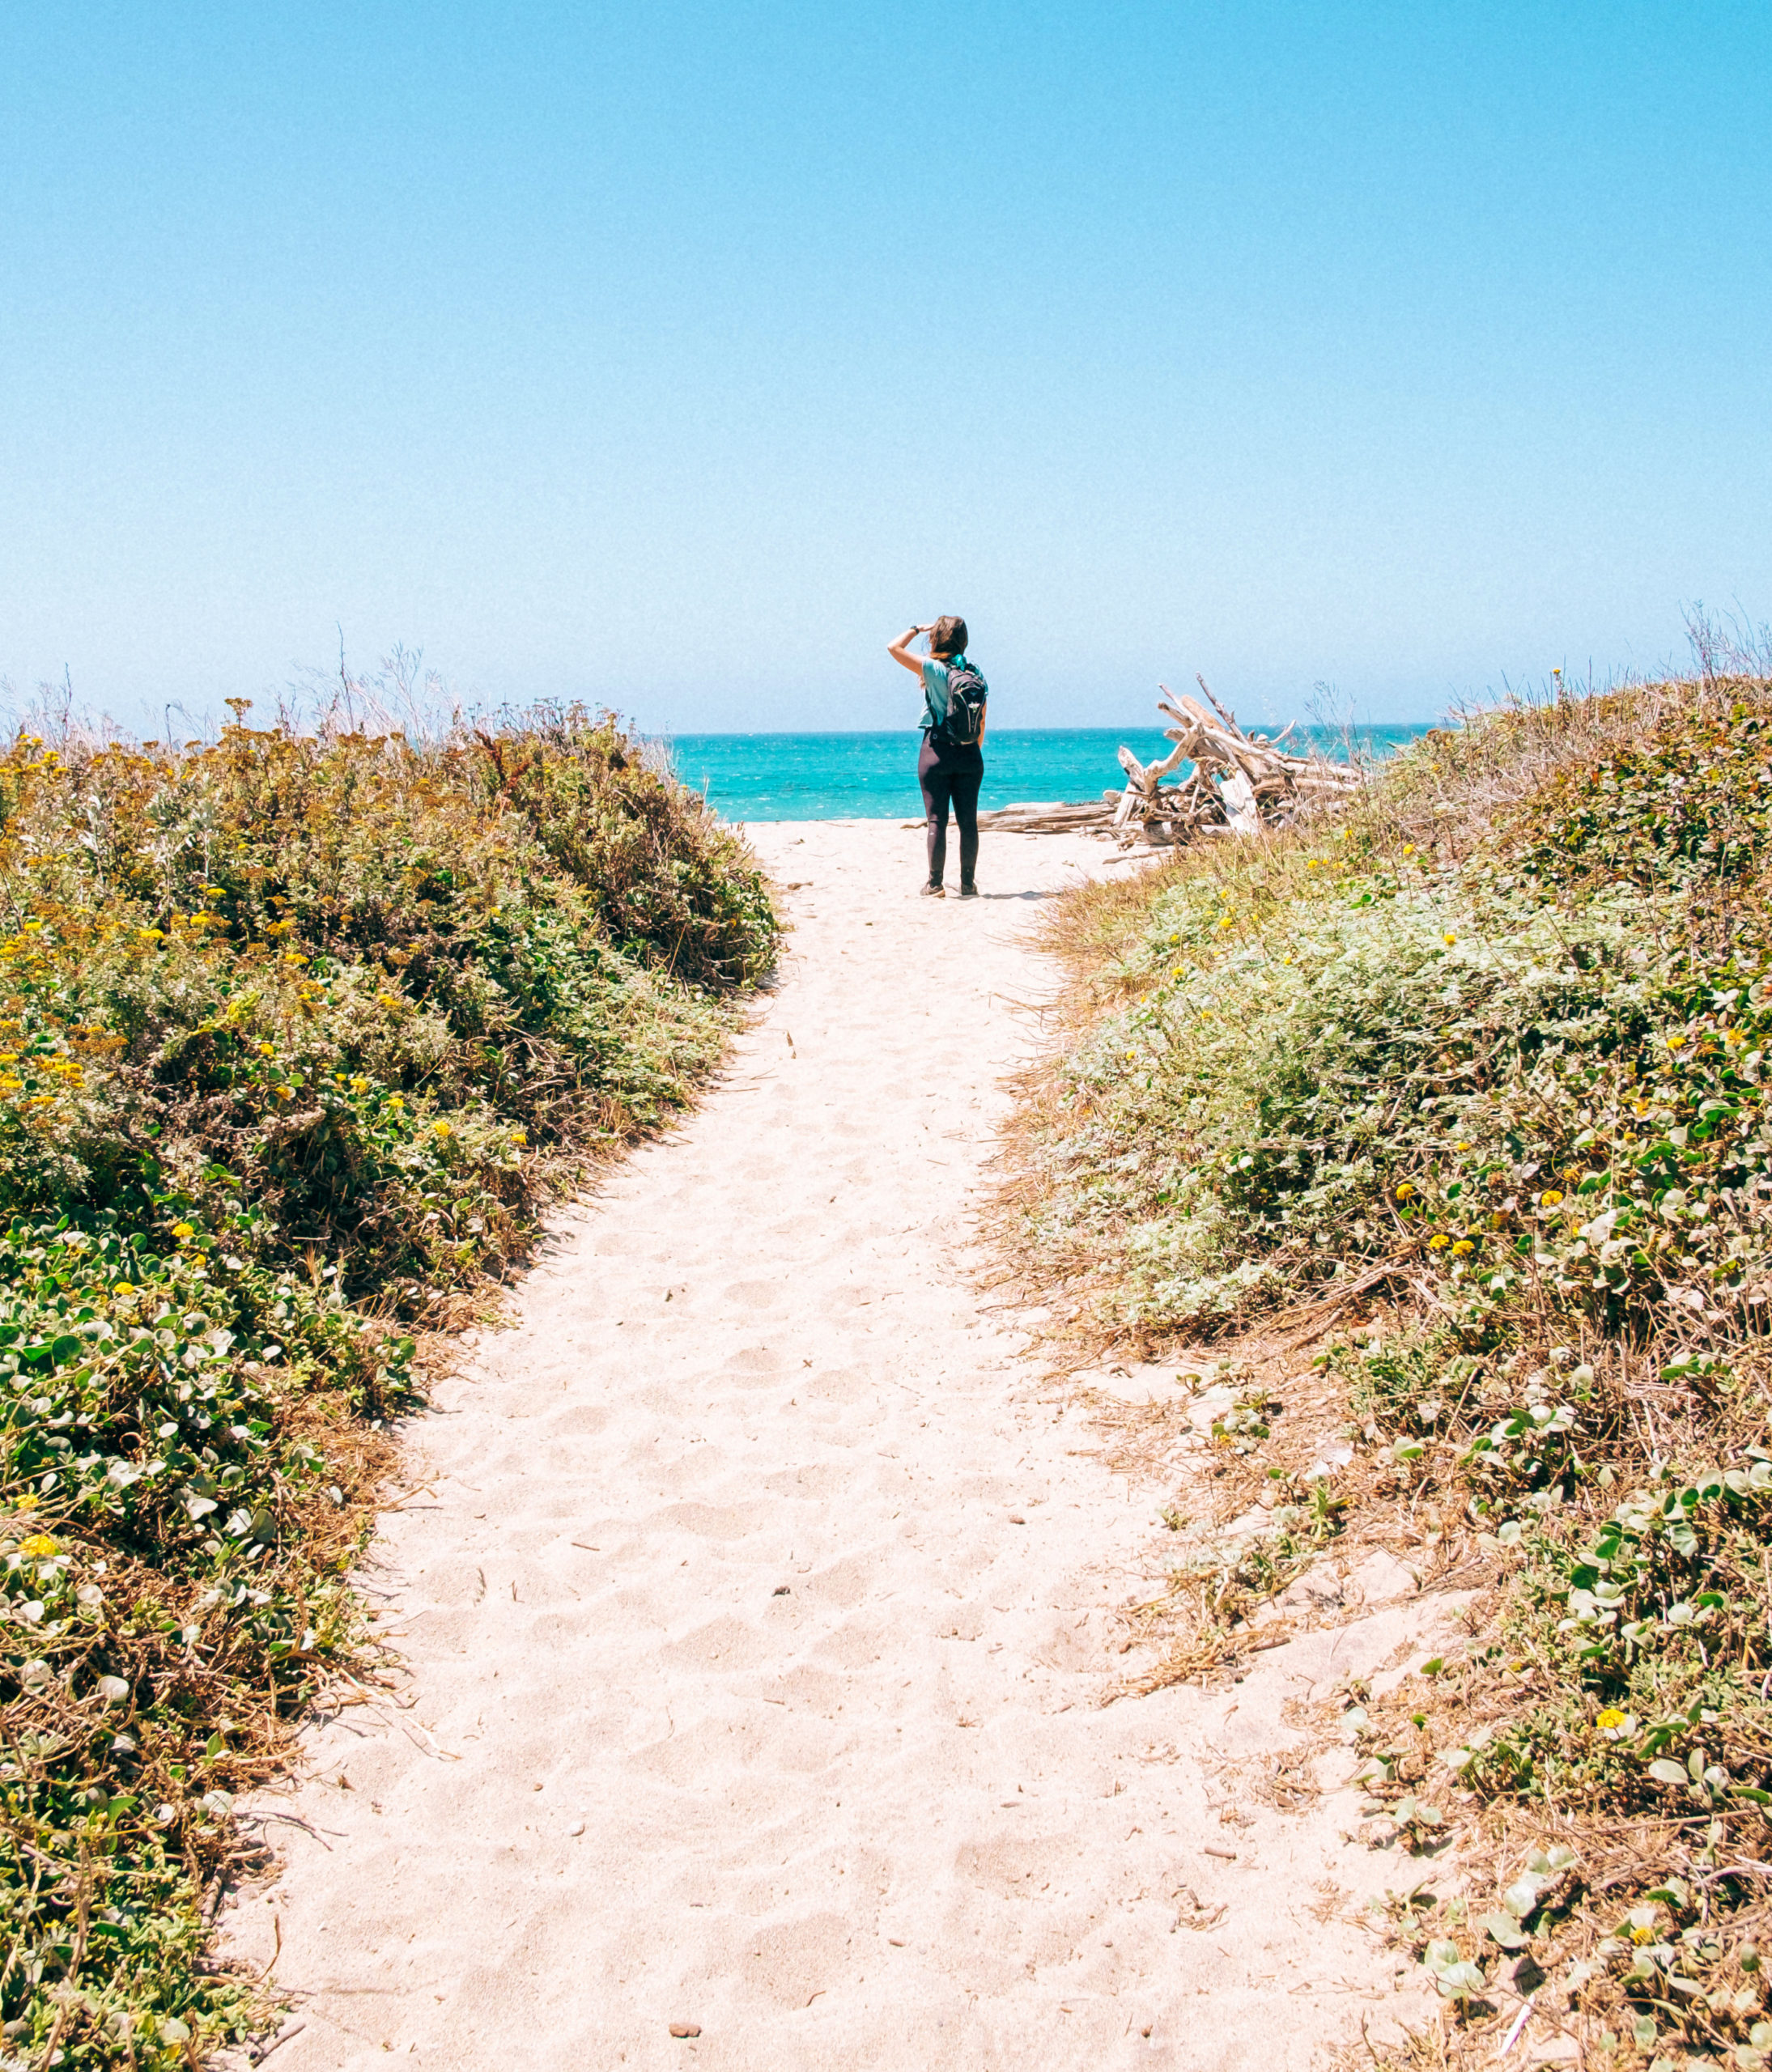
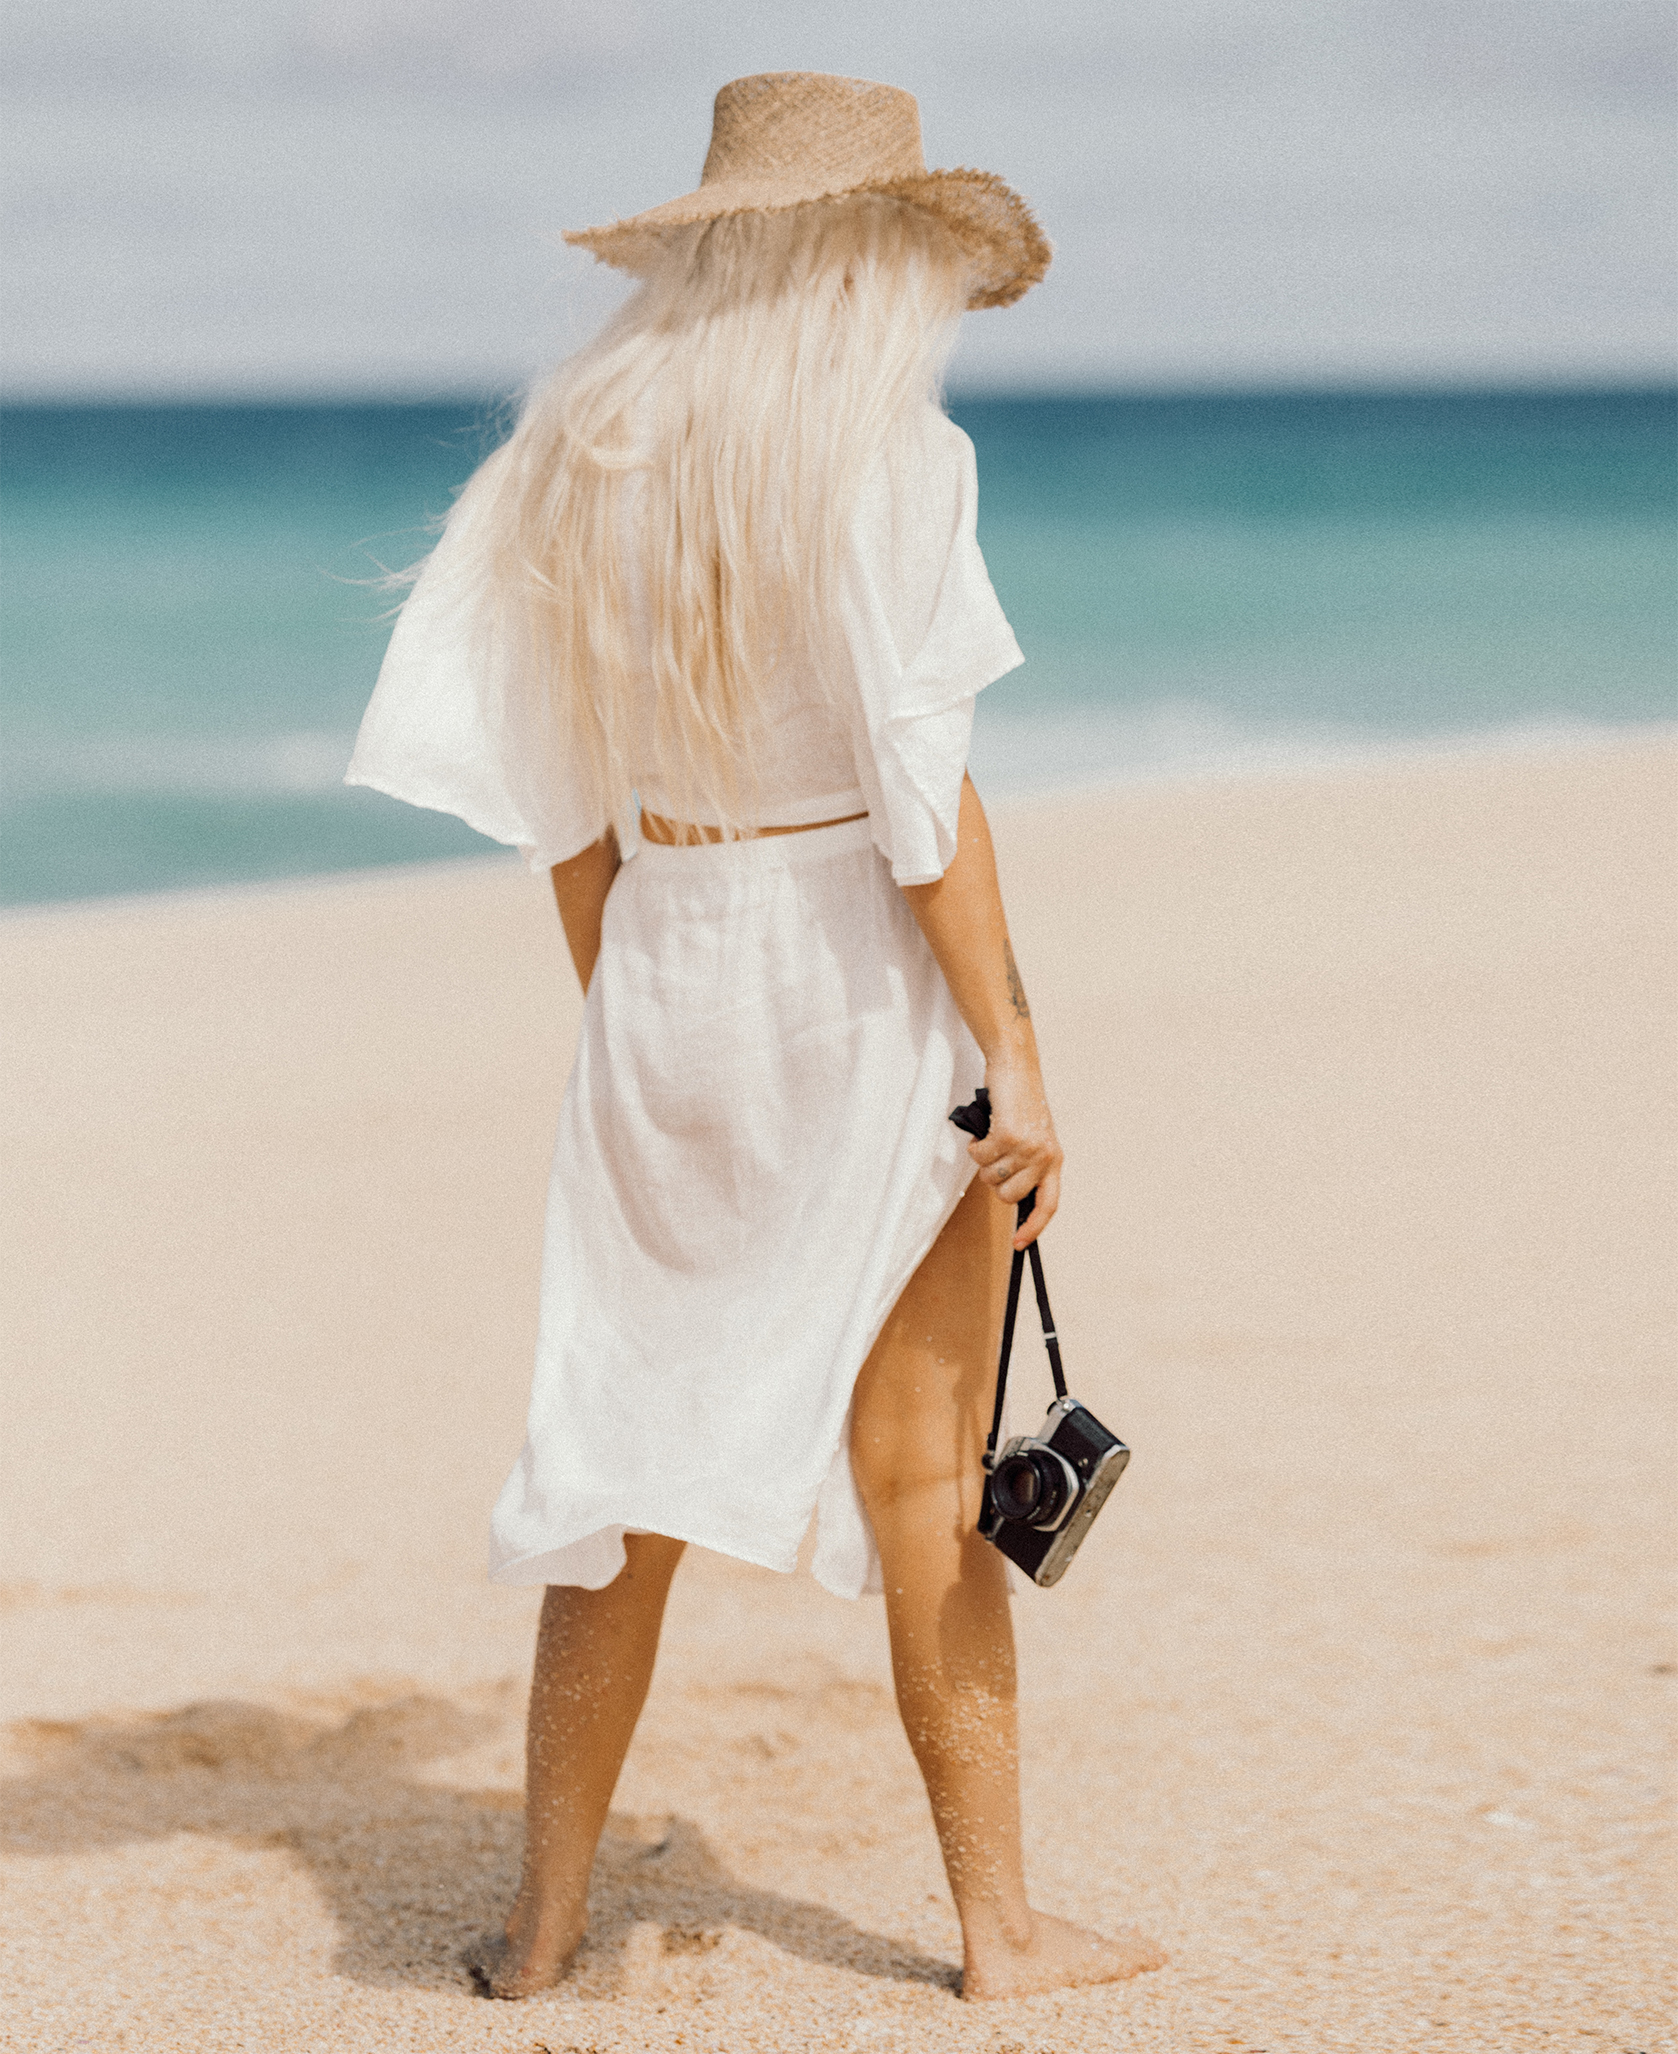
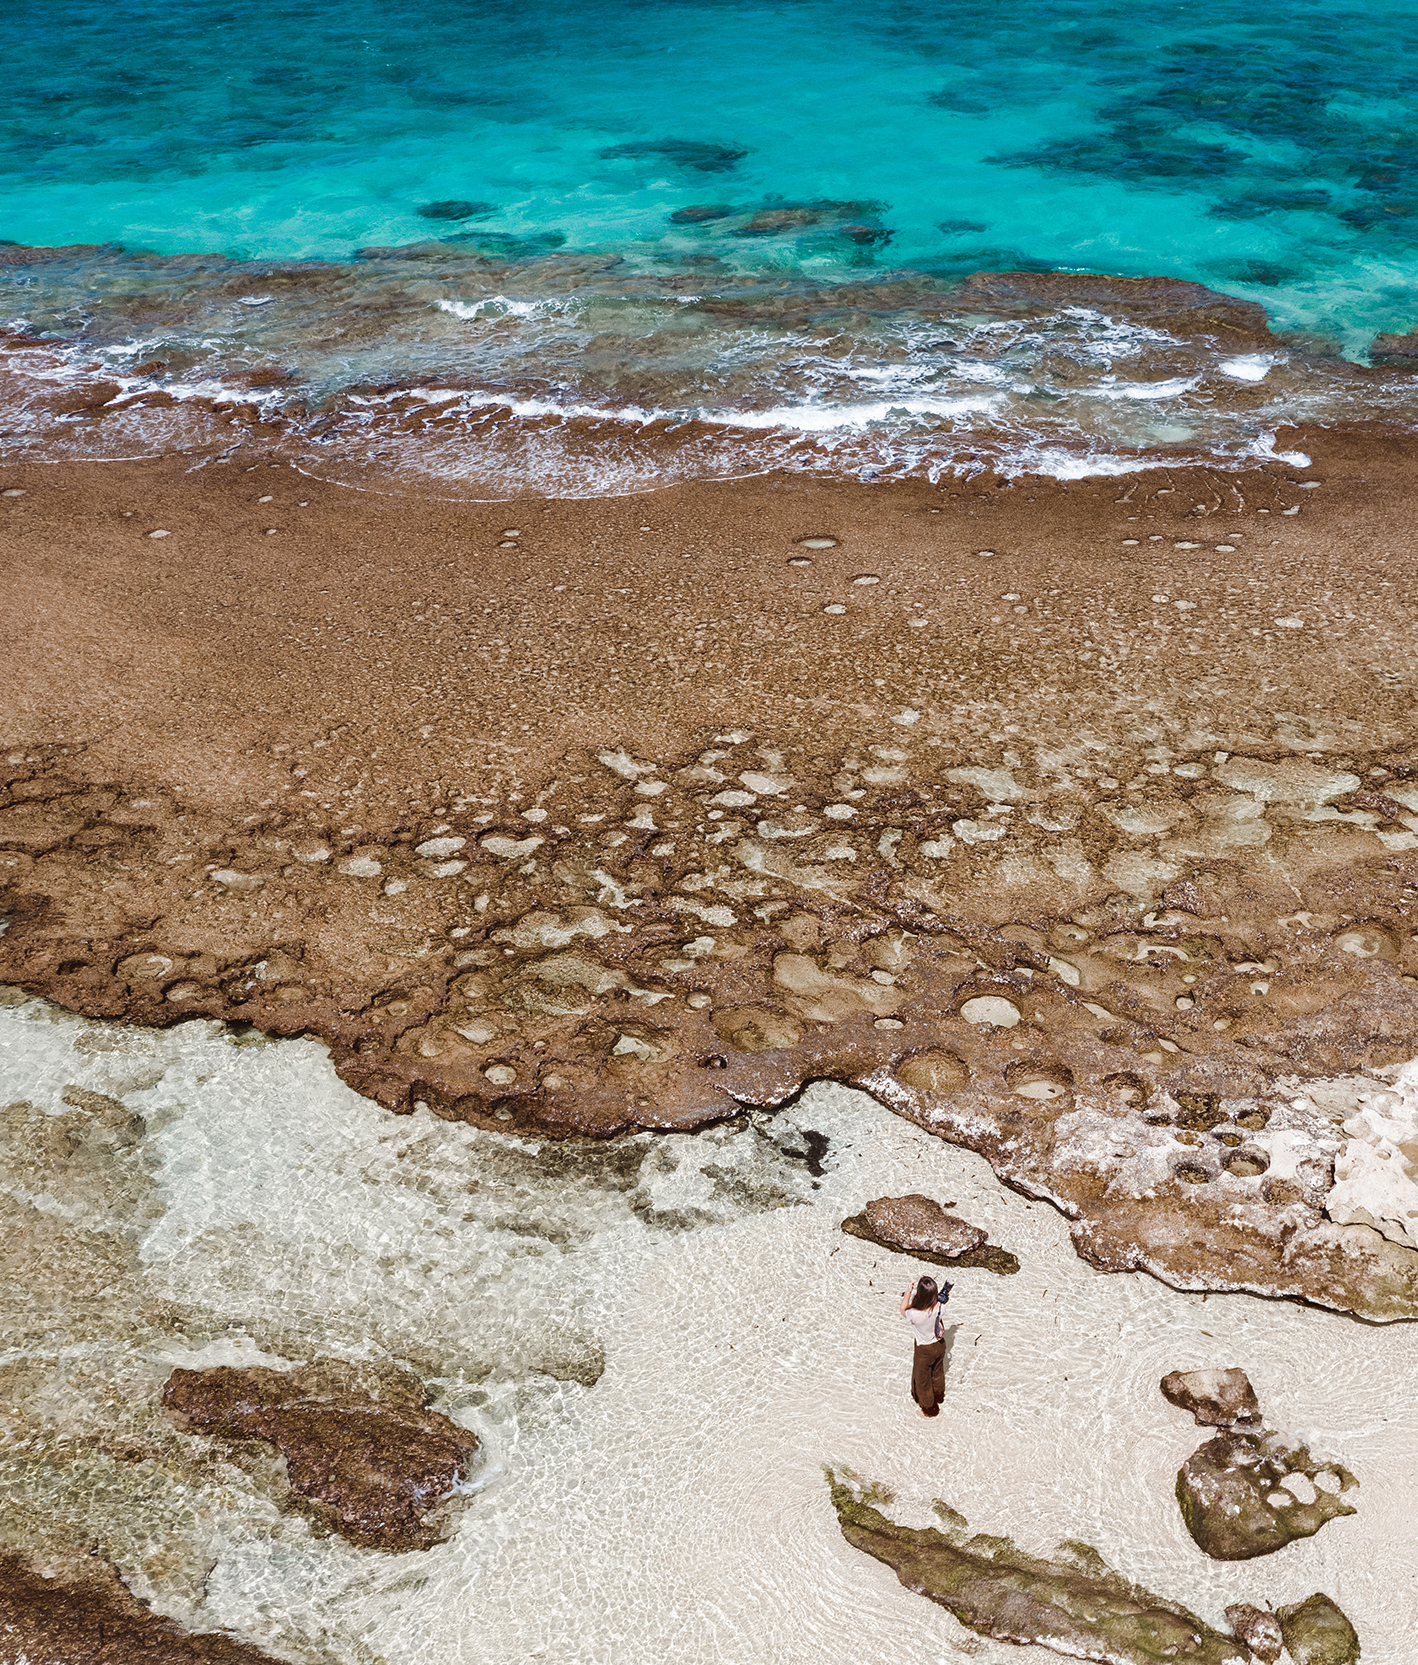
Move your subject further away from the background
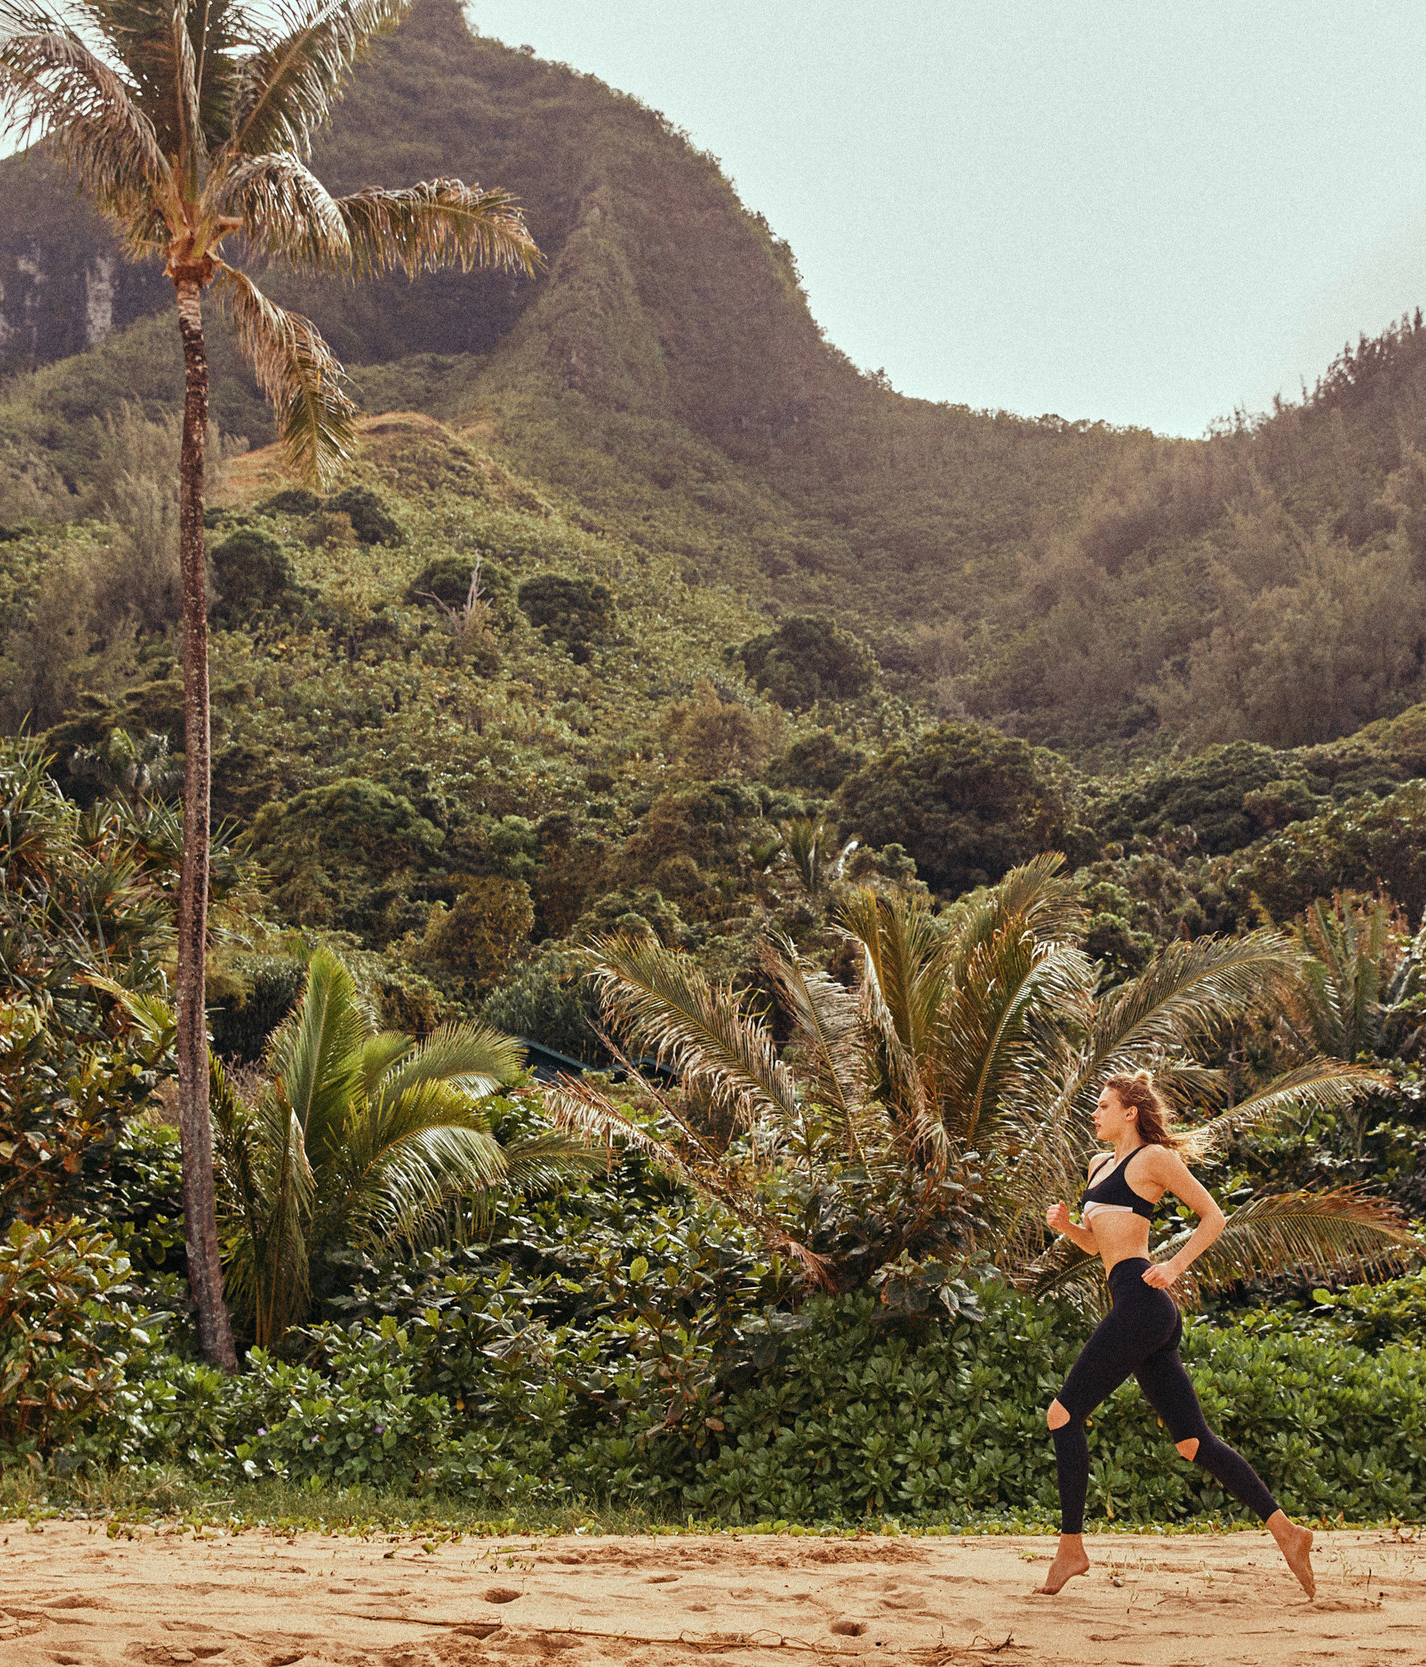
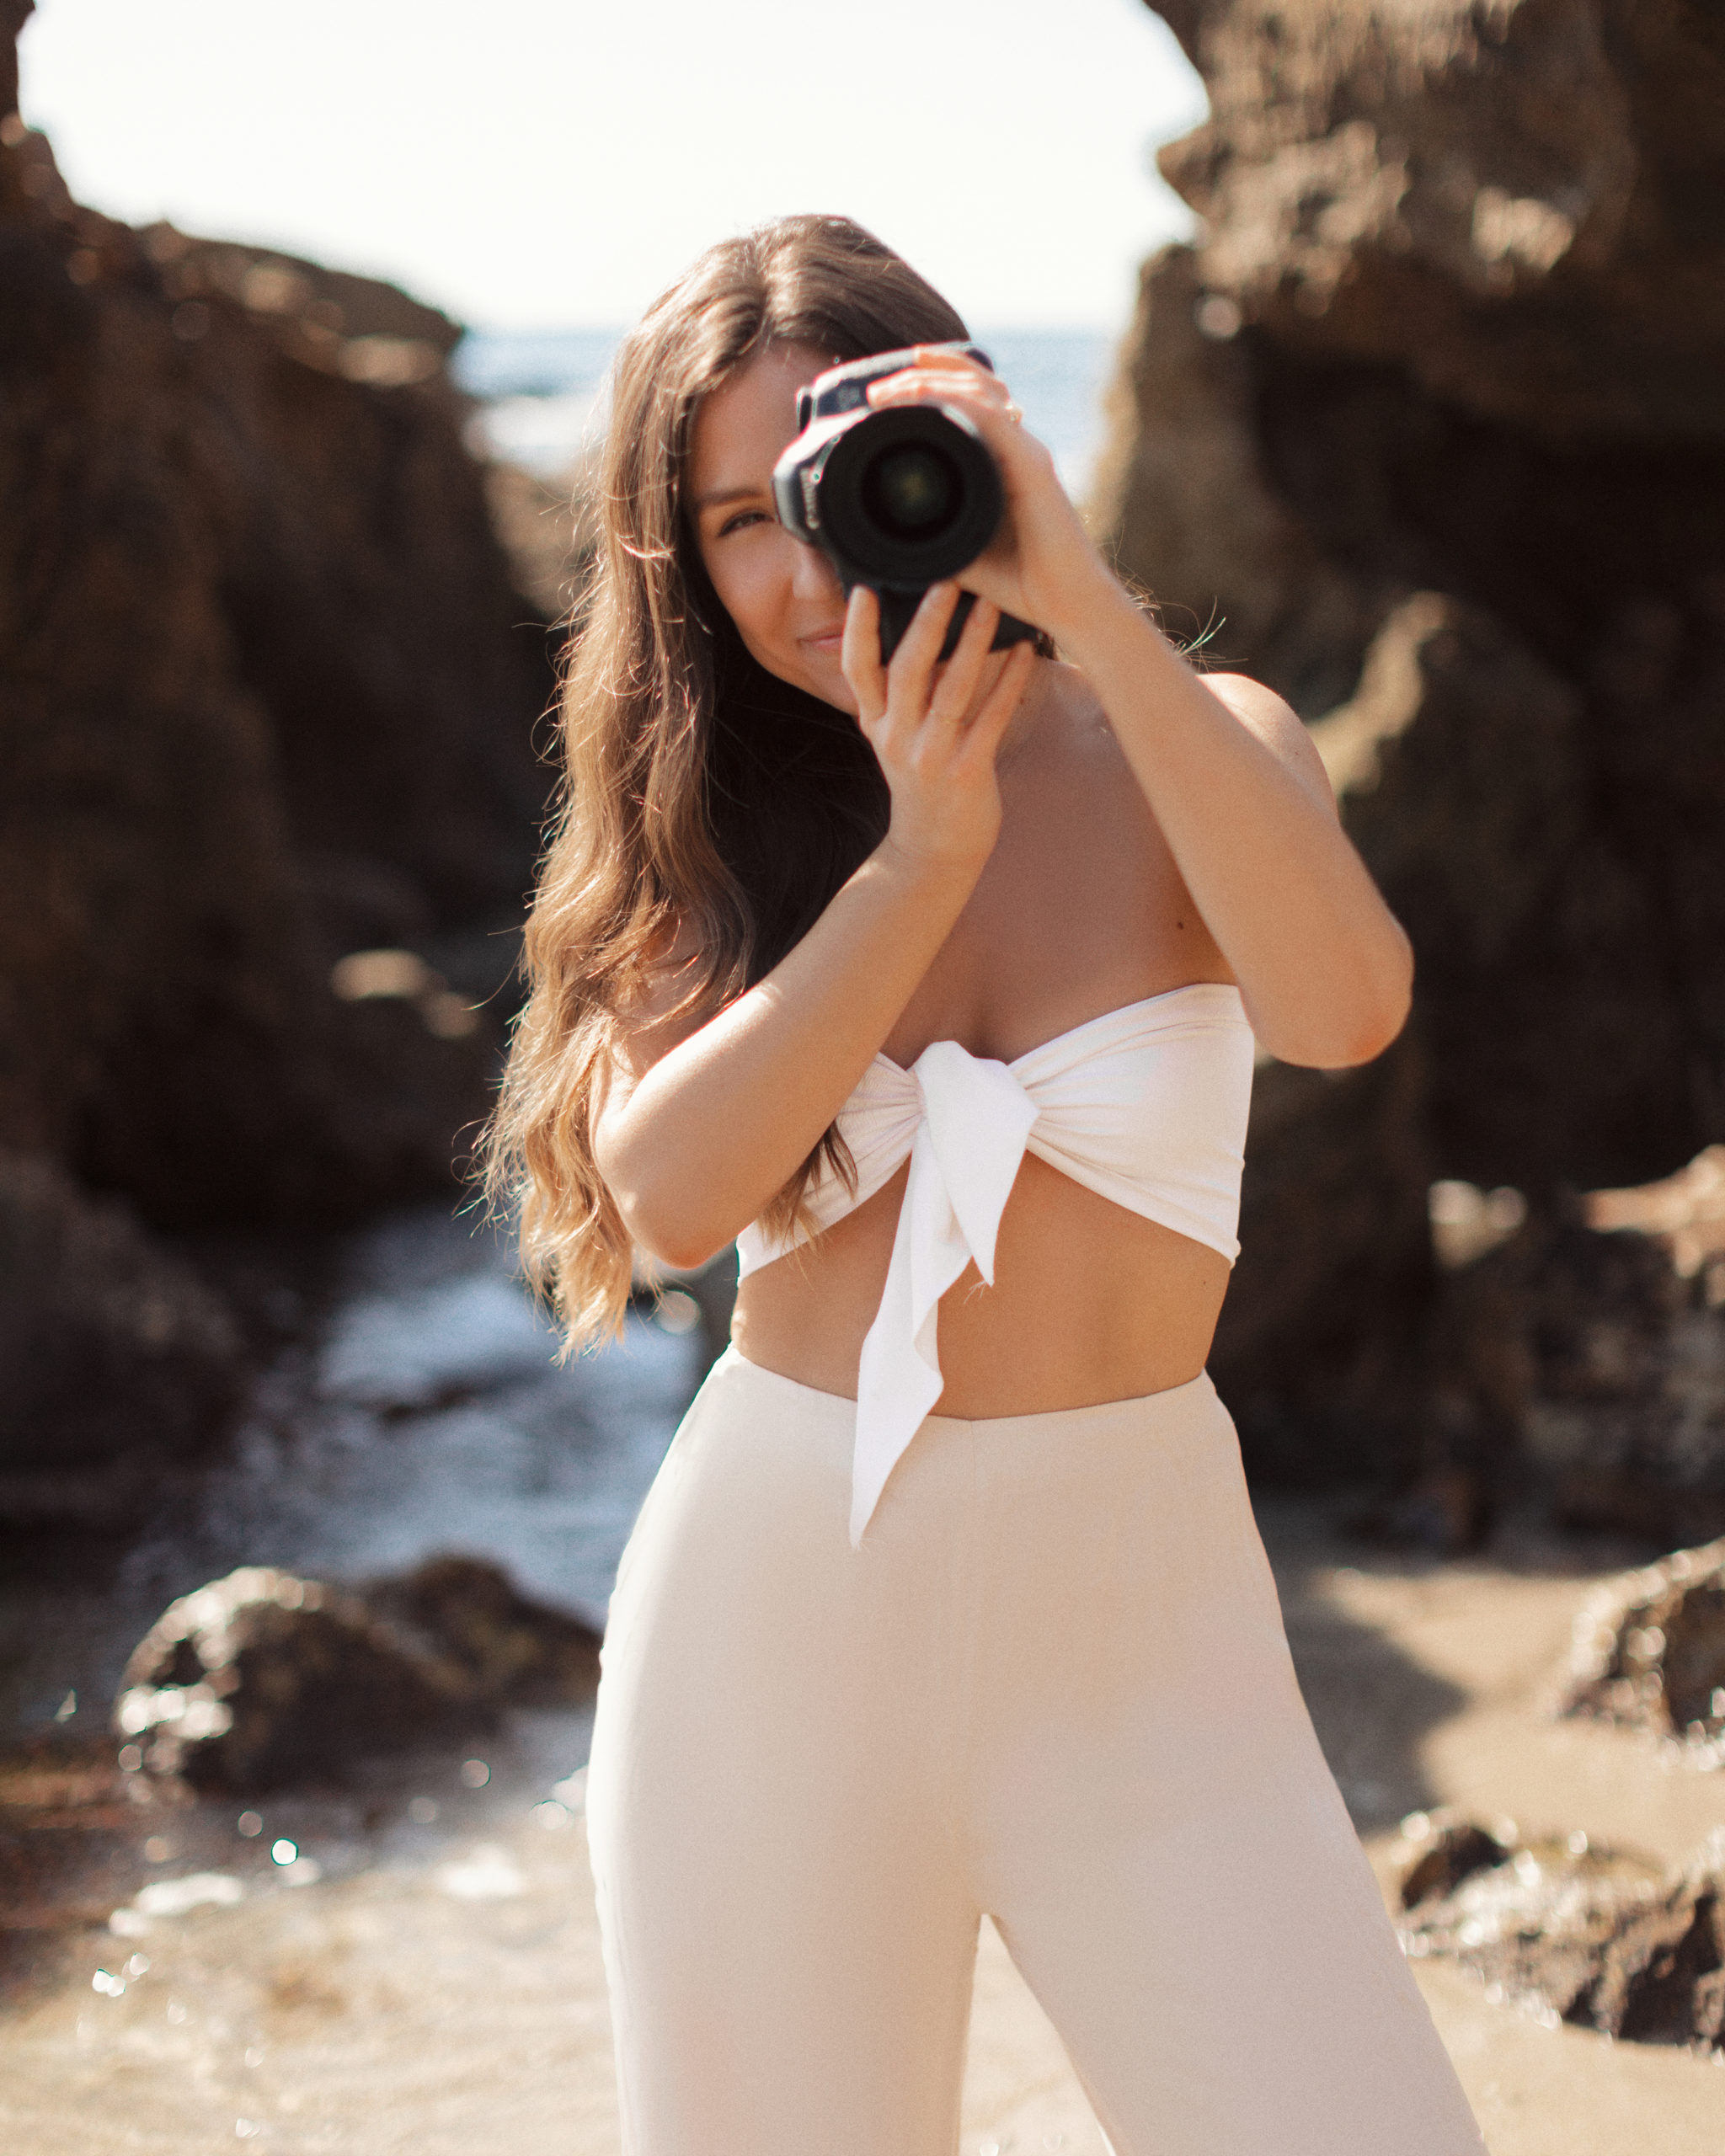
3. Zoom in with your lens
With a zoom lens, you can zoom in and out to different focal lengths which directy impacts the depth of field you can achieve.
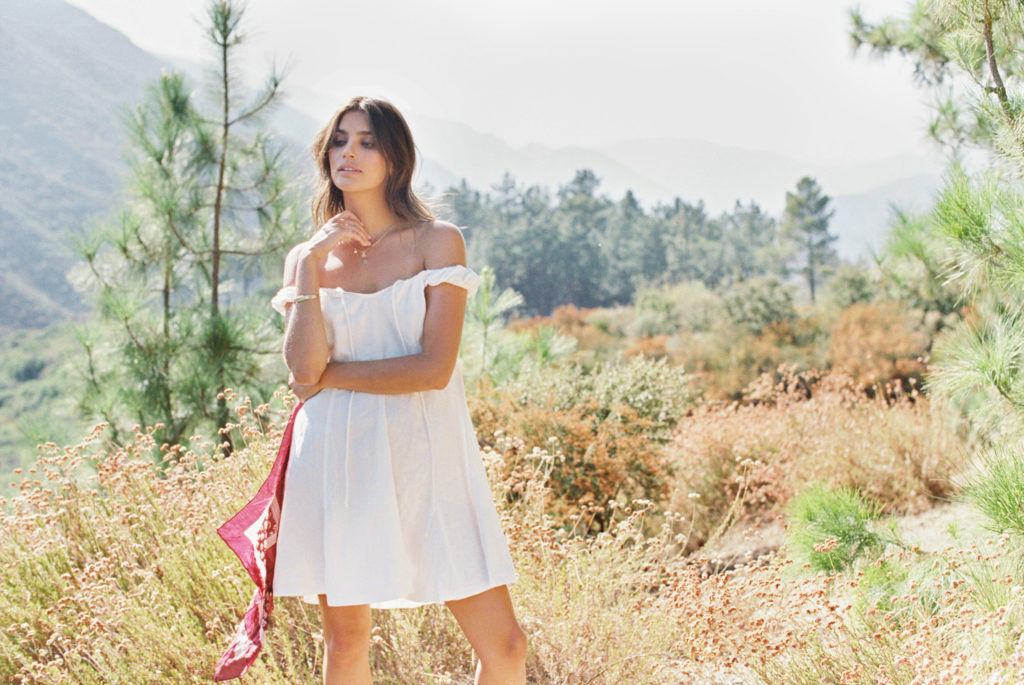
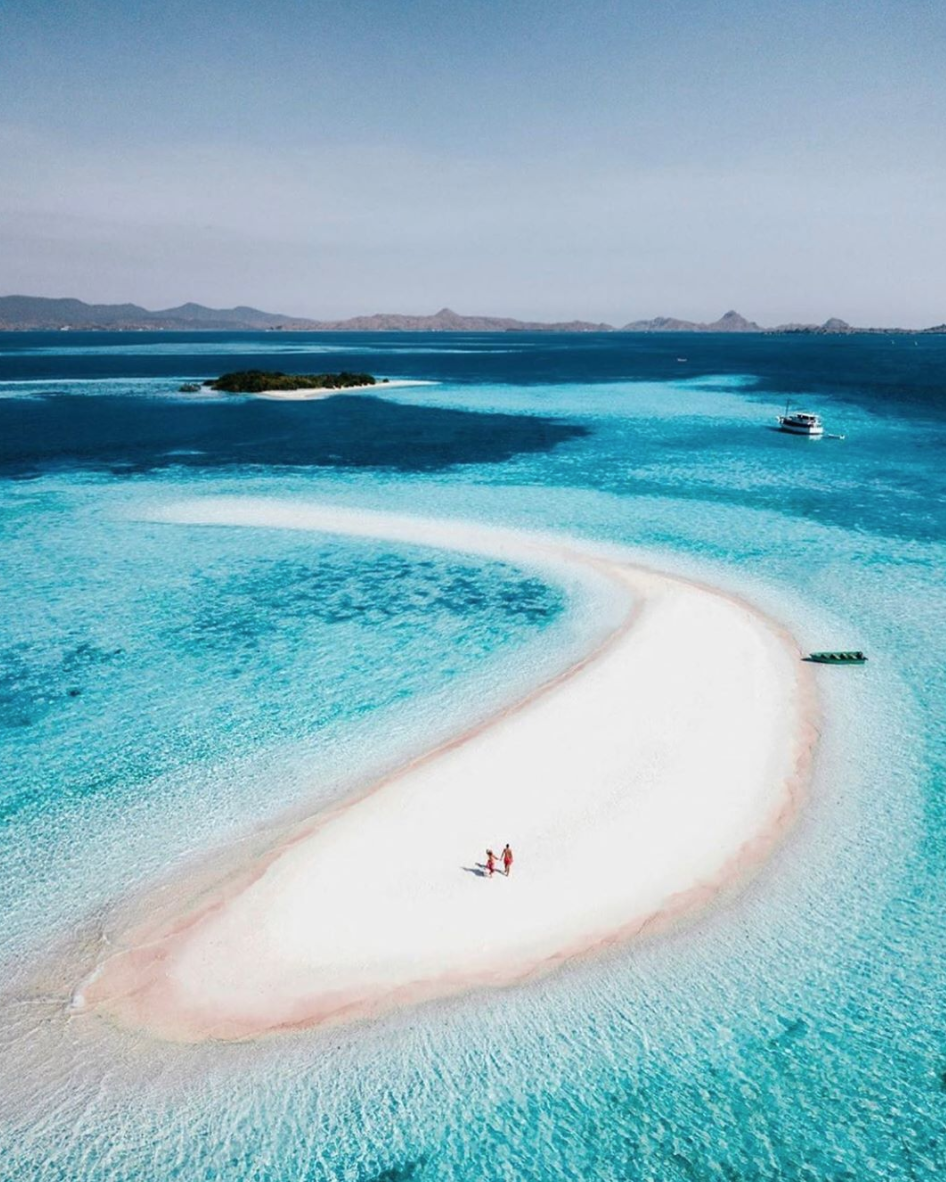
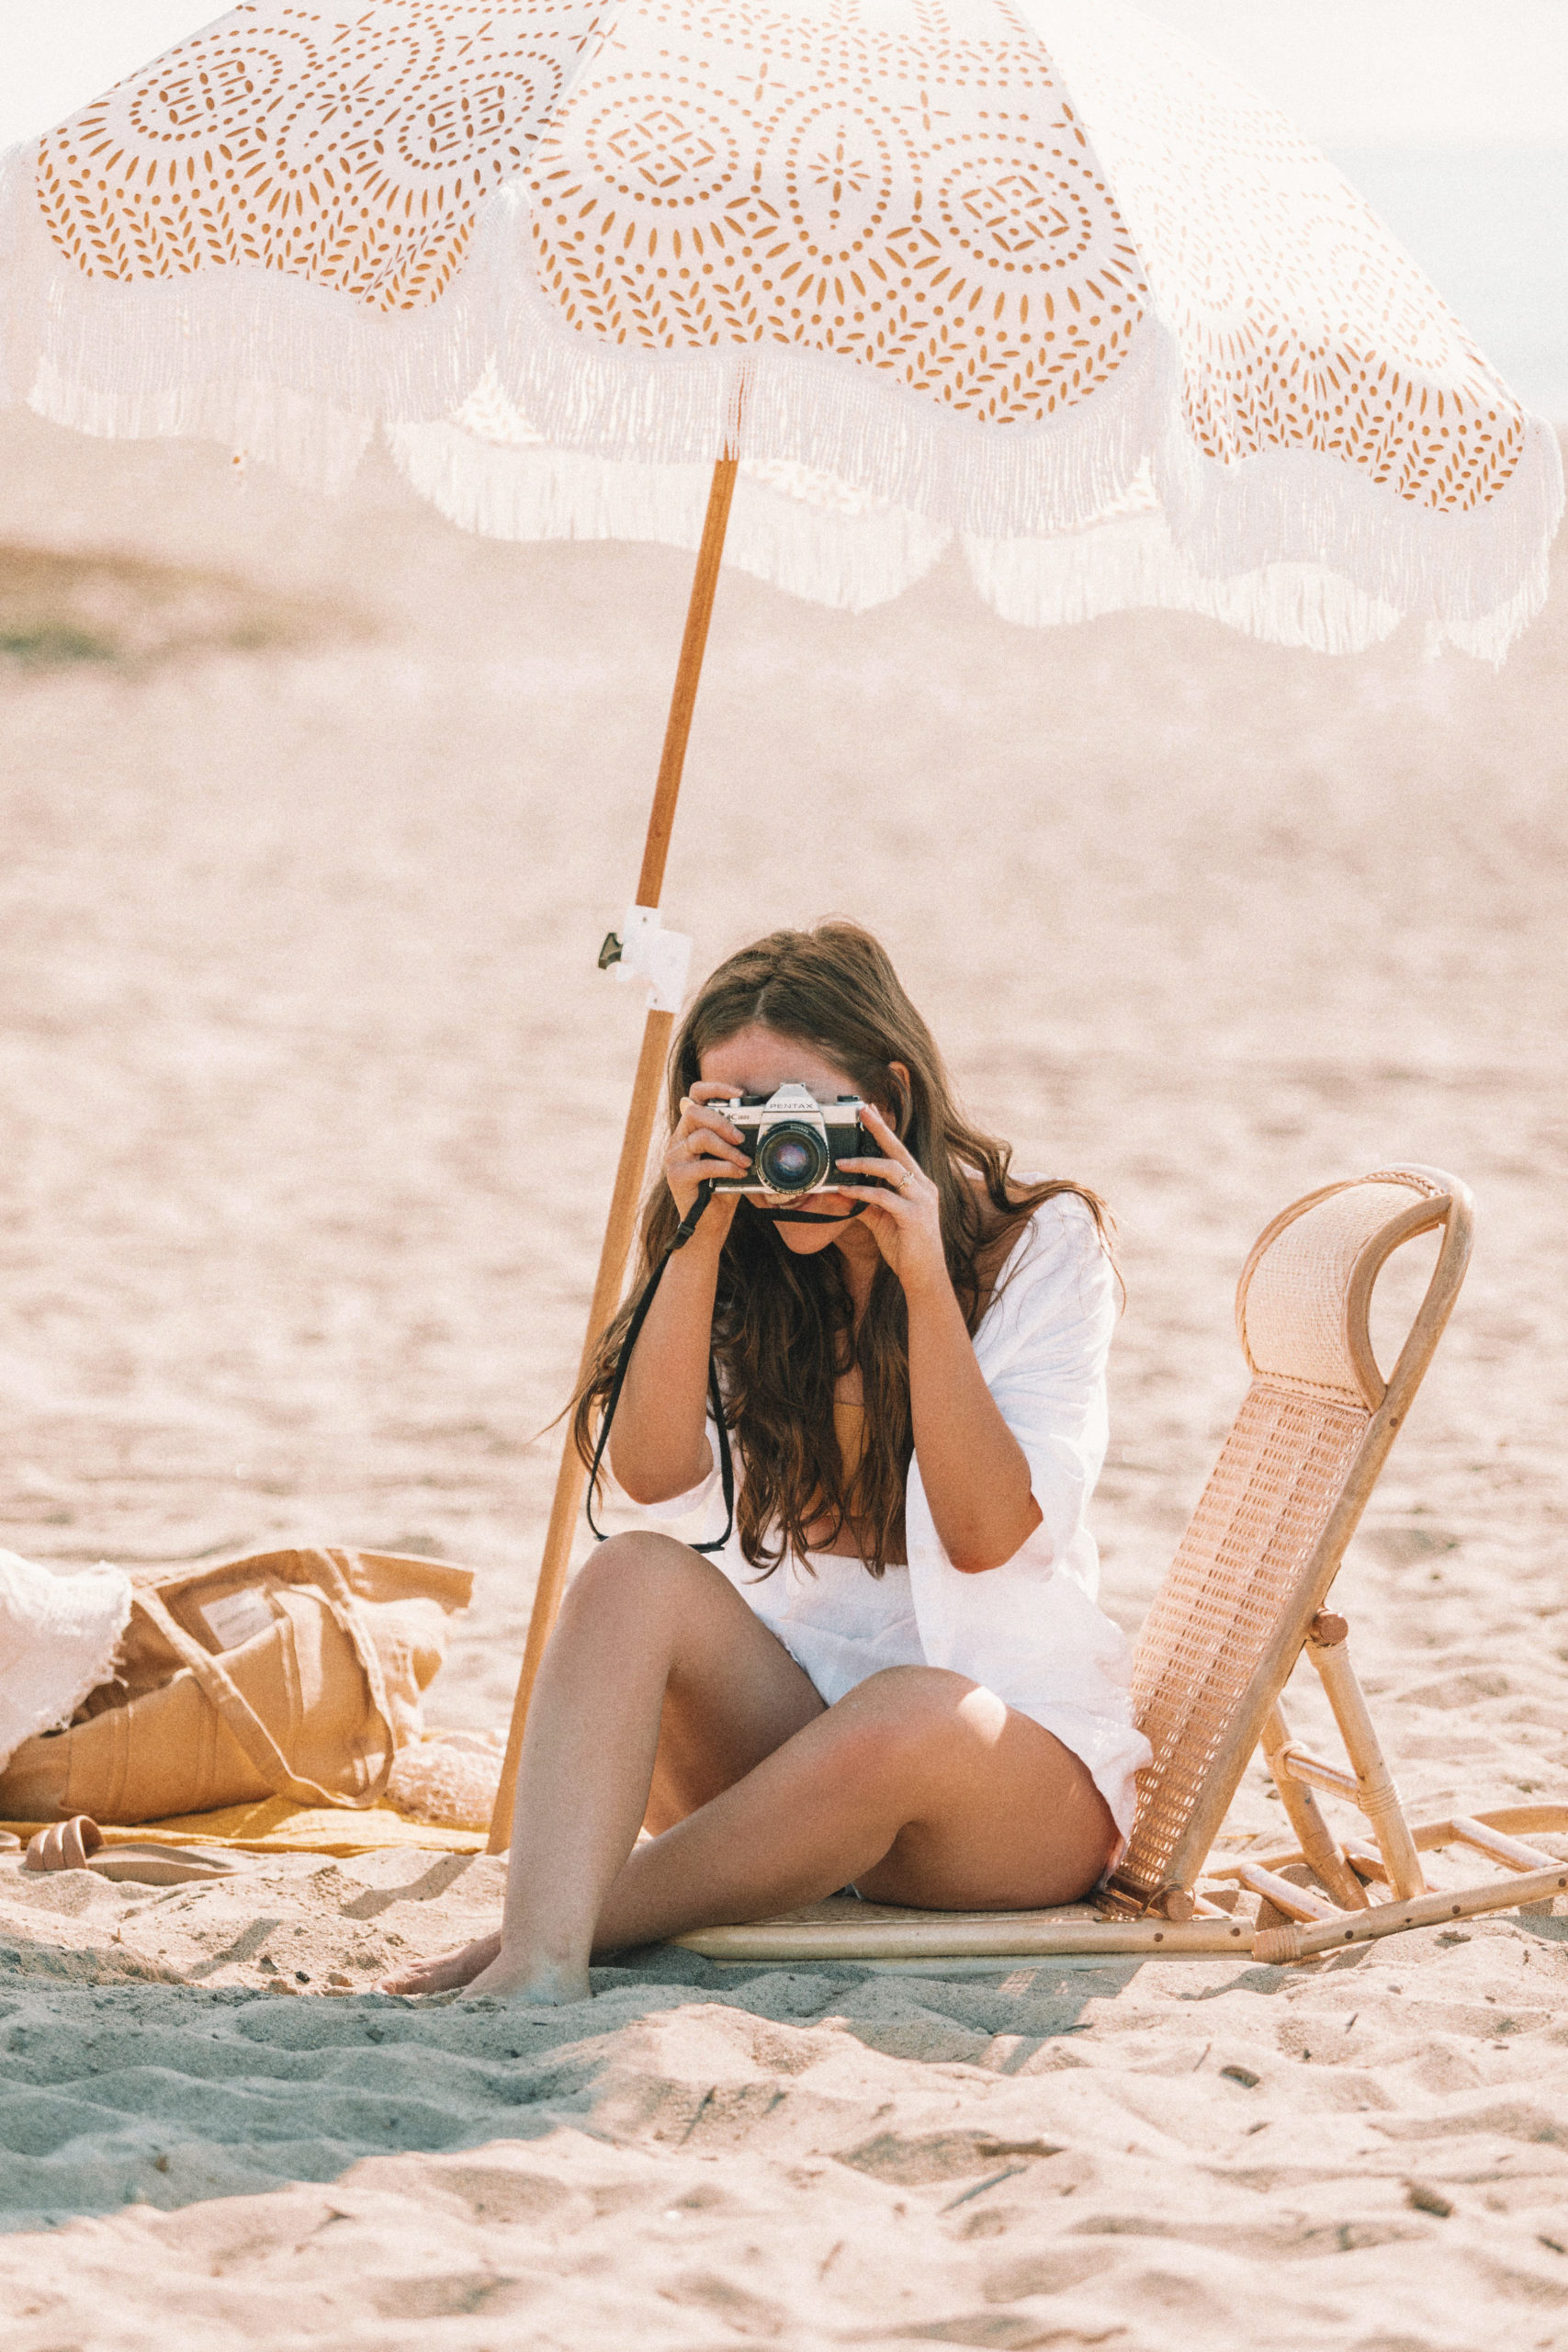
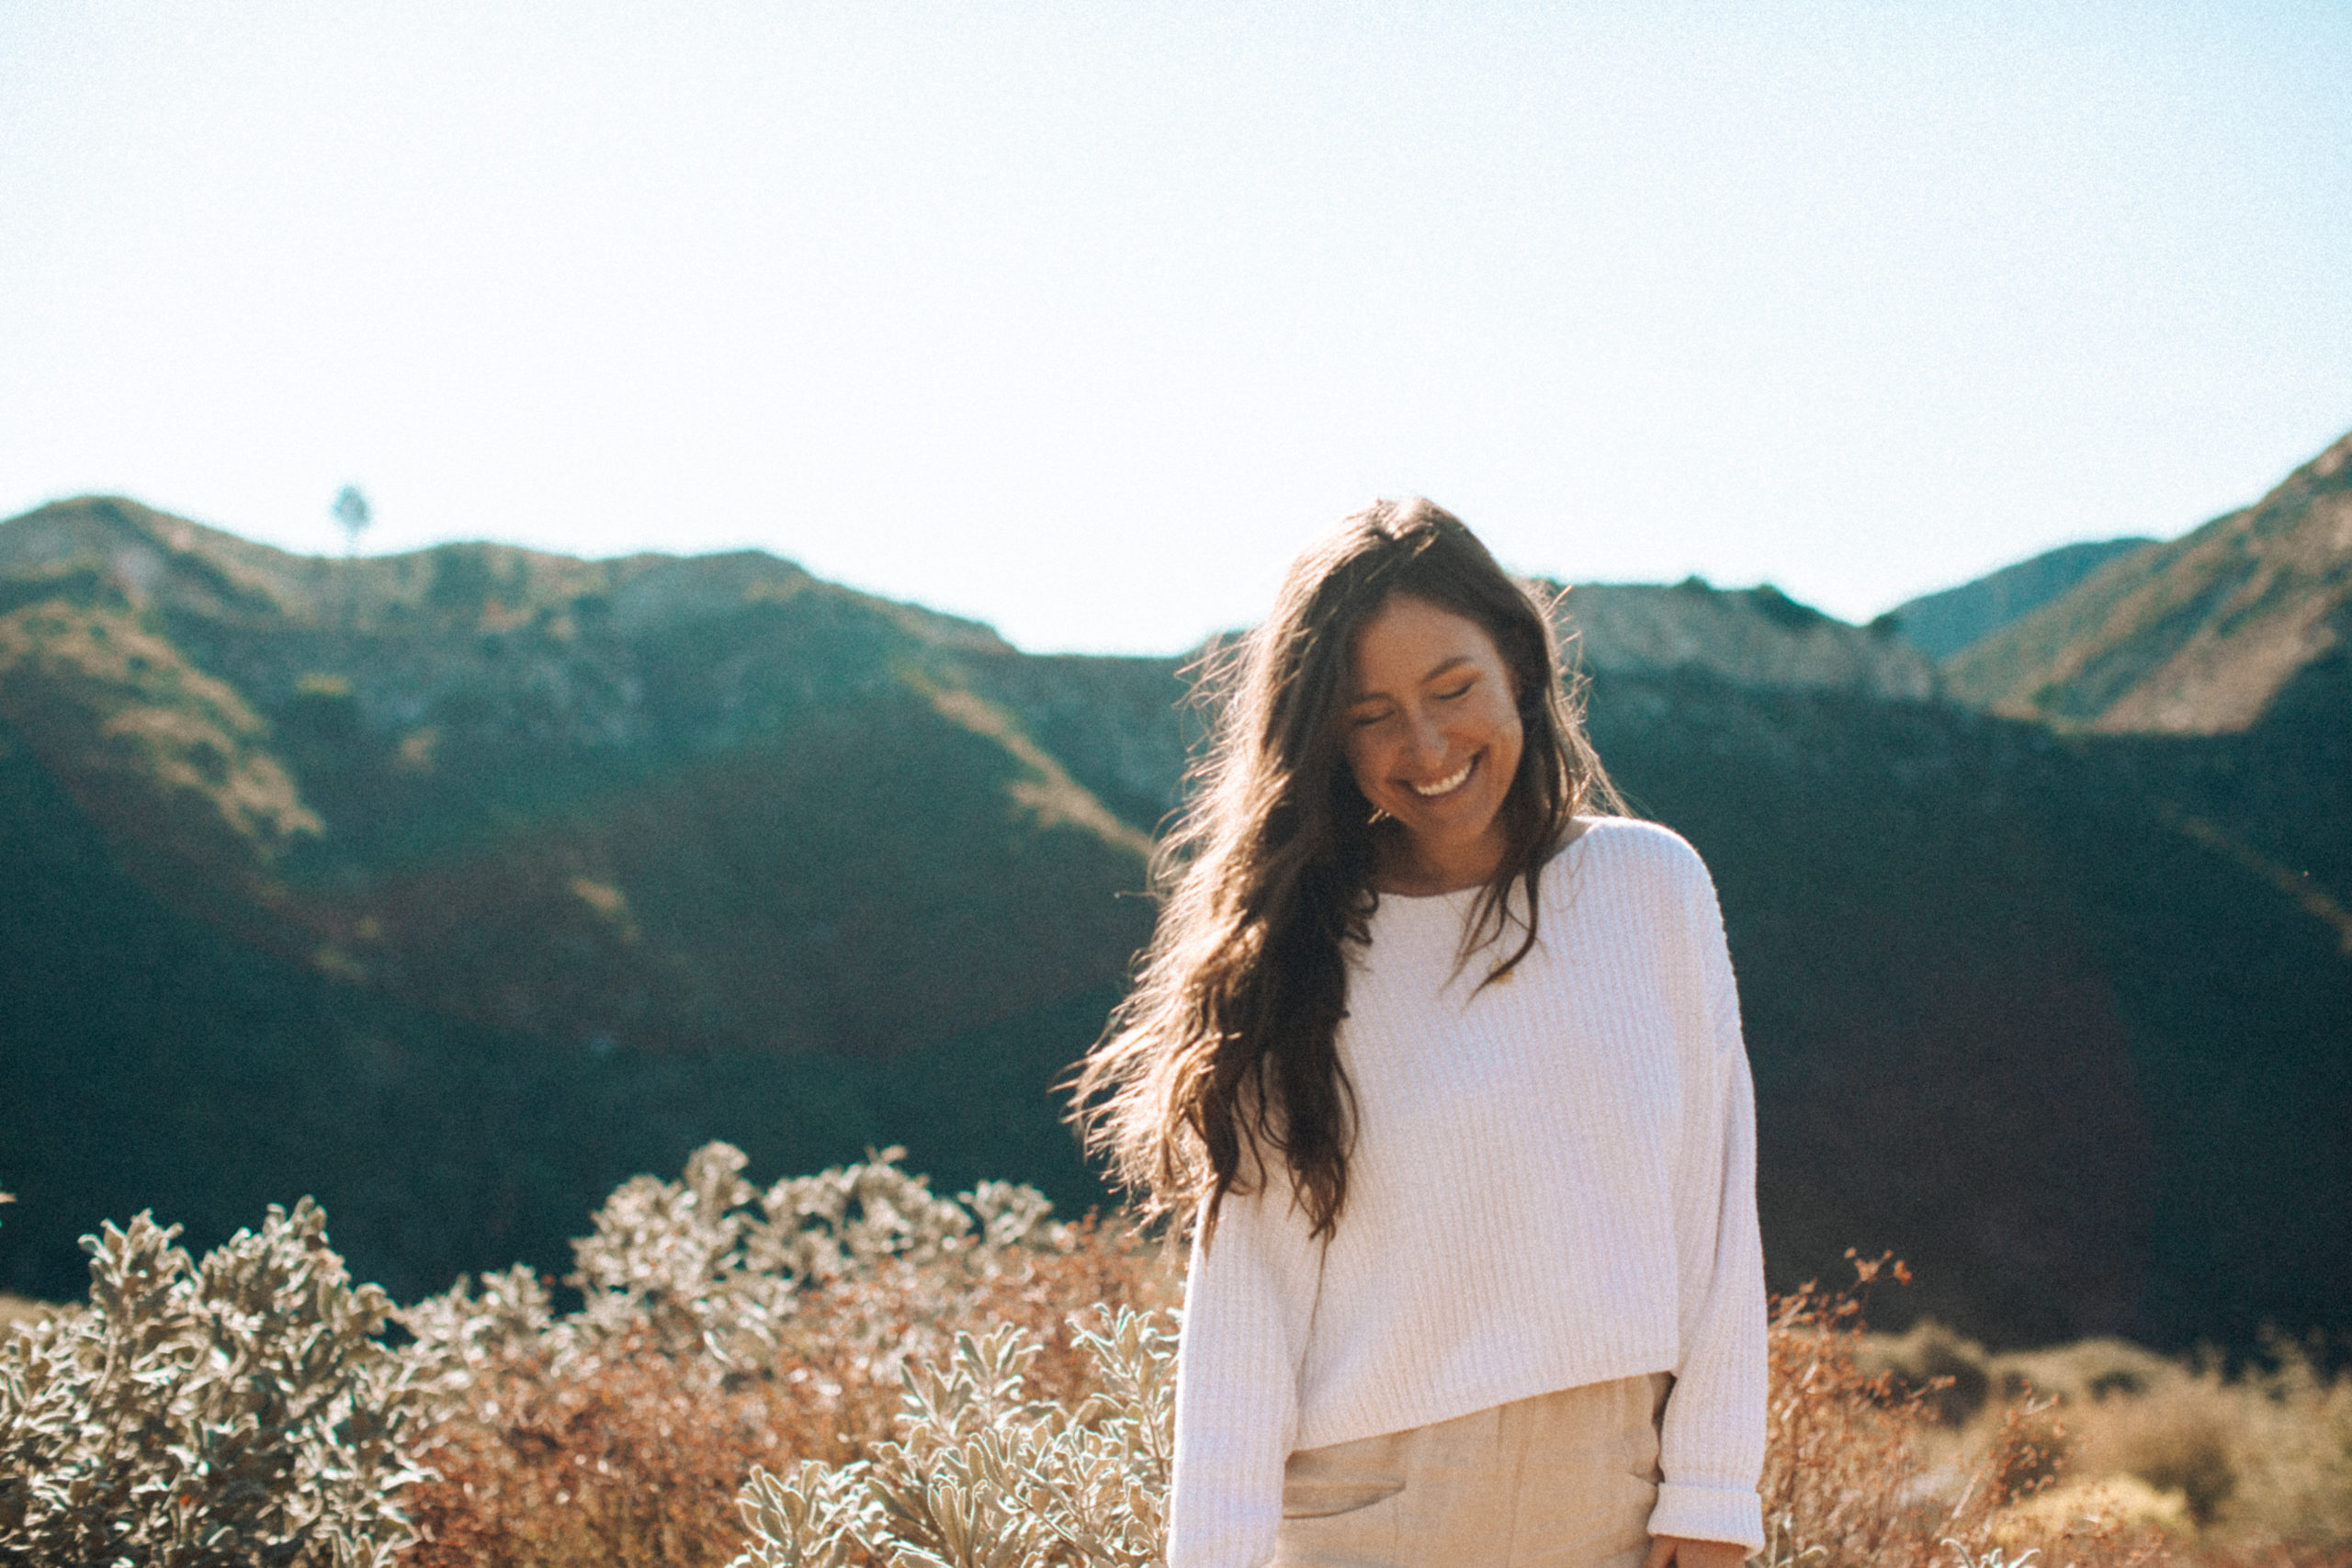
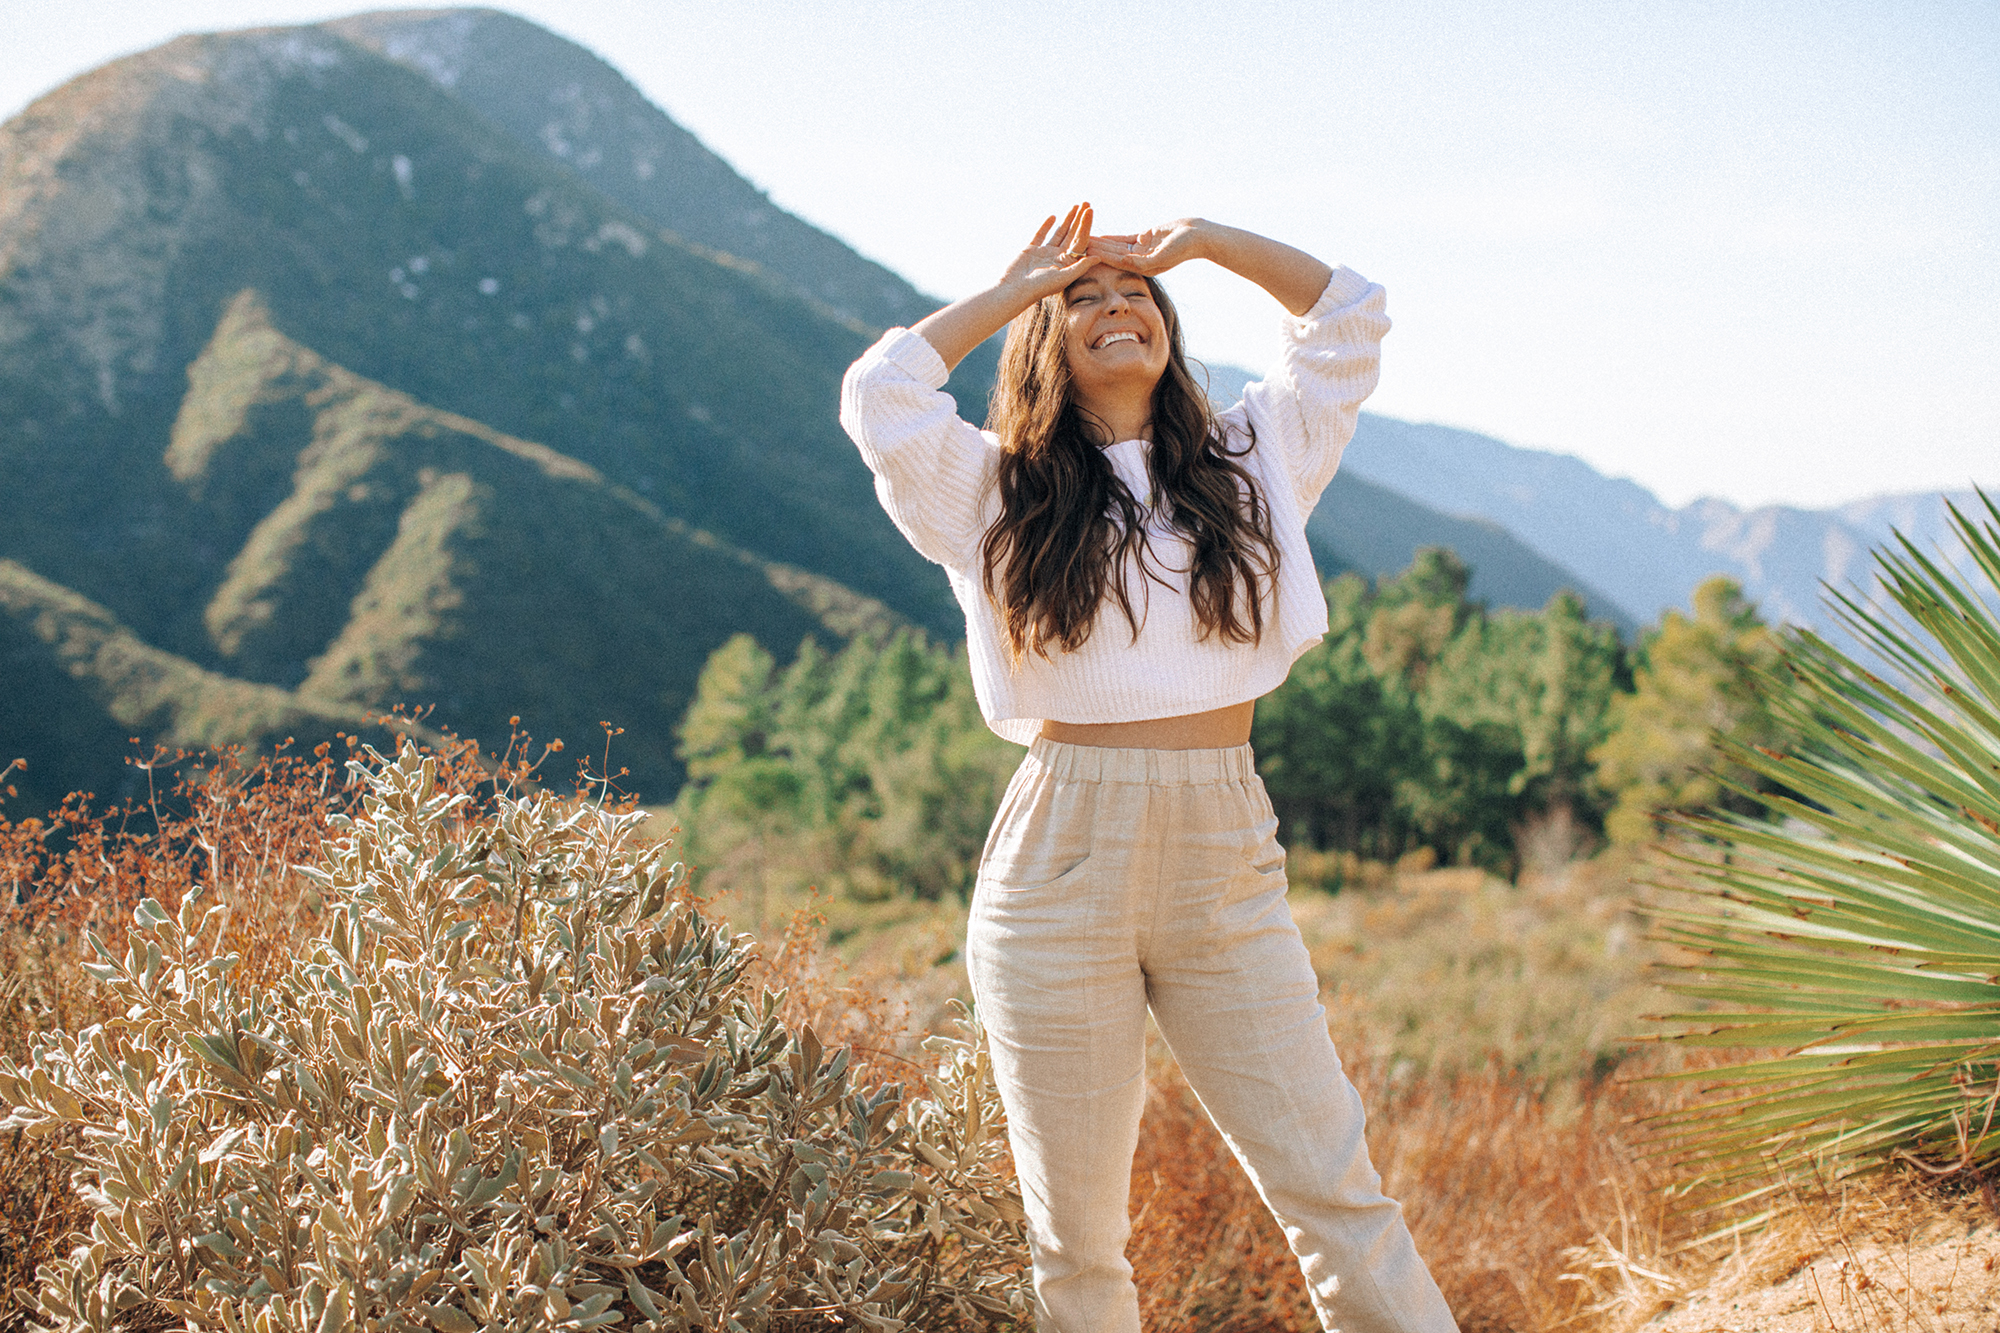
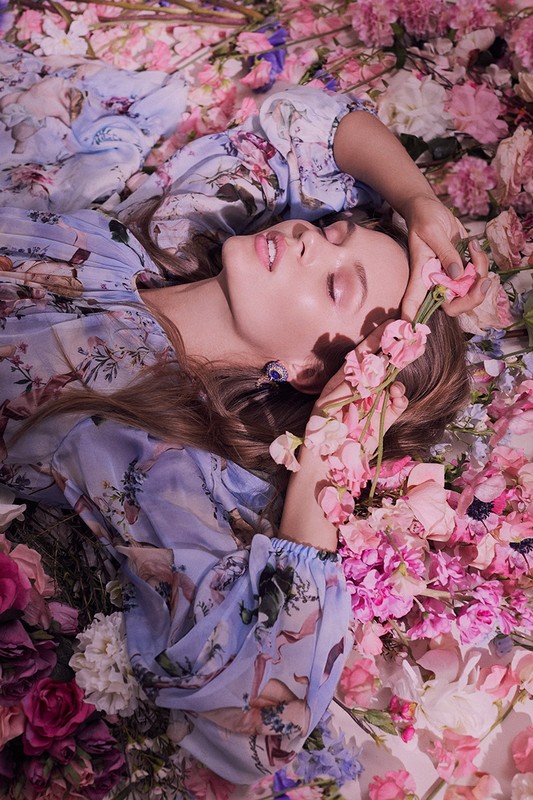
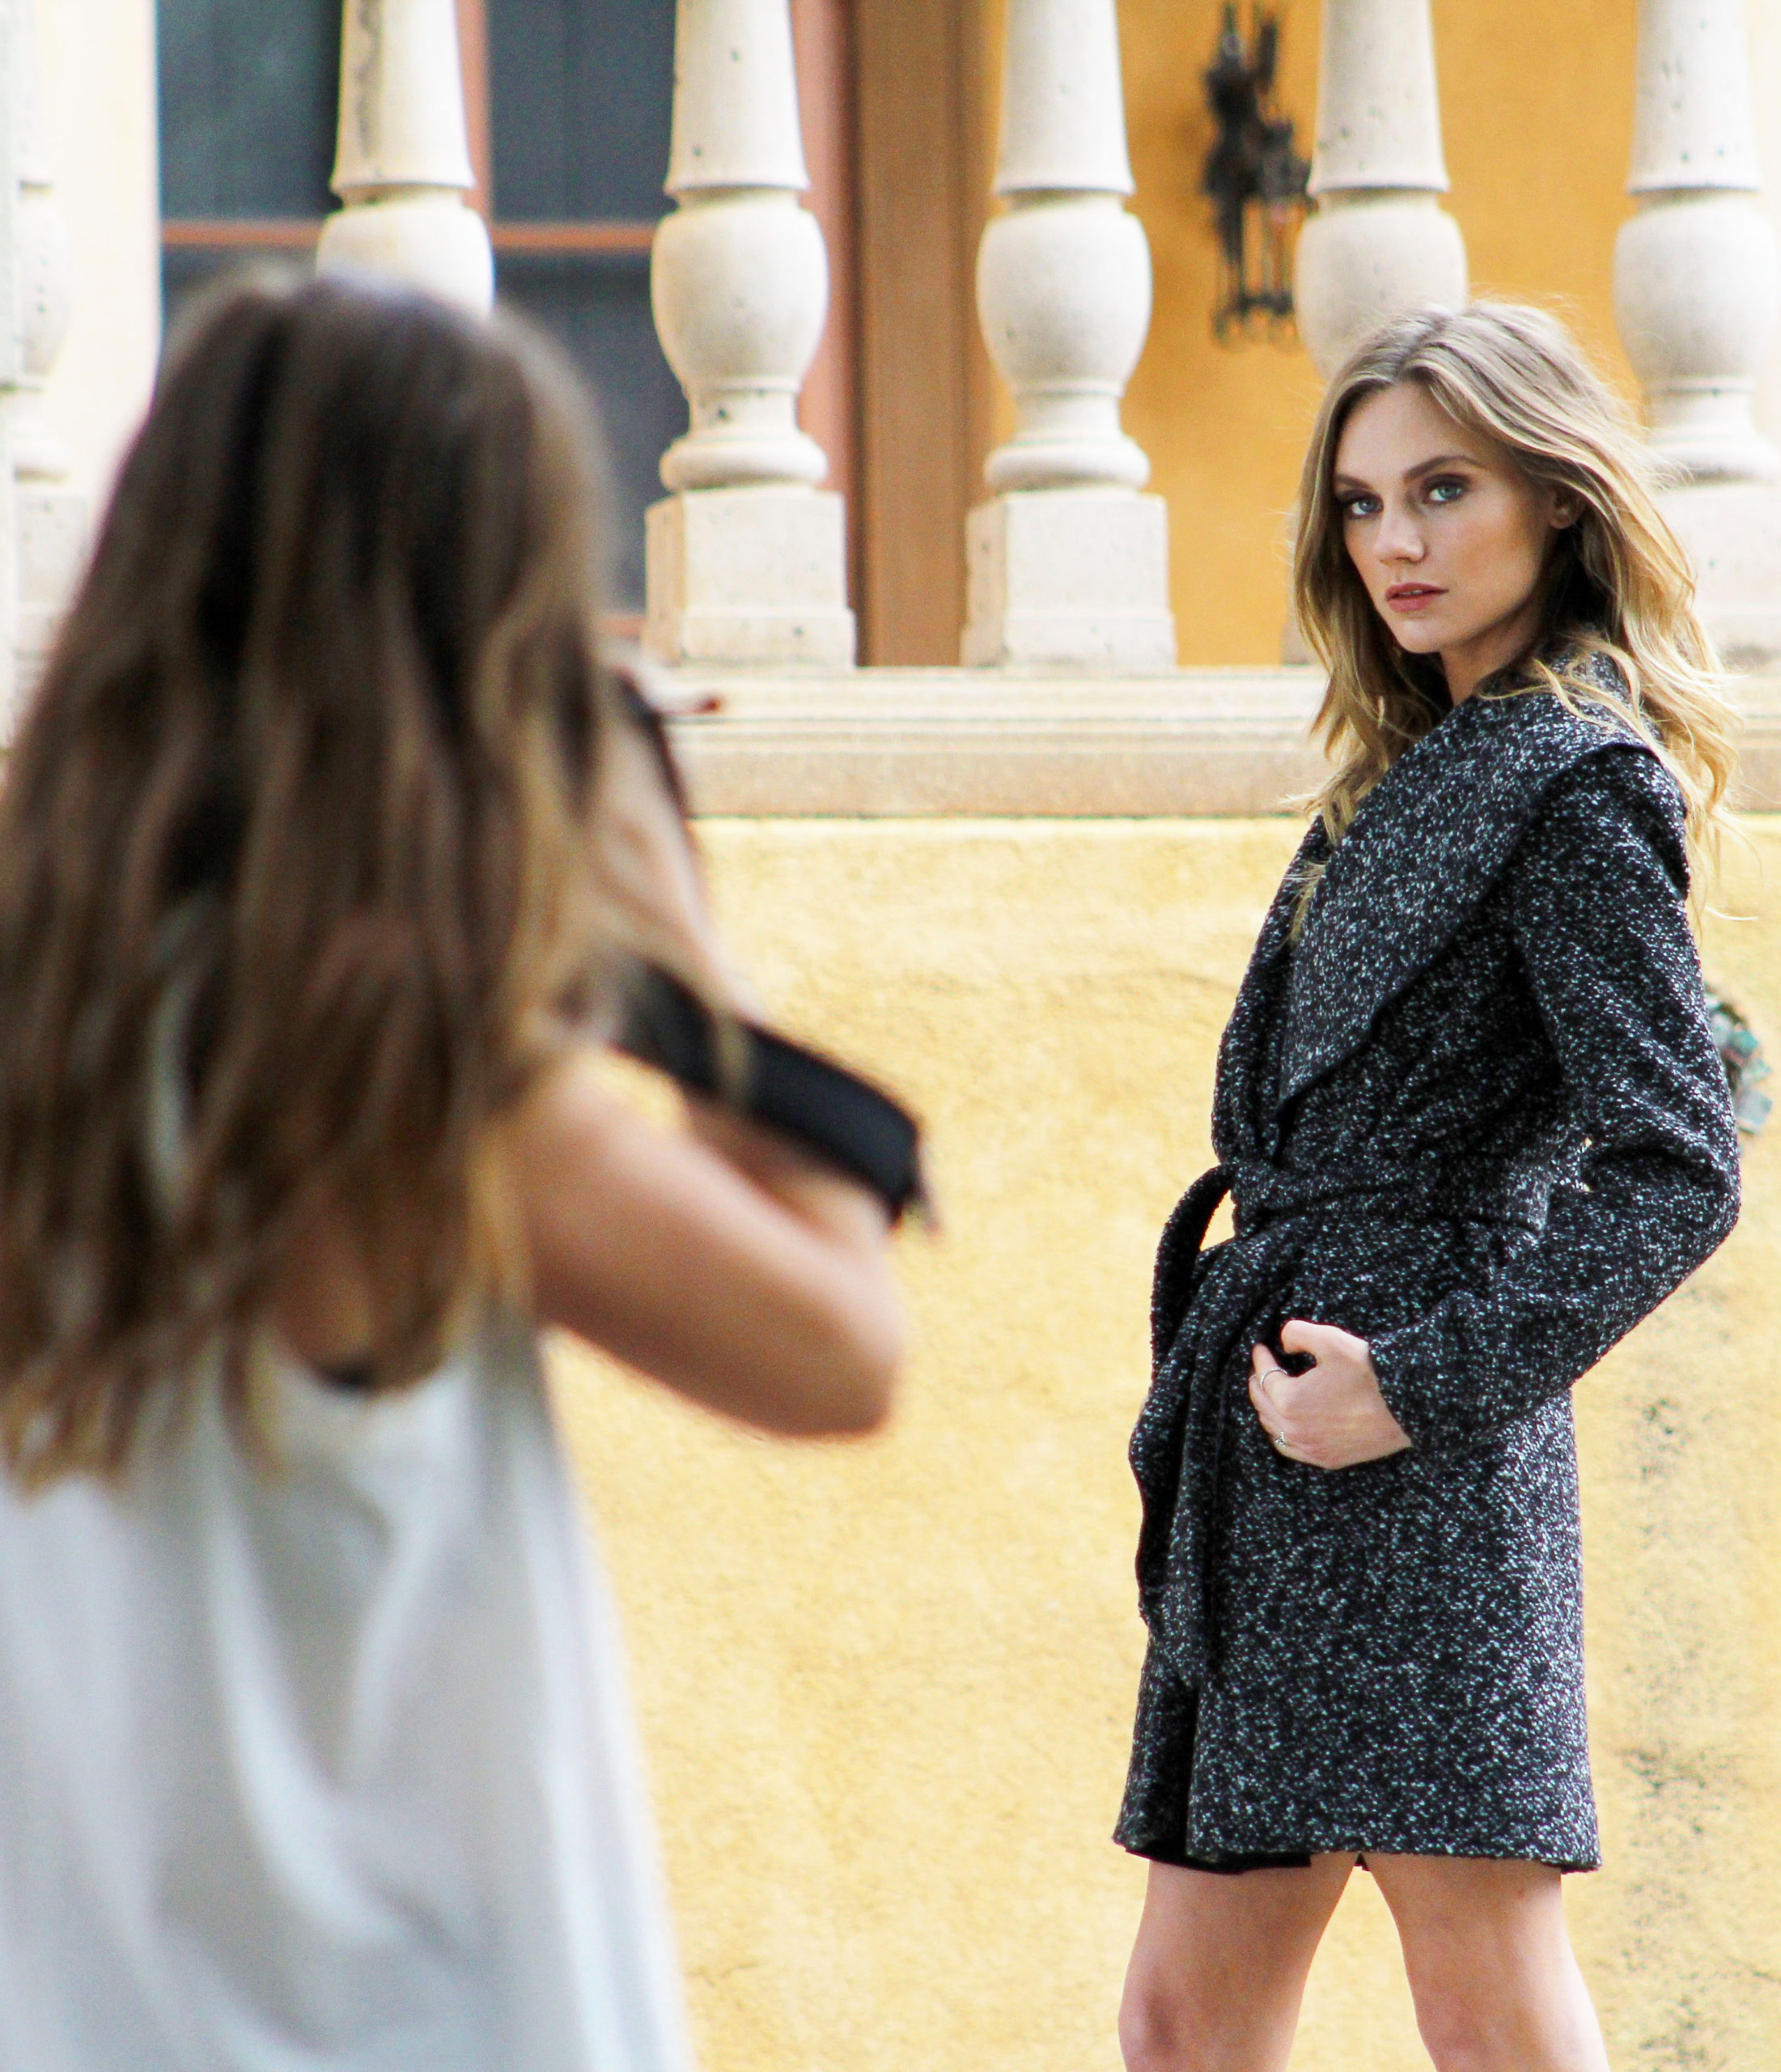
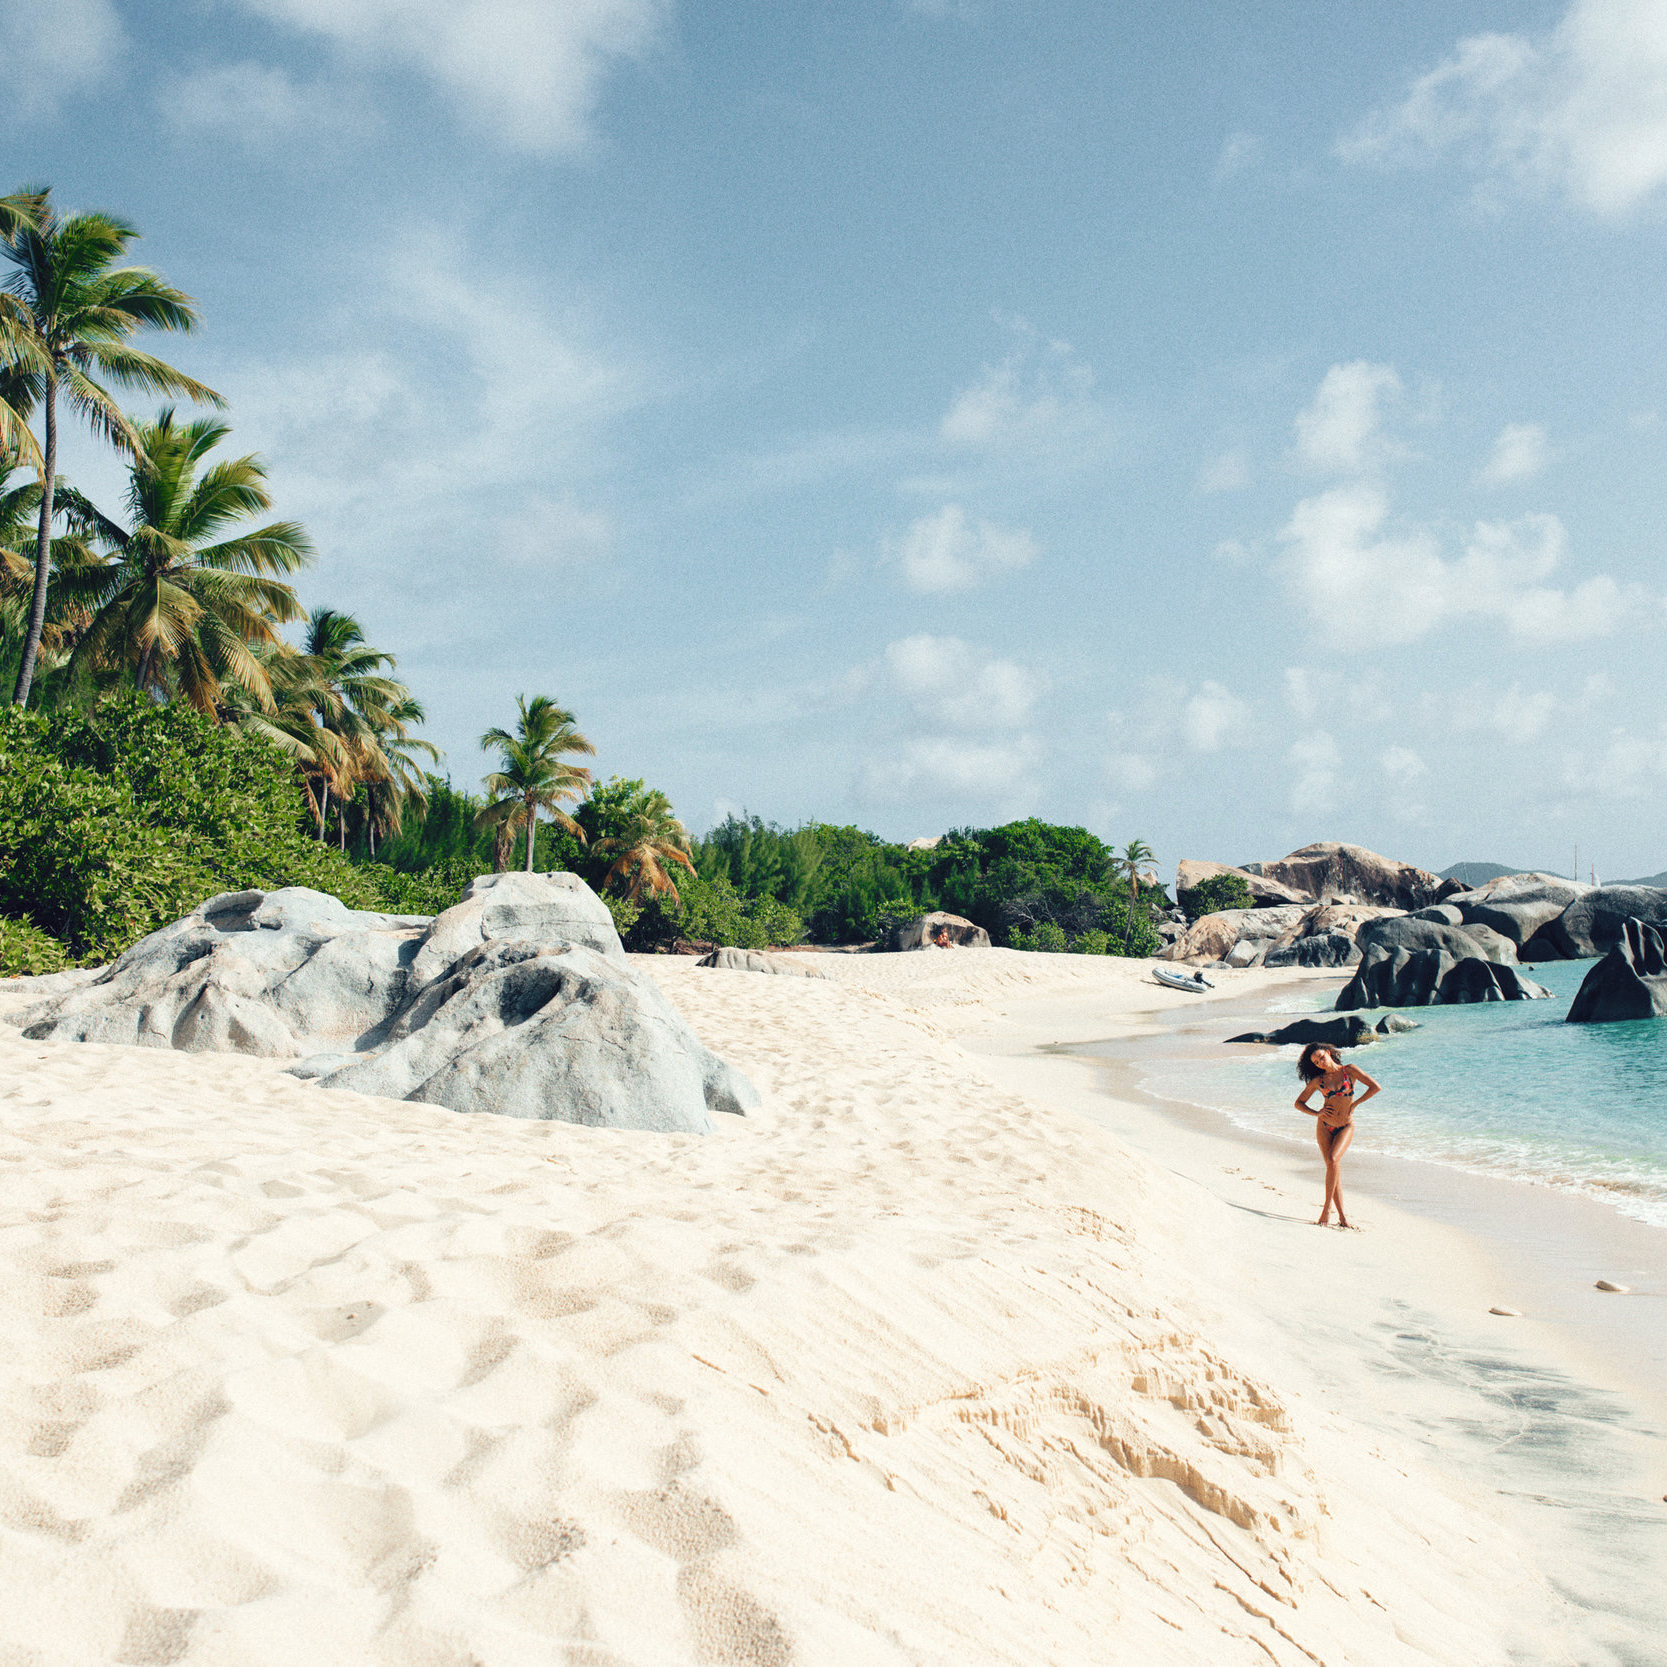
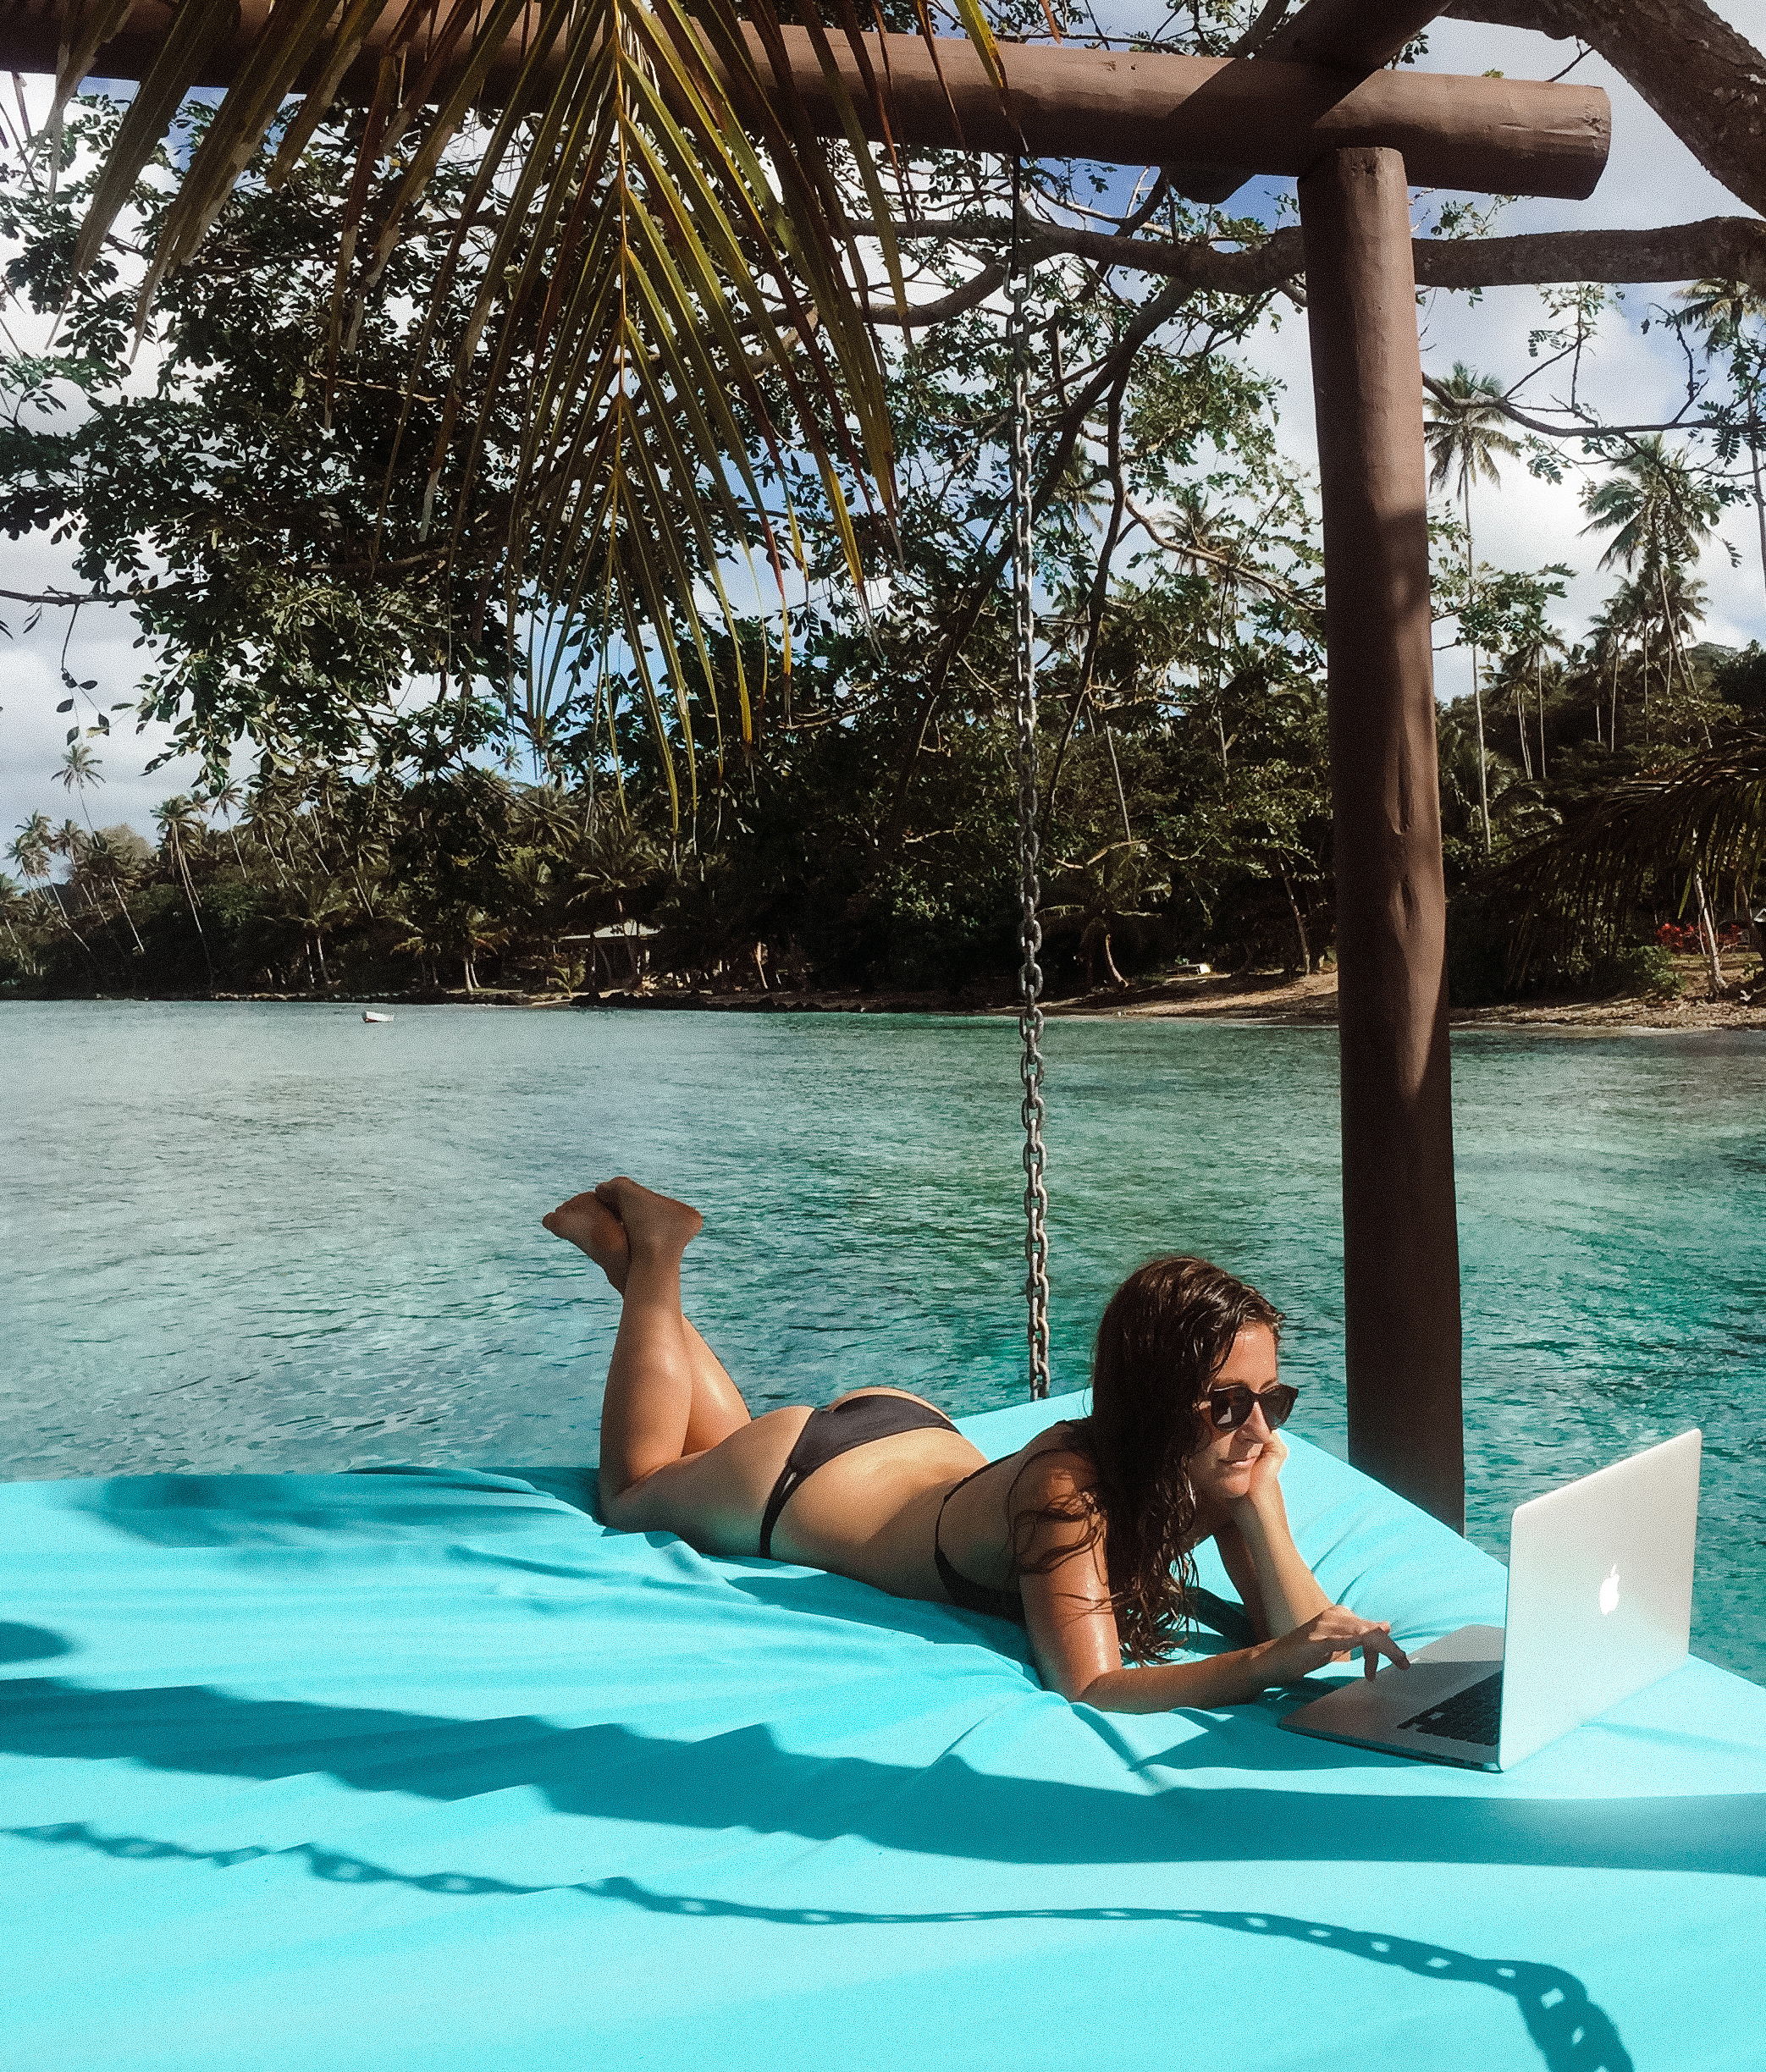
4. Find the right background
The background plays a huge role in the appearance of the DOF and is honestly too often overlooked.
Pretty impactful right?! So much can change when small tweaks are implemented into the work we do. I hope you enjoyed this episode as much as I did and if you have any questions about depth of field don’t hesitate to reach out on Instagram! I’m happy to help.


COMMENTS