
I don’t know if you’ve been able to tell yet, but I am freaking obsessed with lighting. Lighting is by far my favorite technical aspect of photography and is the one thing that can have the biggest impact on the quality of your final images. There’s soft light, dappled light, studio light, harsh light, direct light, indirect light—you name it! The trick is being able to use and manipulate these different types of lighting skillfully in the photographs that you take. When it comes to photography, lighting is absolutely everything!
The thing about lighting, though, is that it can also be super intimidating and usually takes a lot (yes, a lot-lot) of practice to get you to that “Aha!” moment when you finally understand exactly how to make those gorgeous light rays work the way you want them to. But, y’all, I’m talking about the fun kind of practice where you’re out there taking those dreamy shots and finding new ways to change up the lighting and seeing what happens right before your eyes (or, well, lens)! What was once an okay image that was just missing something can become incredible with the right lighting adjustment.
I remember when I was first starting my career as a photographer, I would obsess over the images taken by photographers I admired. I’d stare at and analyze them for hours on end trying to figure out exactly how they got the lighting to work the way it did in the shot, and why I couldn’t seem to replicate the lighting in my own. I spent YEARS researching the lighting methods, equipment, and styles used by these photographers and I still do it to this day any time an image with interesting lighting catches my eye. And that’s the amazing thing about lighting—the way it shifts and changes with and against the environment, subject, and perspective. It’s ever changing and full of creative opportunity!
As with most things in photography, lighting is what you make it. And when you know how to see and work with different types of lighting, you can create a gorgeous scene in even the most horrible-awful-terrible situations. Just like I had to when suddenly finding myself on a shoot in Mexico in the middle of a hurricane.
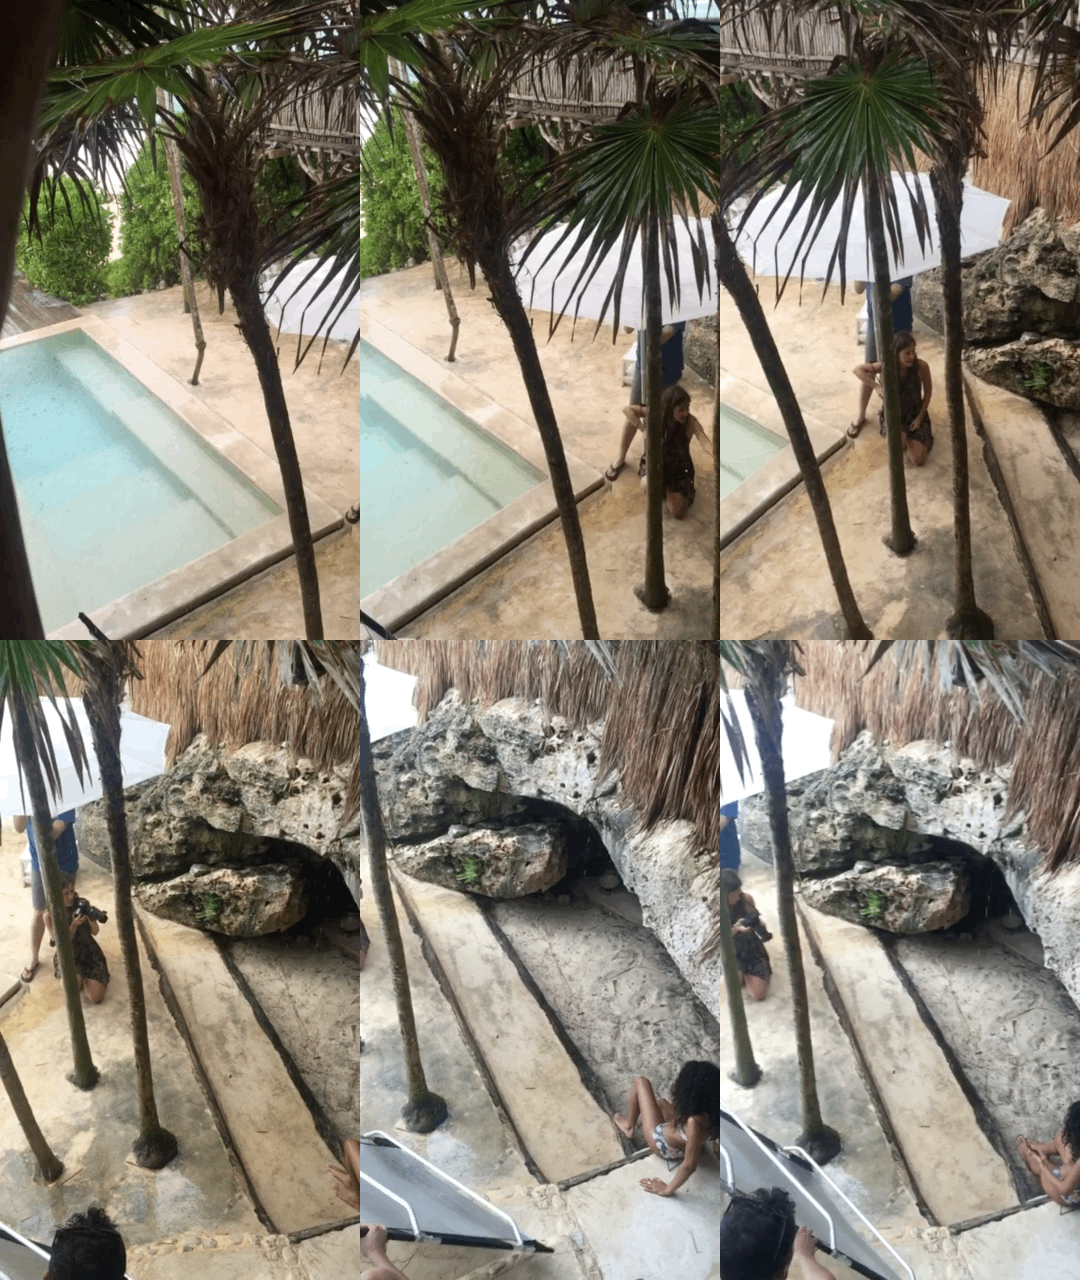
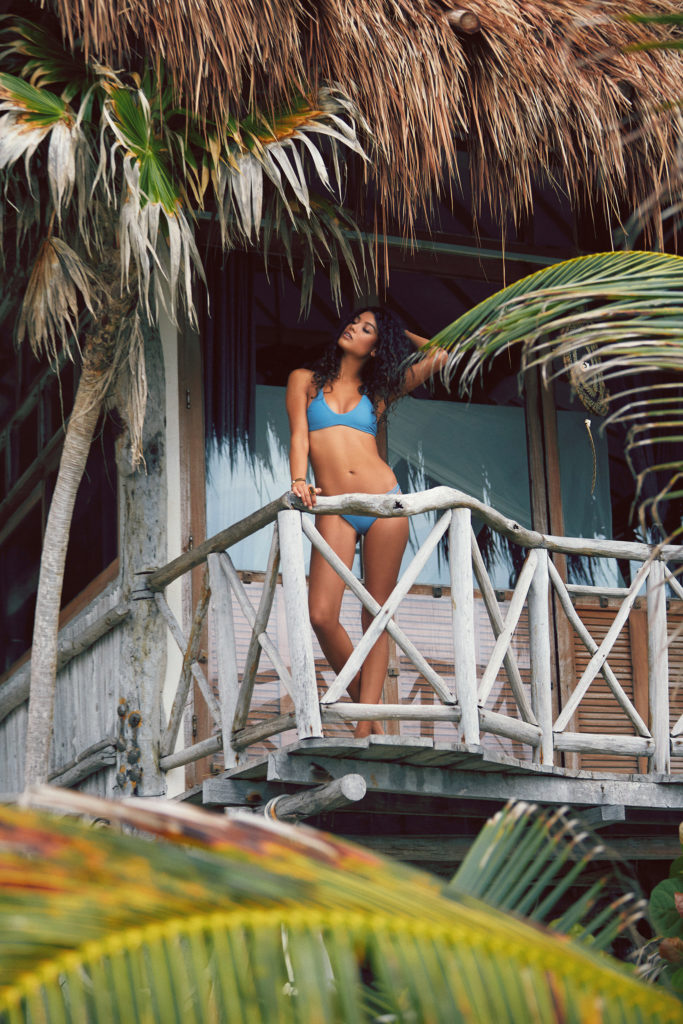
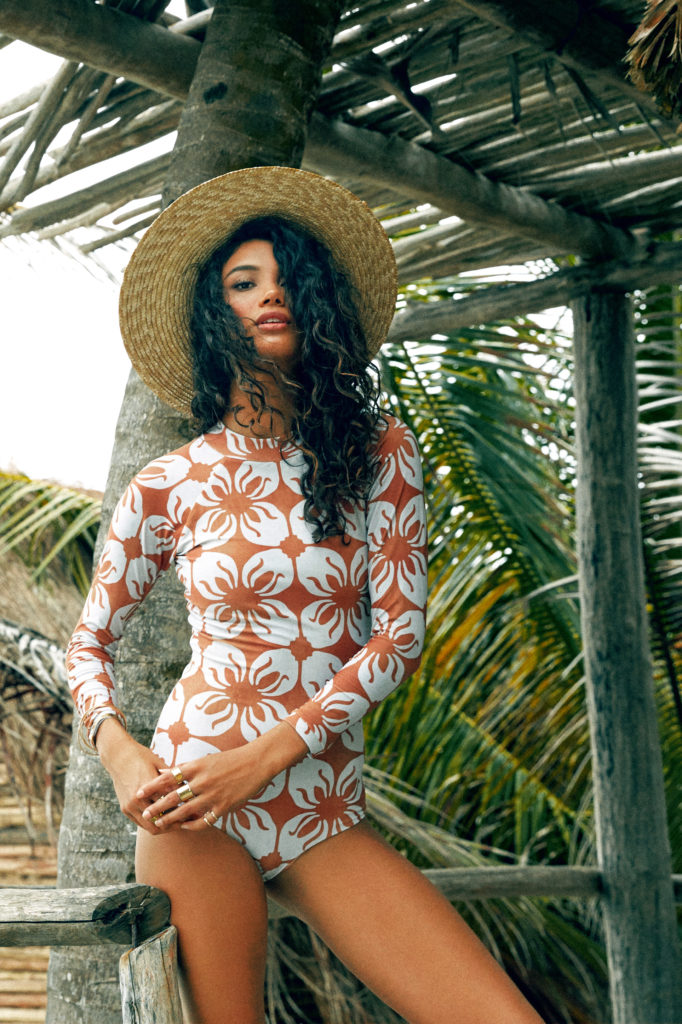
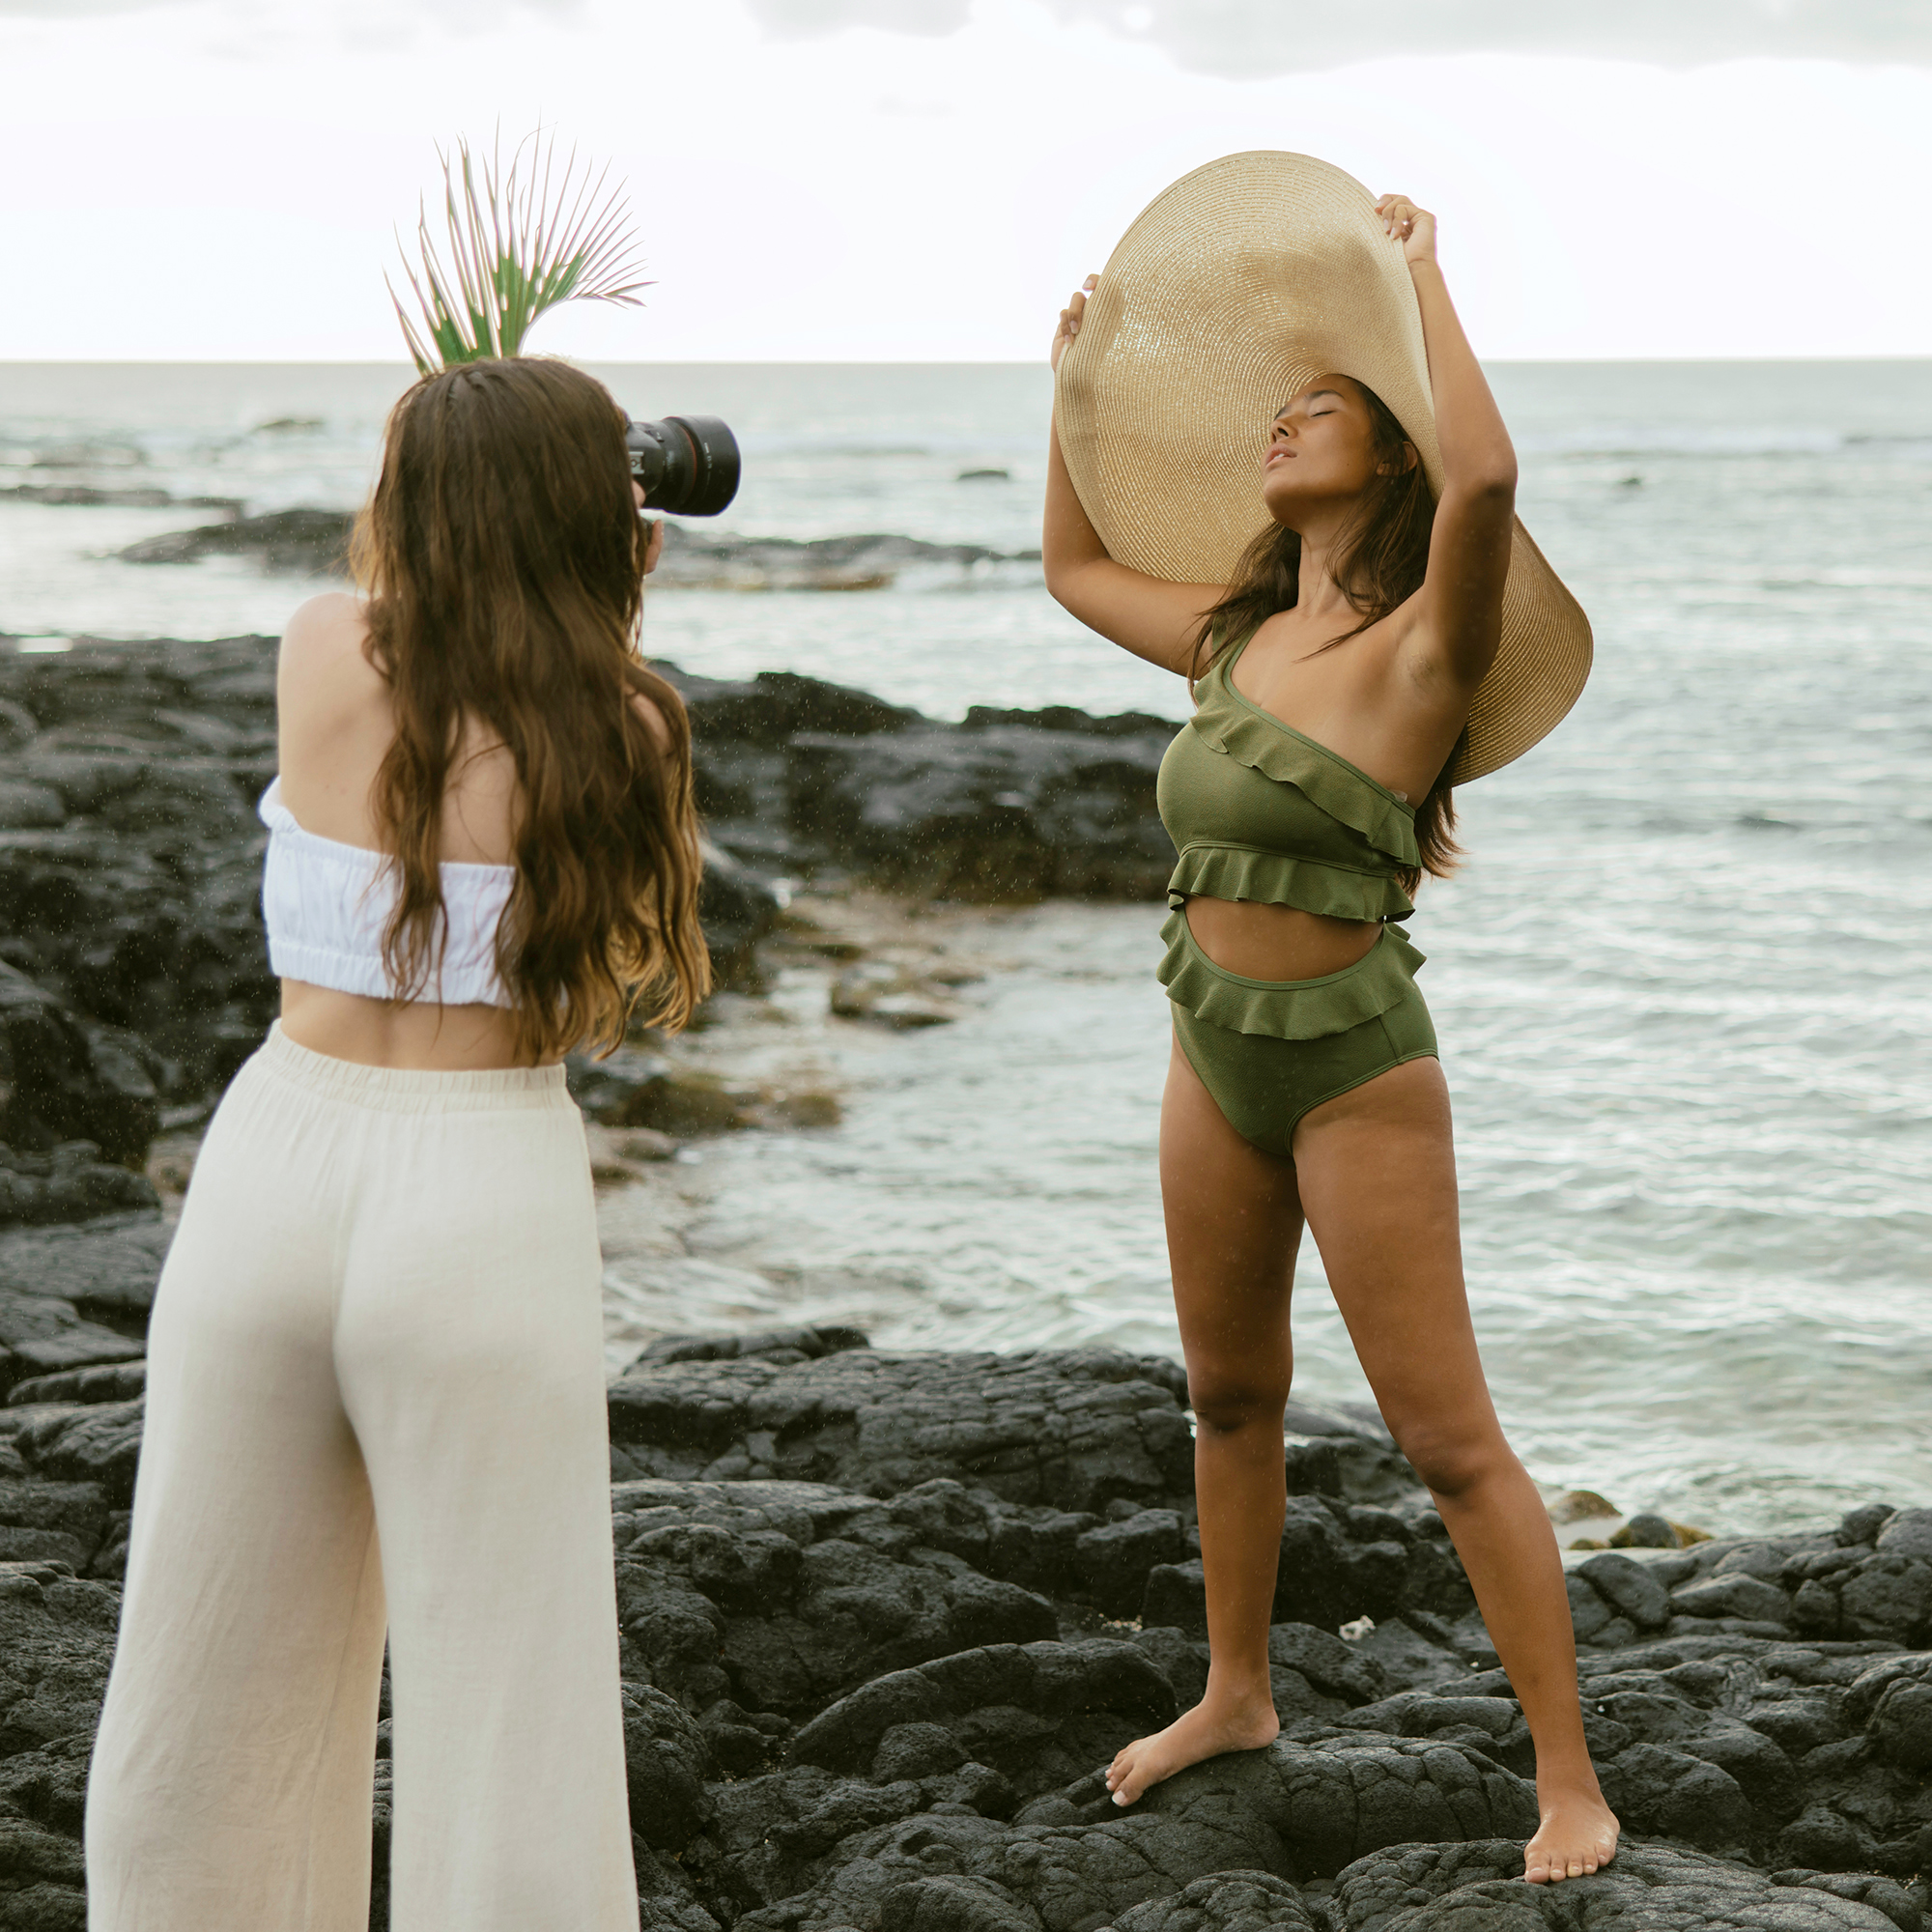
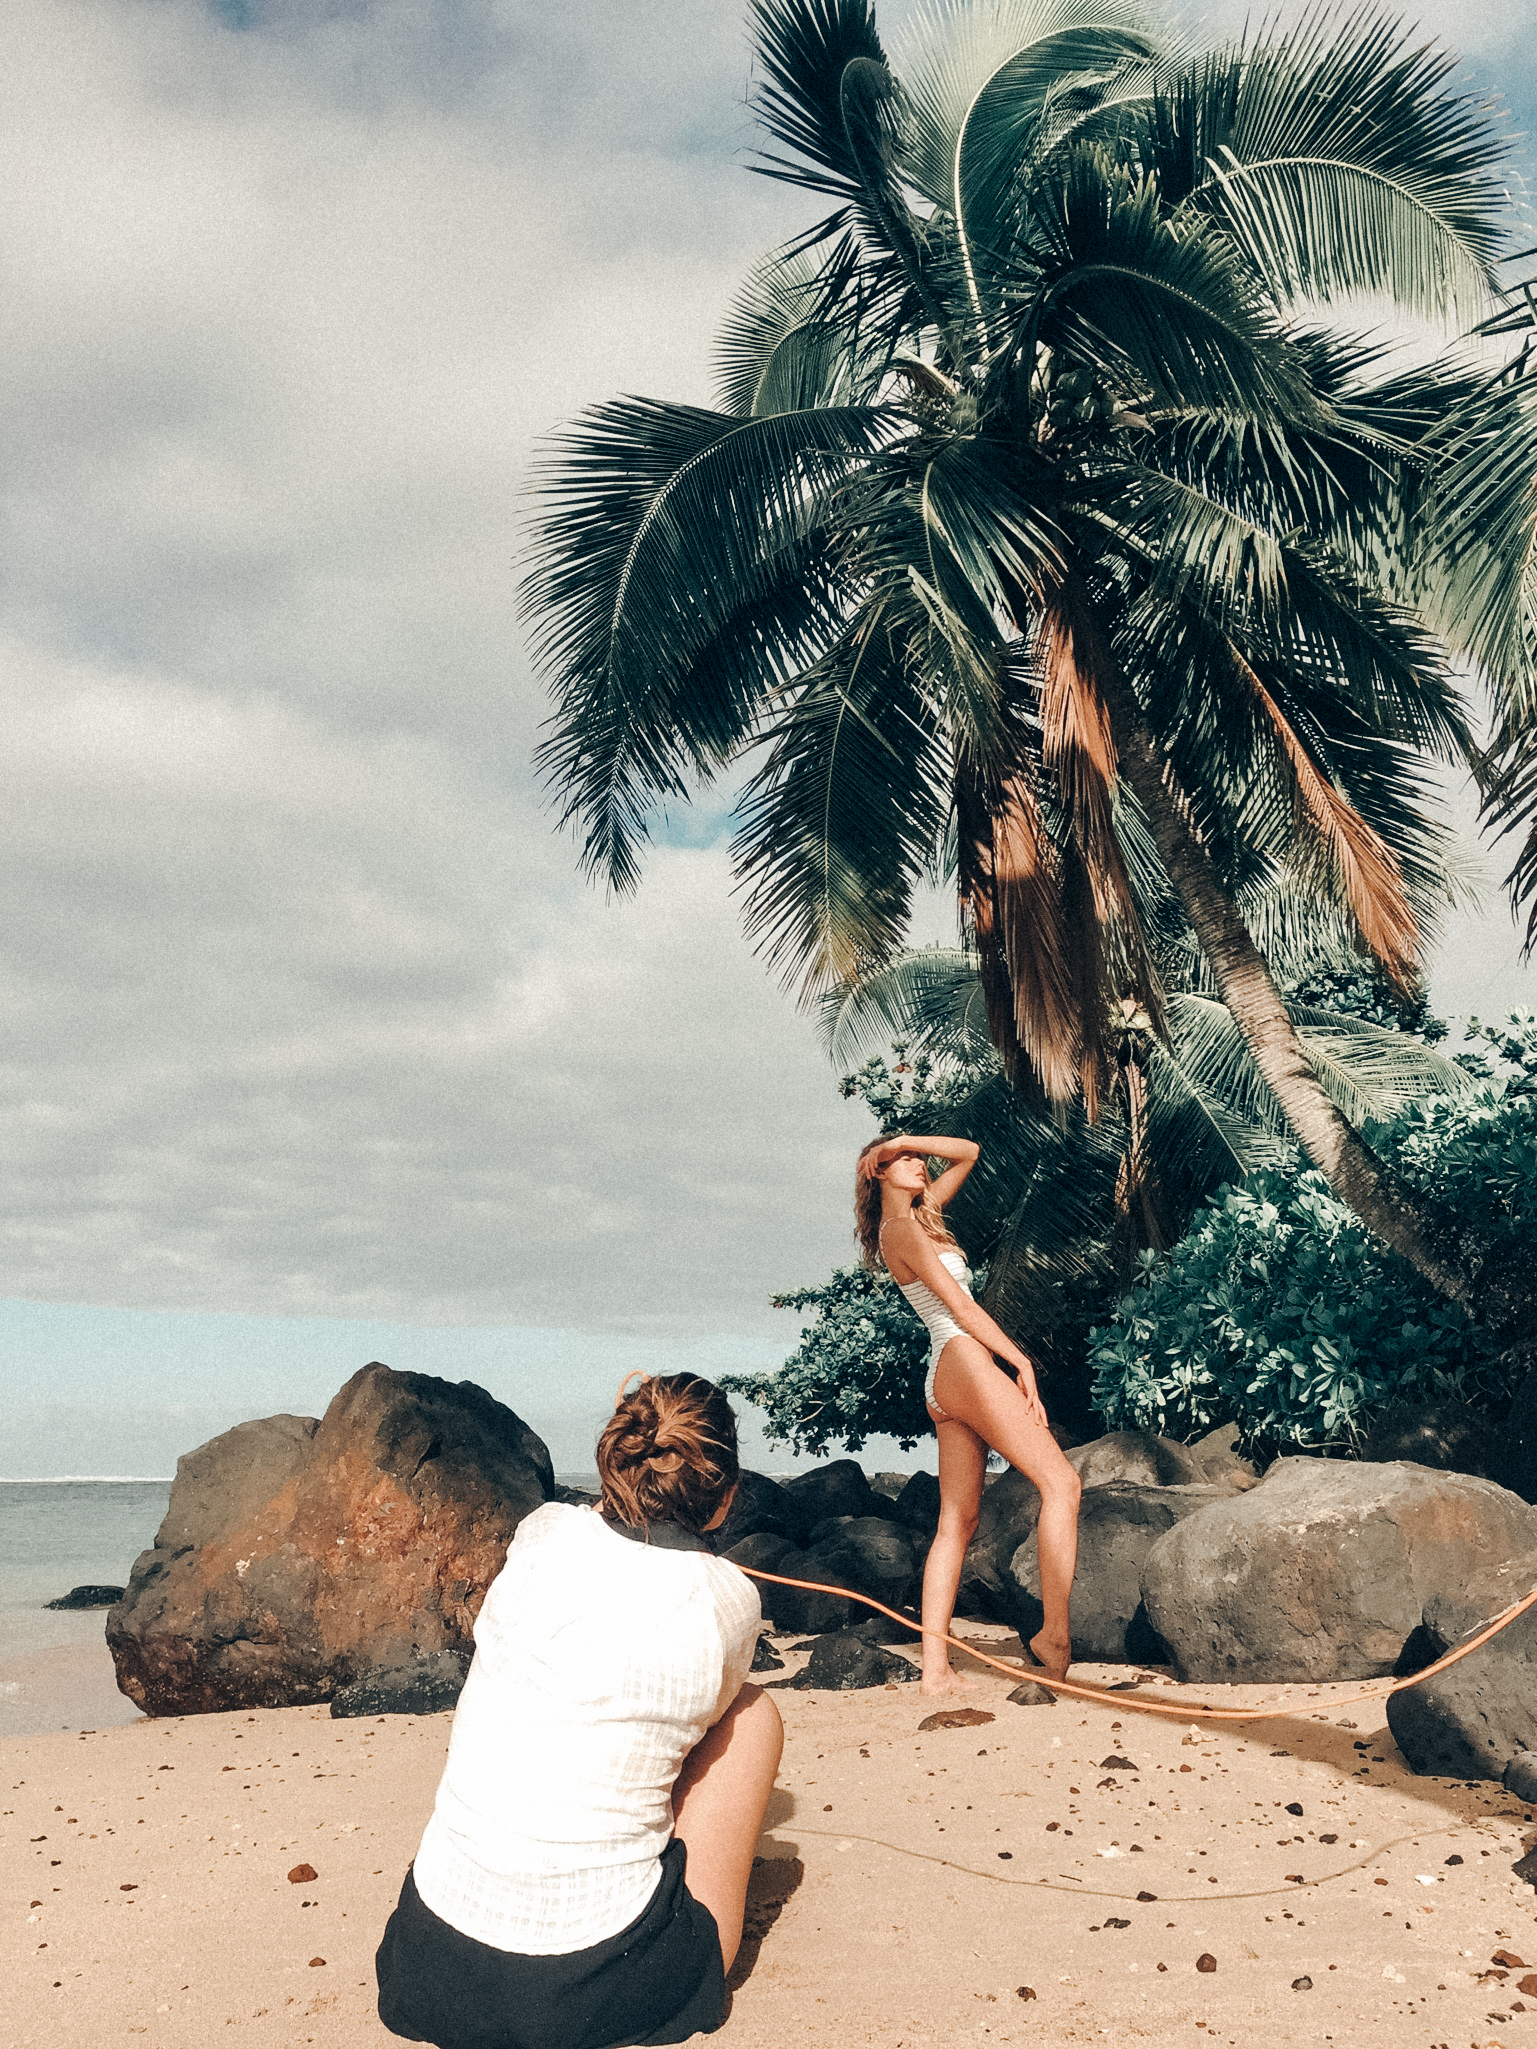
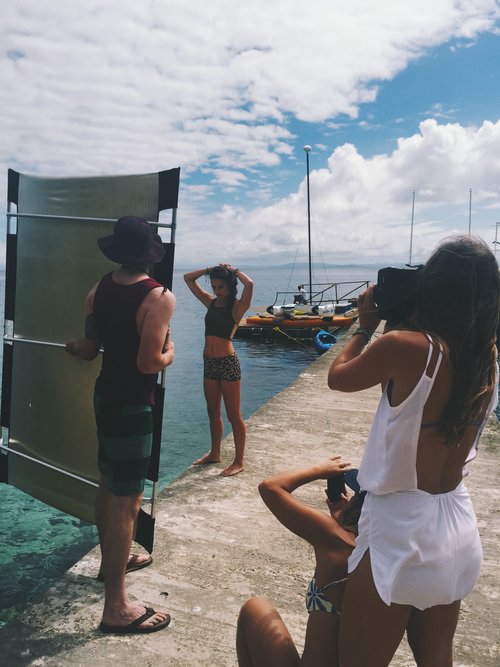
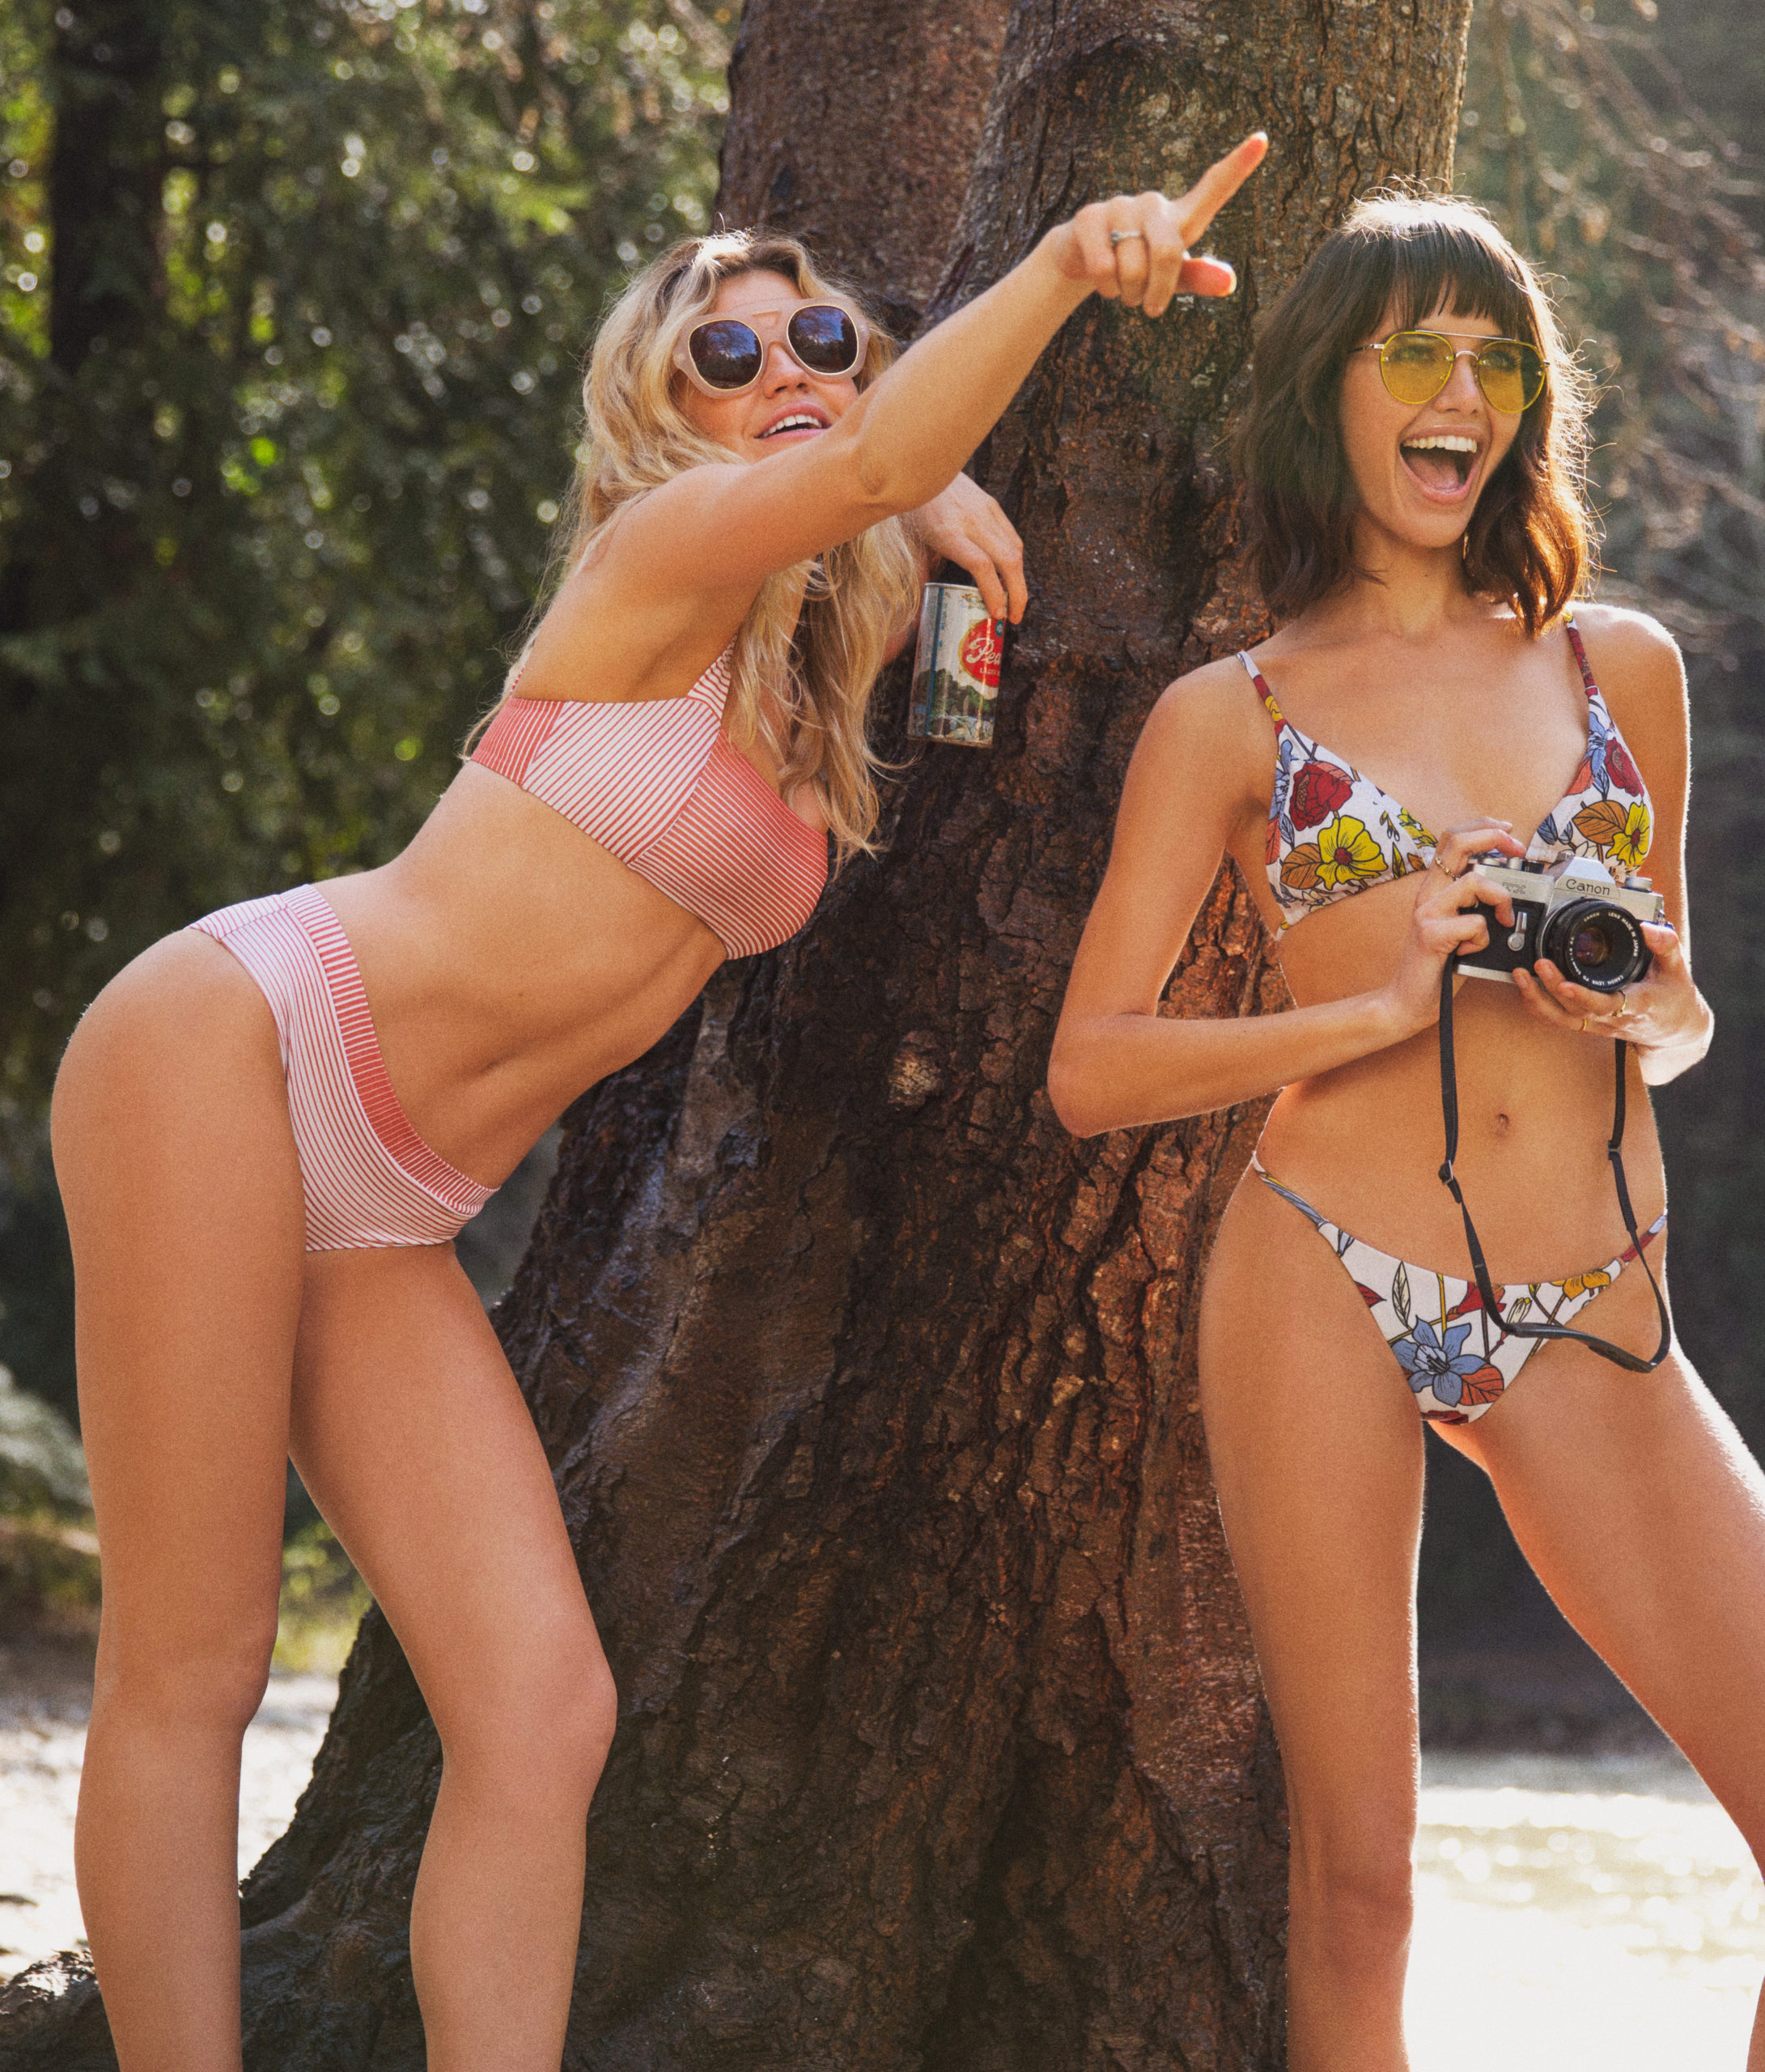
I had gotten a job shooting a swimwear campaign in Mexico when the day before the shoot the weather shifted and brought with it a pretty awful hurricane. We arrived at the shoot location before realizing just how crazy it would get, while half of our crew almost didn’t even make it because of sudden flight cancellations and postponements. Luckily, the rest of our crew tiptoed into the hotel around midnight the night before the shoot was supposed to start. Oh, and we were on deadline with only two days to get all the shots we needed. And did I mention we were in the middle of a hurricane? Ok, good.
By the time we woke up the next morning to start the shoot, the hurricane had gotten even worse and we were surrounded by torrential downpours in every direction and ominous, super dark skies. Great for shooting, right? The thing is, as the photographer, sometimes you just have to figure out how to make it work. And that’s what we did. So, with photo umbrella turned rain umbrella in hand, my assistant followed me around throughout the whole shoot trying to keep as much water from getting on the camera as possible and we pushed through the whole shoot. The thing I had to keep in mind throughout the shoot was that even in the darkest of situations, there is still some amount of natural light available—it’s just about finding and harnessing it in the right ways. Sometimes it means taking advantage of that strong, mid-day light and sometimes it means knowing WHERE and HOW to position your subject to make the light as flattering as possible.
below is a little clip from said hurricane….
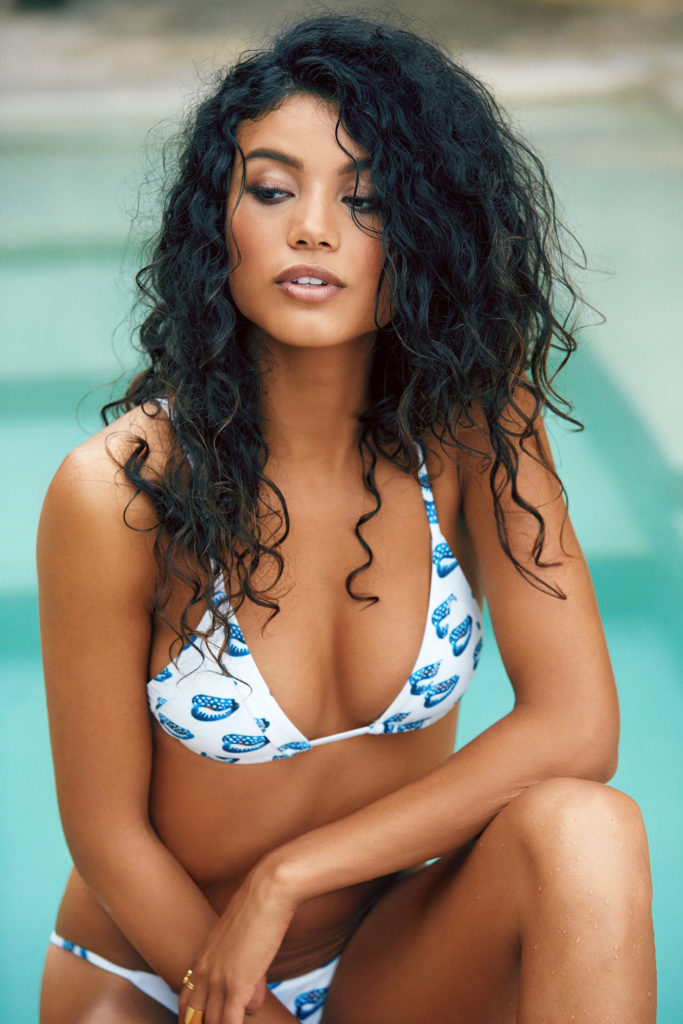
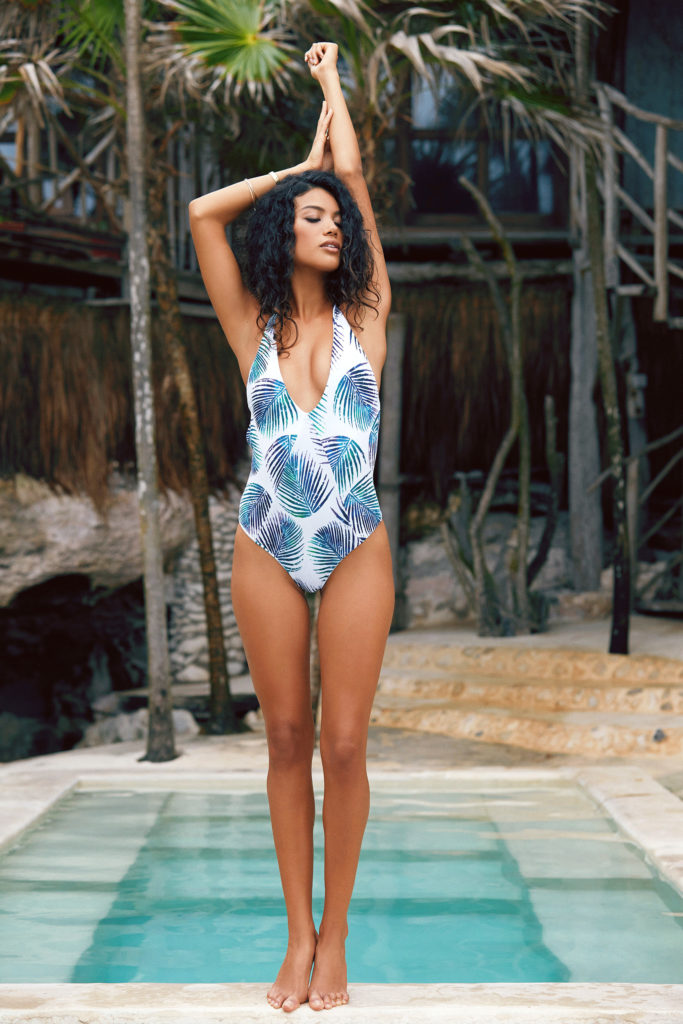
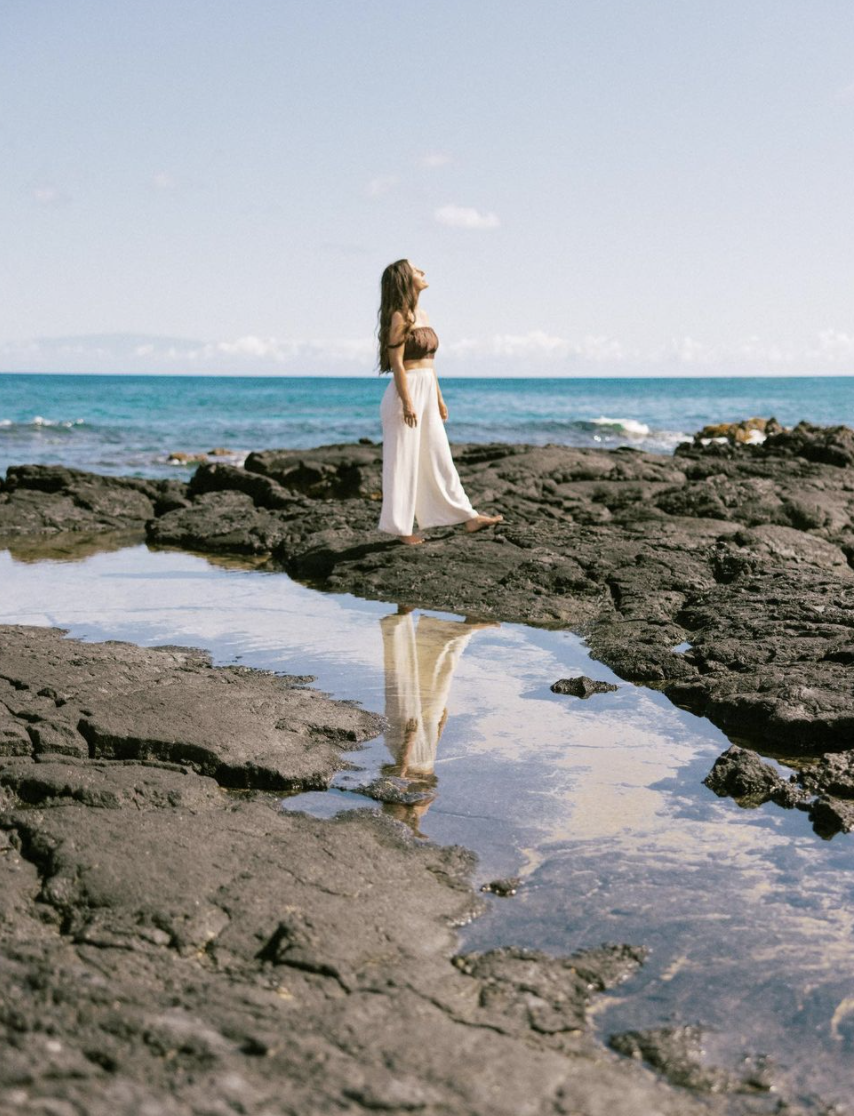
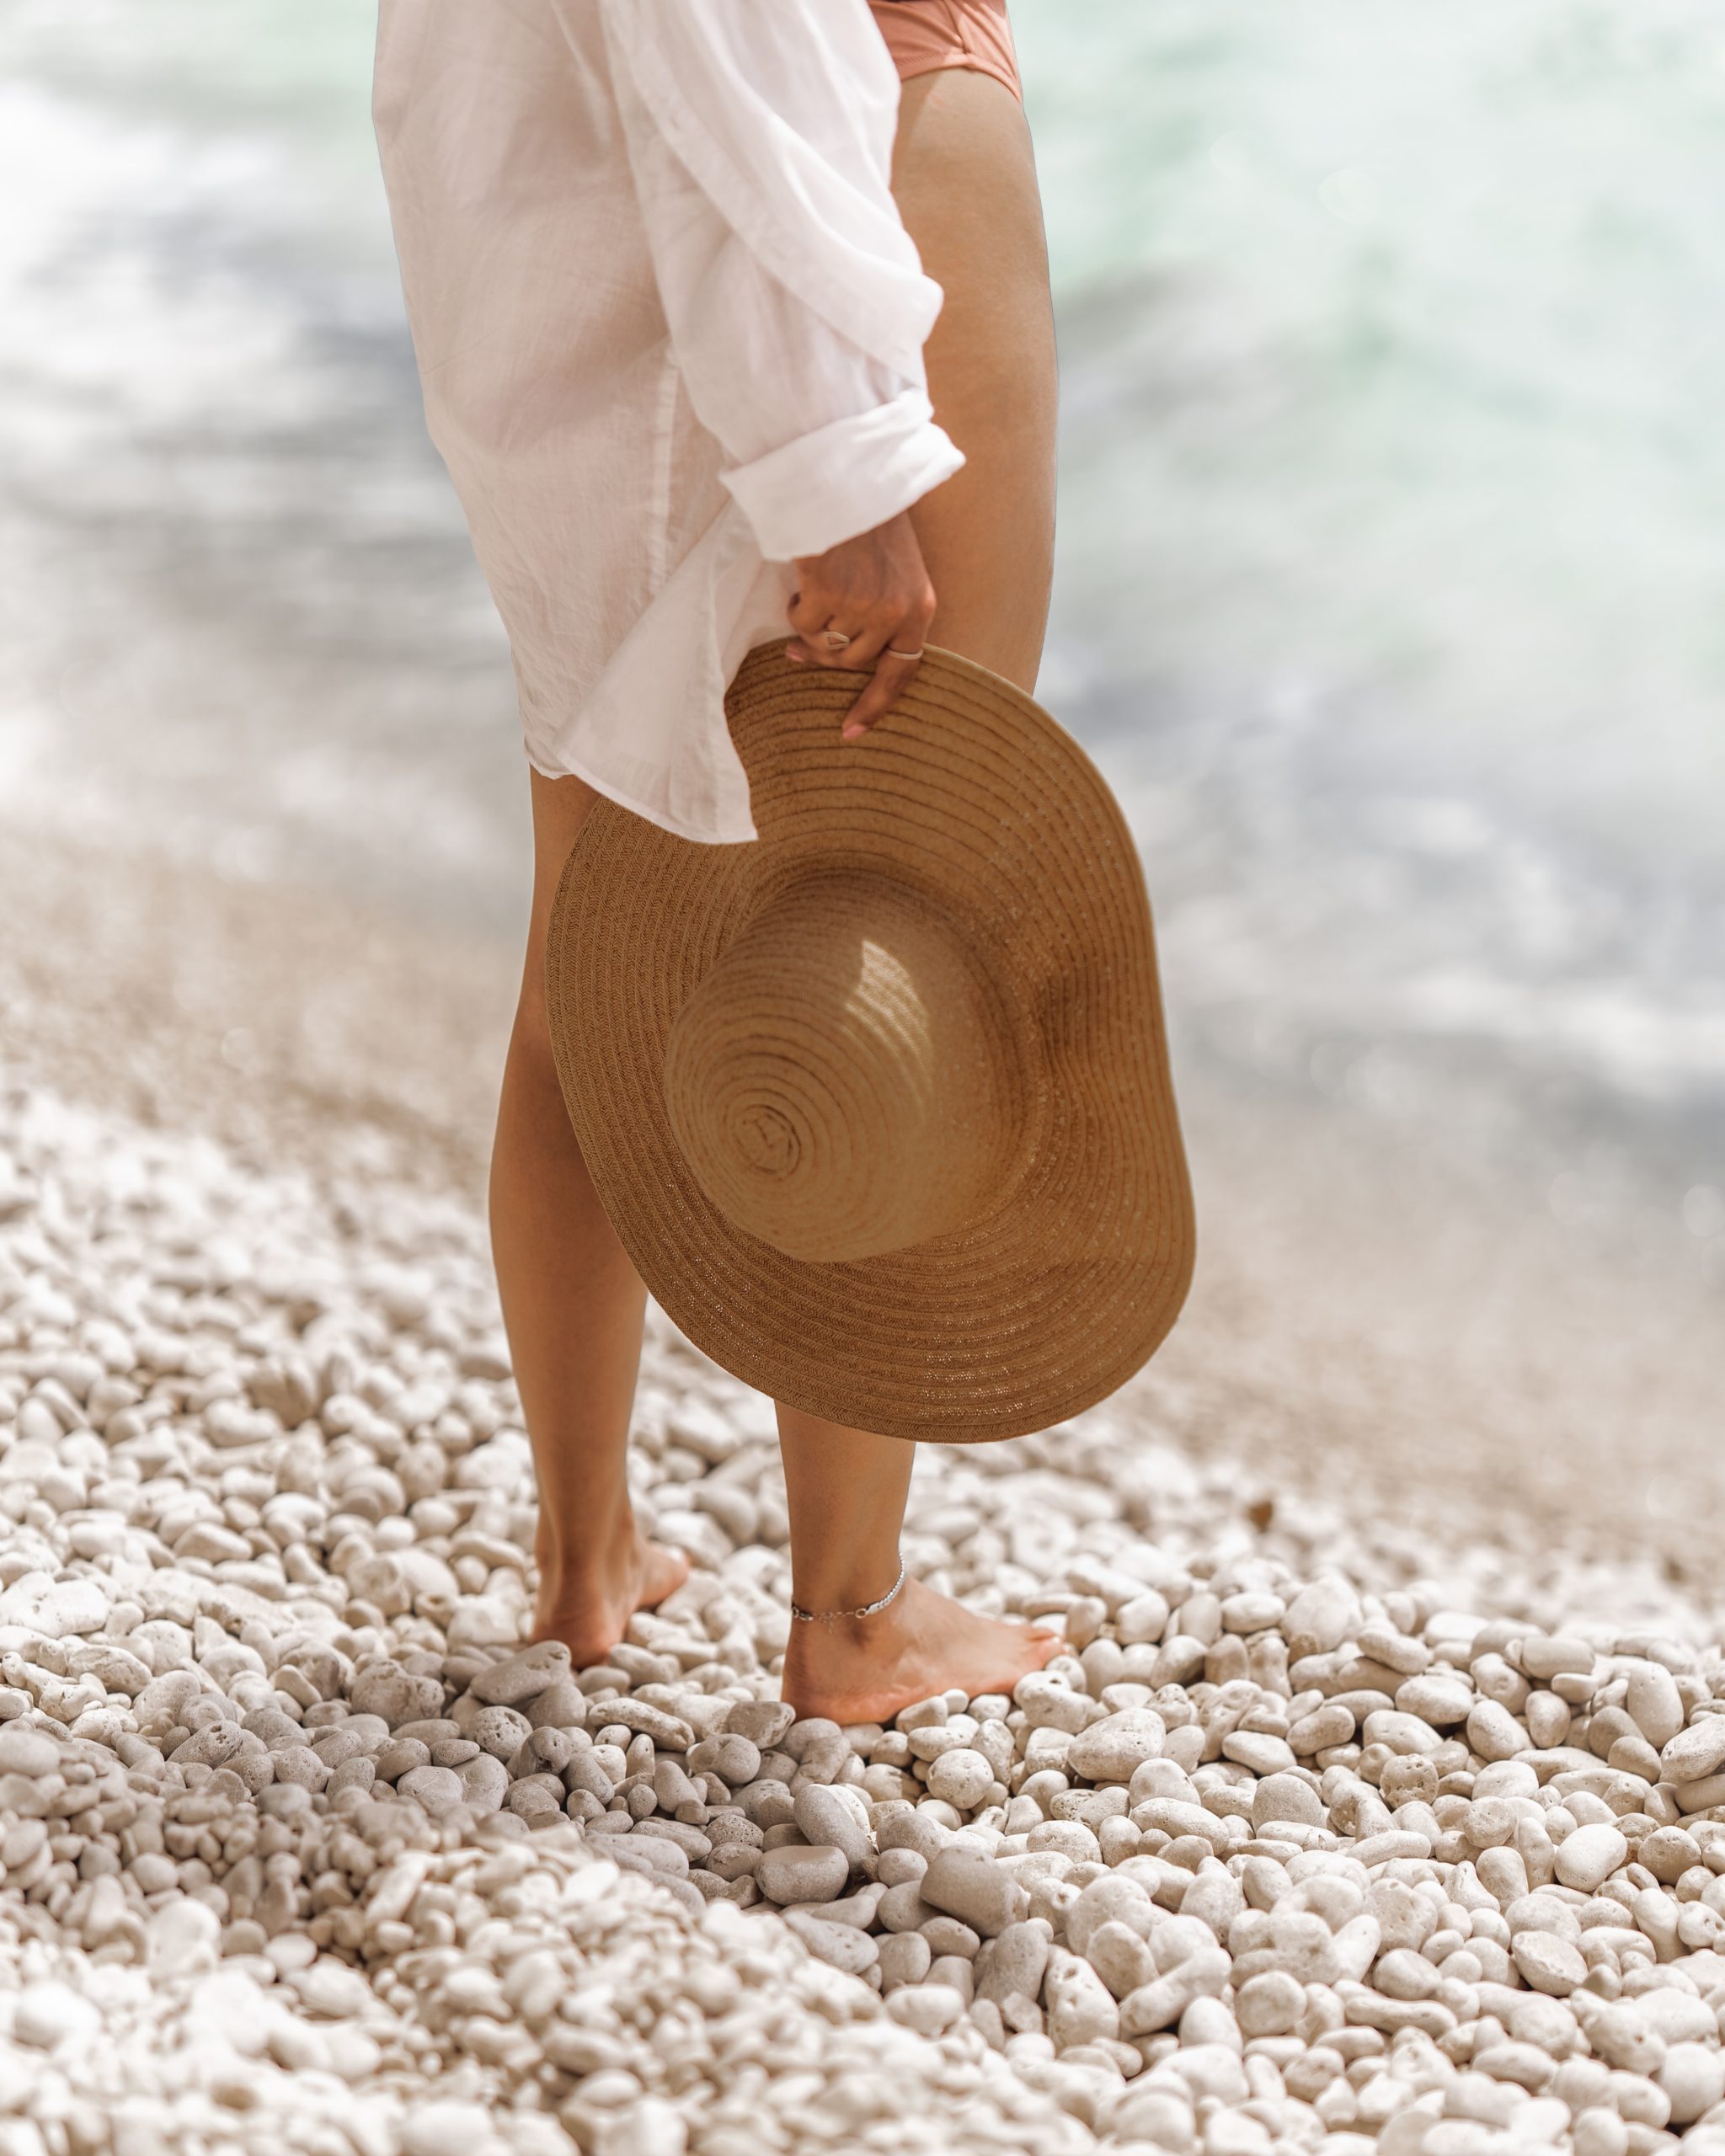
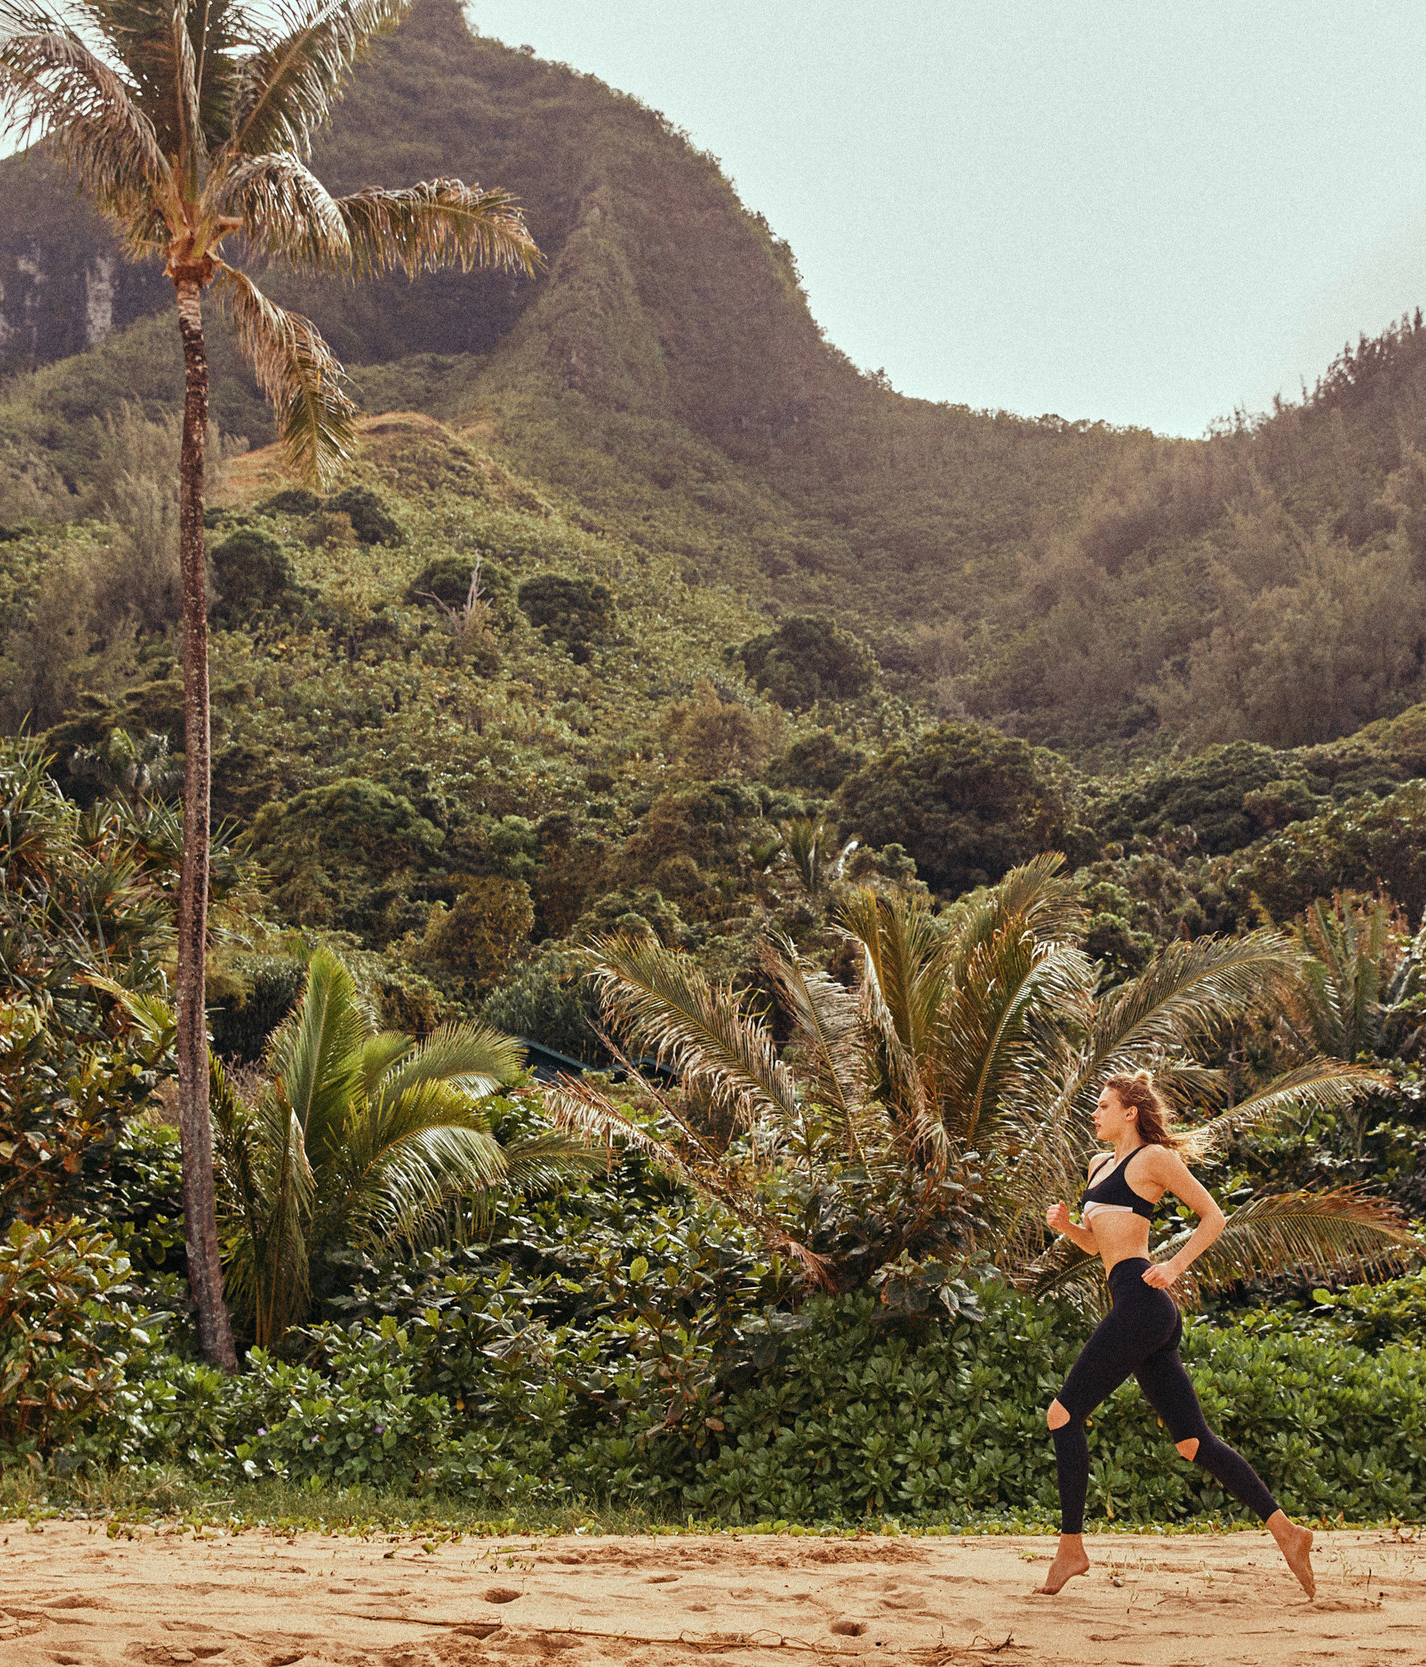
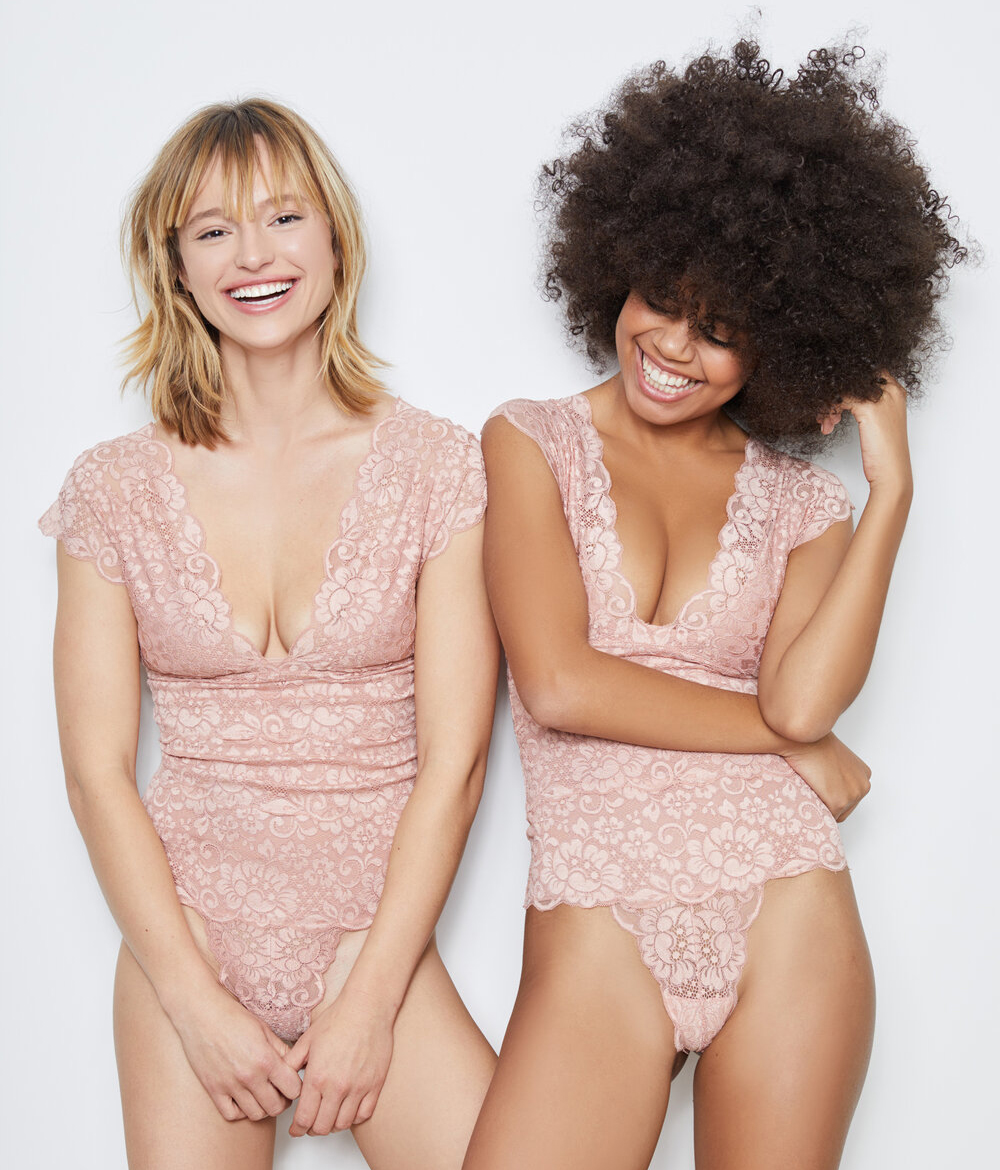
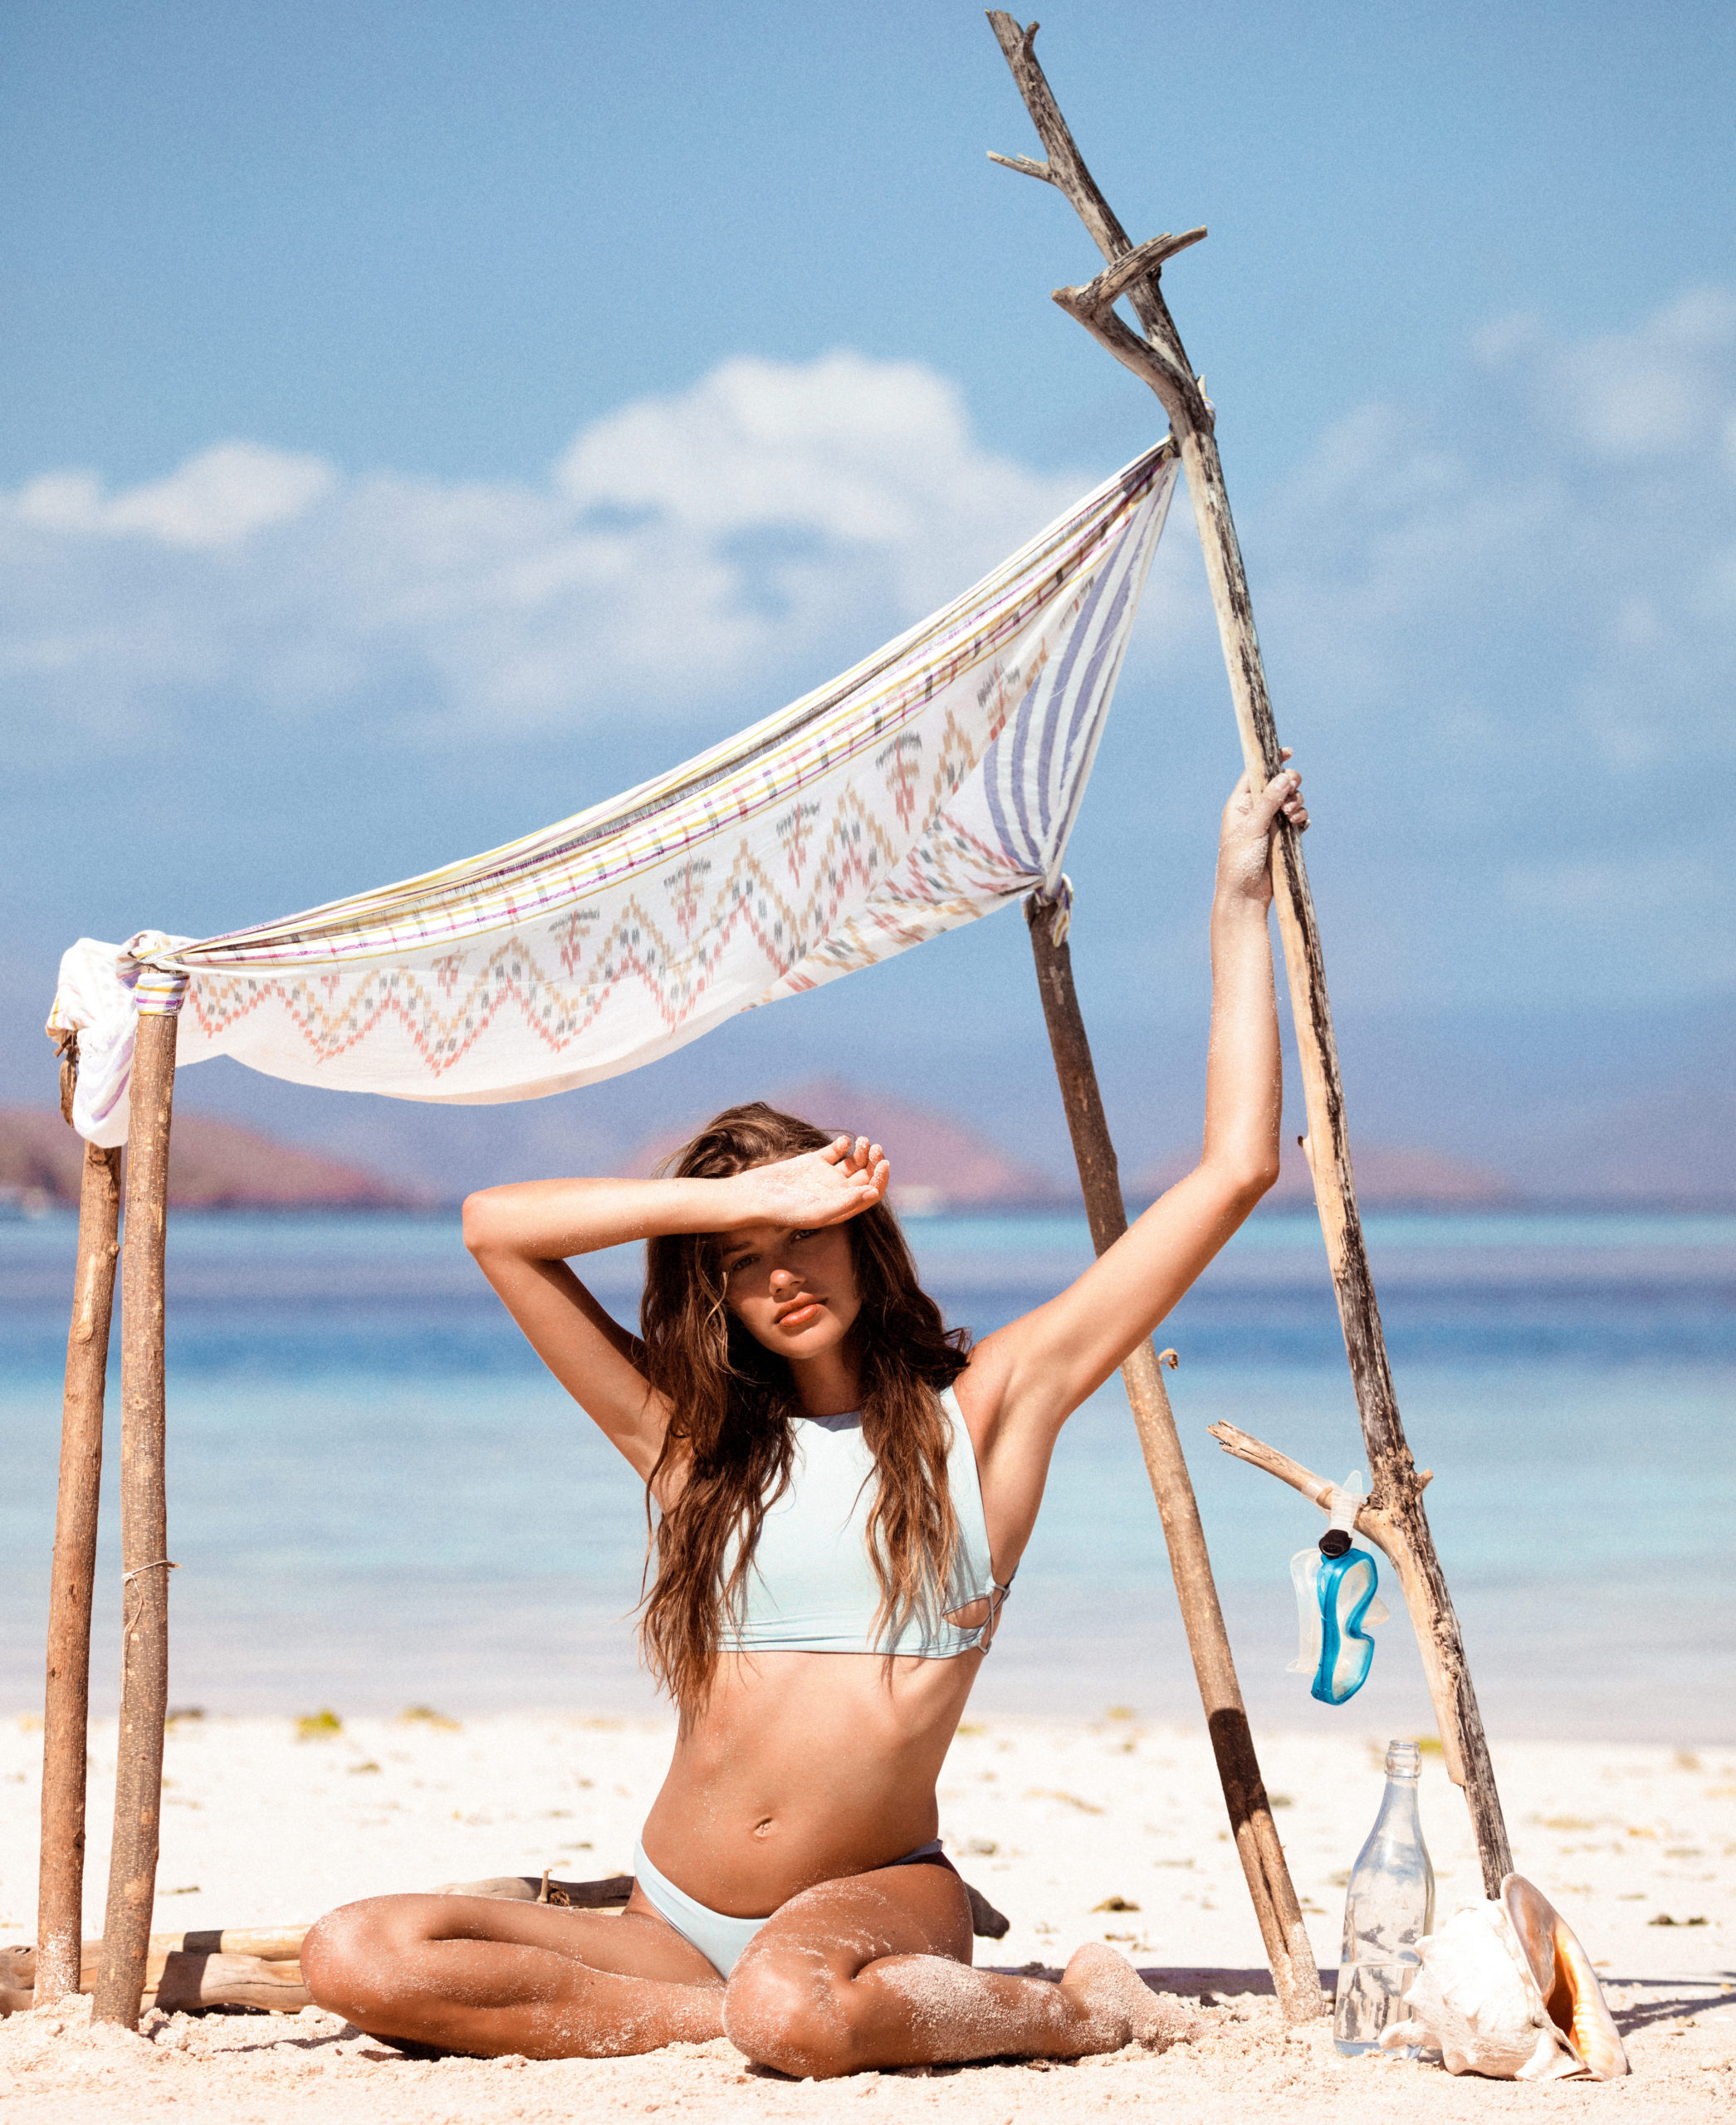
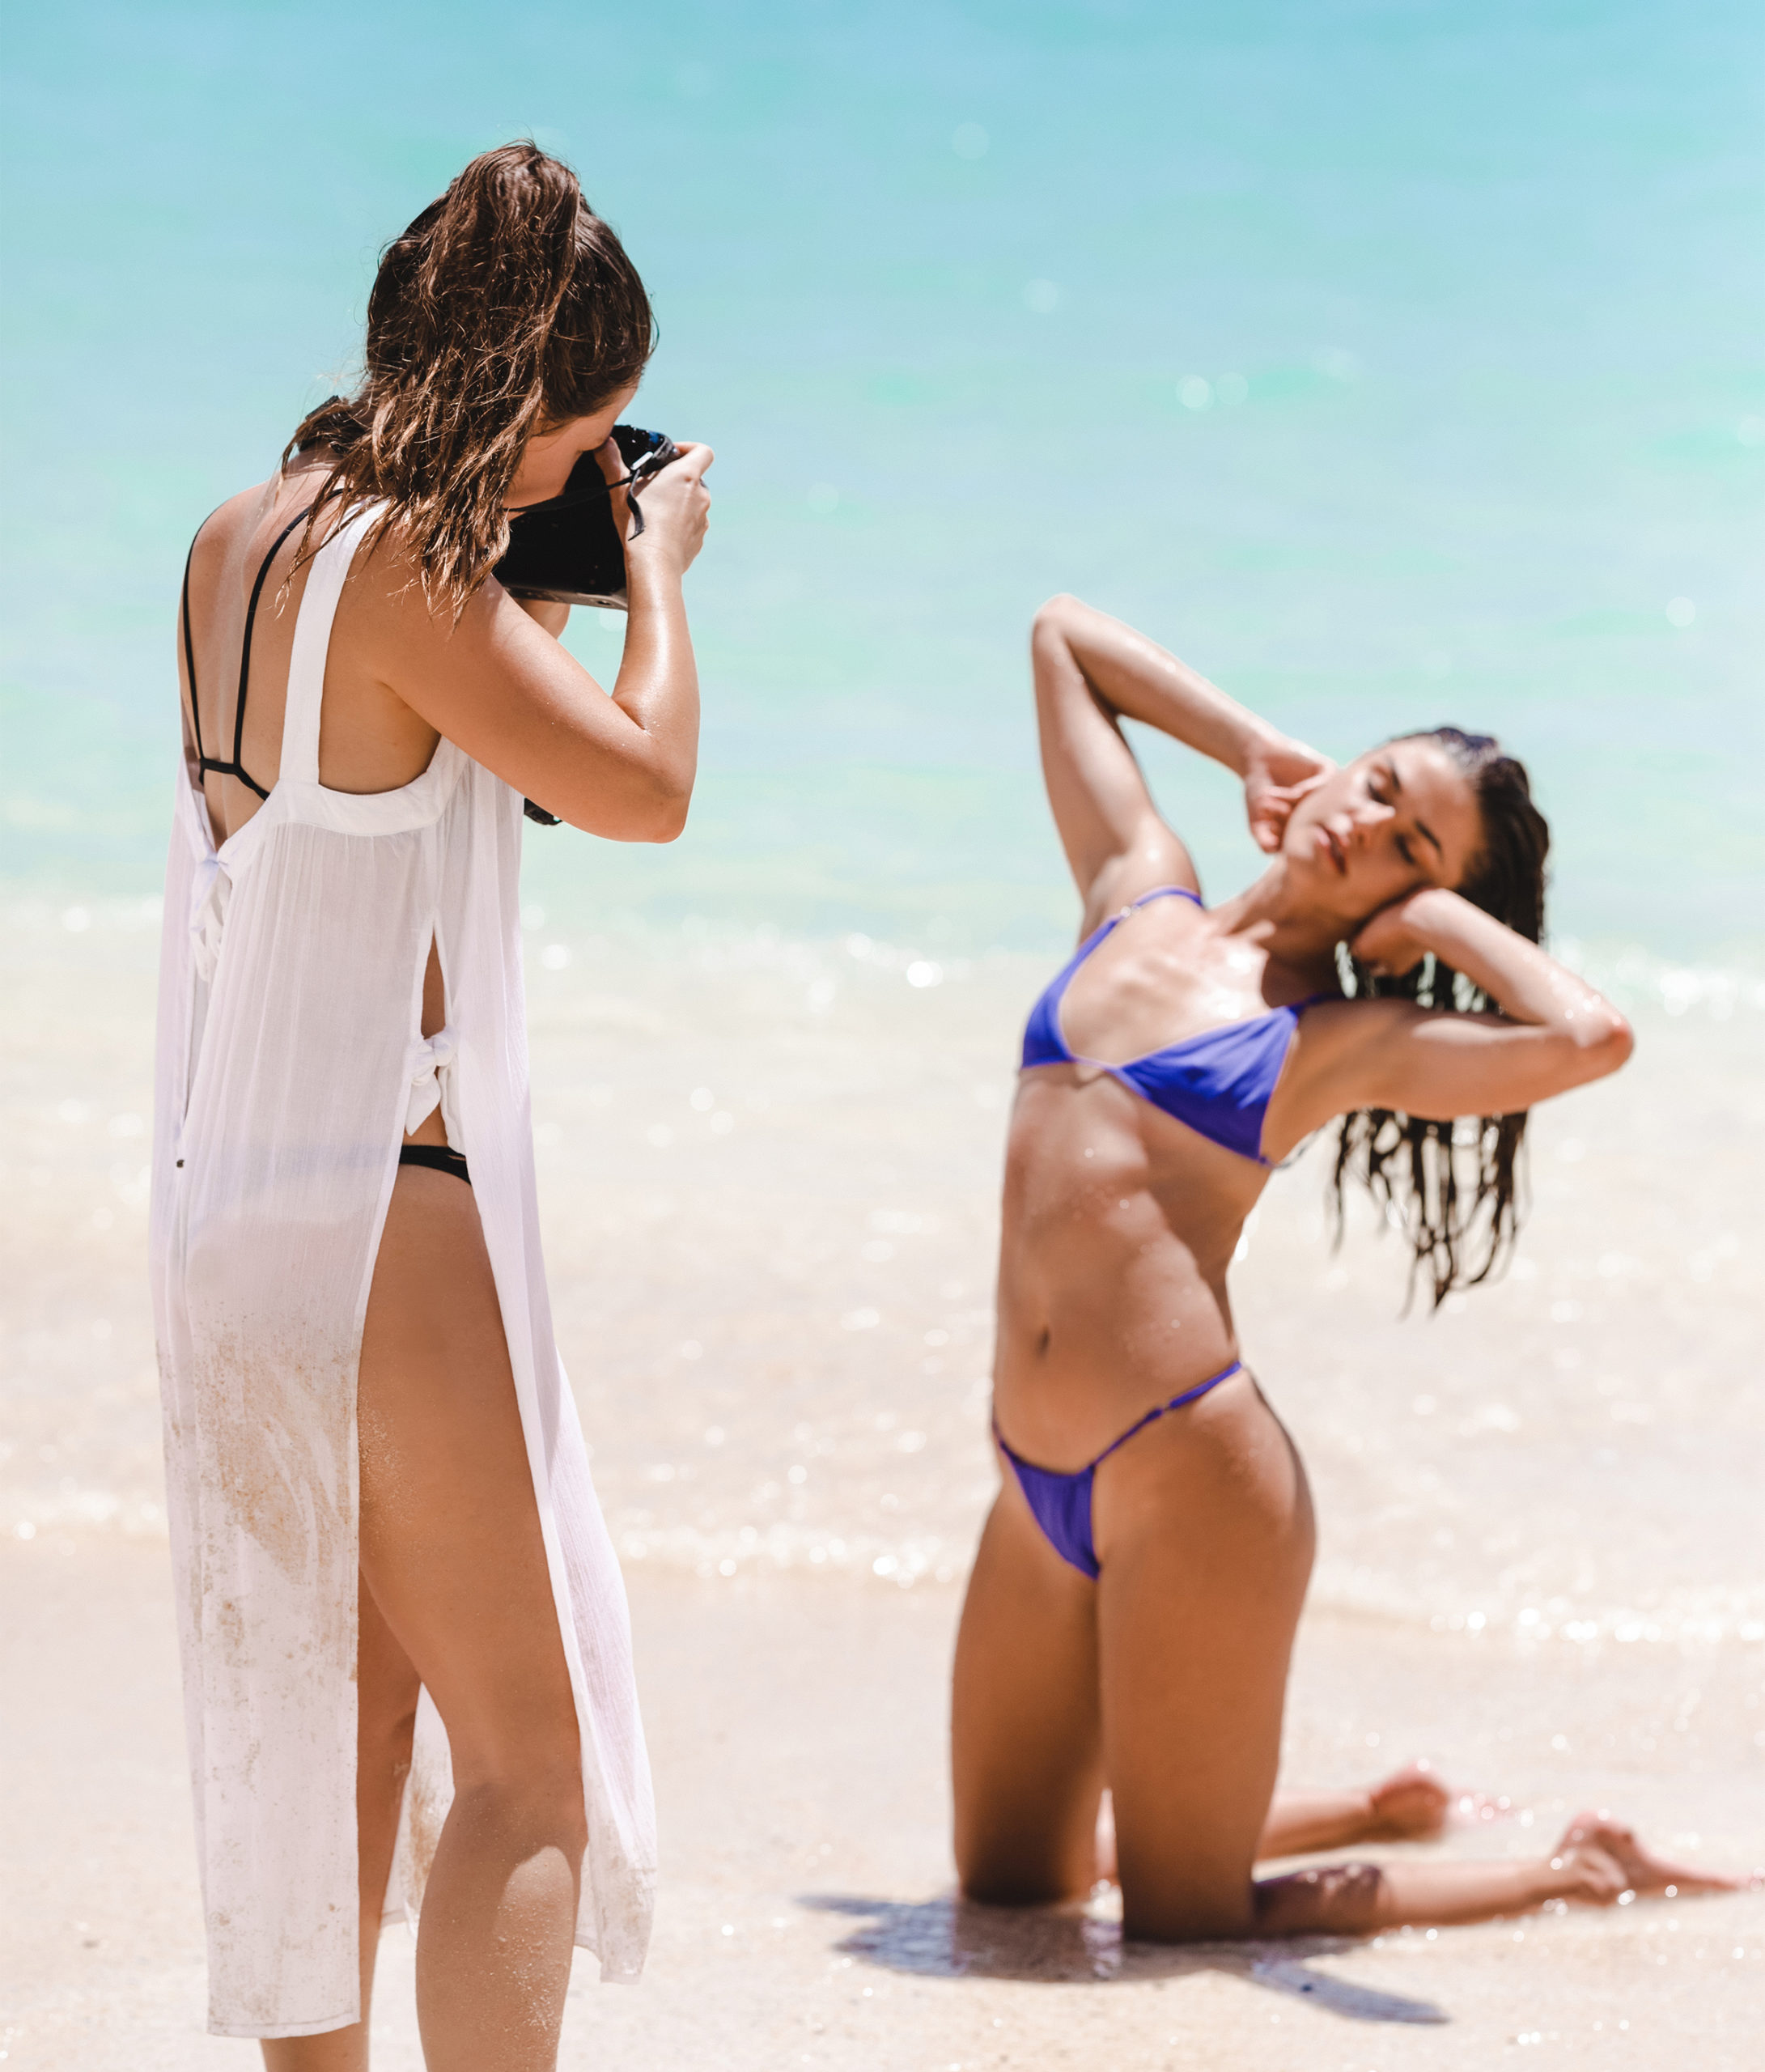
& the images that came from it….
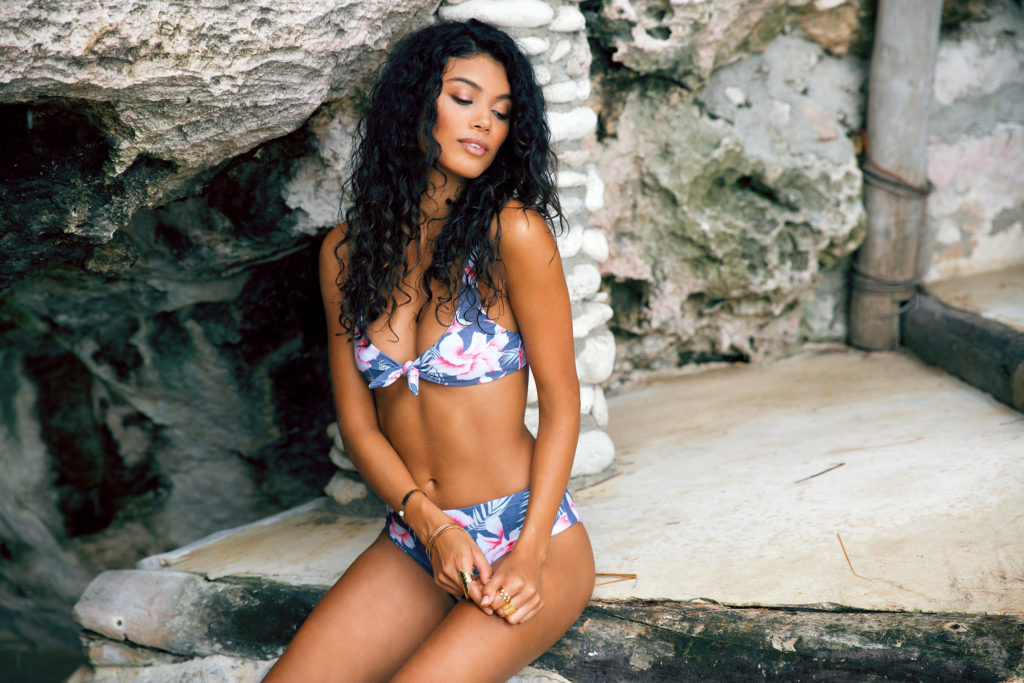
The trick to amazing lighting is understanding exactly how to take the light that the universe has given you and optimize it for the shots you’re trying to get. We might not always get what we had dreamed of as far as lighting is concerned, but we can always make the best with what we’re given. So, now I want to share four tips with you about creating the best natural lighting at any location and in any situation (hurricane not required).
Always be mindful of how the light is hitting your subject
Whether you’re shooting a portrait or a landscape, understanding your subject is the most important thing you have to do before taking your photo. This means making sure that the light that you’re working with is enhancing your subject, not distracting from it. It’s easy to get obsessed with just any ol’ light that’s available, but you have to train yourself to become obsessed with the right kind of light. So, try your best not to get too distracted by what the light is already doing in the space you’re shooting in, and instead try to look for the ways that you can use this very same light to your advantage based on how it’s reflected on your subject and scene as a whole.
Be on the lookout for natural fill lights
Wherever you happen to be shooting, keep your eyes peeled for any natural fill lights. What the heck are natural fills, you ask? Great question! Fill light basically refers to any time that we add additional light into a scene with the help of something like a light bounce. But this same thing can happen in nature all on its own, which is referred to as natural fill. Natural fill can occur with the help of walls lit up by the sun, cliffsides bouncing light, or even buildings or cars reflecting bright sunrays into otherwise dark corners. Natural fills are very literally everywhere, you just need to practice spotting it! So when you arrive at a location to shoot, take a moment to find potential natural fills that you can use to your advantage to shed a little extra light on your subject.
Get some extra help from a large, white reflector
When you can’t seem to make that natural fill light work the way you want it to, there’s no shame in bringing a reflector into the mix—and oftentimes it can be a total game changer! Reflectors are an amazing way for us to create our own fill light where we need it most. While reflectors come in a variety of styles and sizes, I like to work with the largest reflectors possible to create the greatest amount of soft, even fill light that I can. Large, white reflectors will add a gorgeous soft light to your scene and help you really enhance any shadowed areas in your image.
Whatever you do, DON’T use a silver or gold reflector on a person!
Okay, this is technically a bit more of a personal preference but let me explain: I always try to create images with lighting that is as natural and balanced as possible (even if it was created 100% by me). And when it comes to silver and gold reflectors, I’ve always found that they create harsh, extra-directional light that feels very artificial and unnatural. What’s worse is that if you aren’t careful when using these reflectors, you can easily end up with flecks and hot spots on your subjects, making them look off.
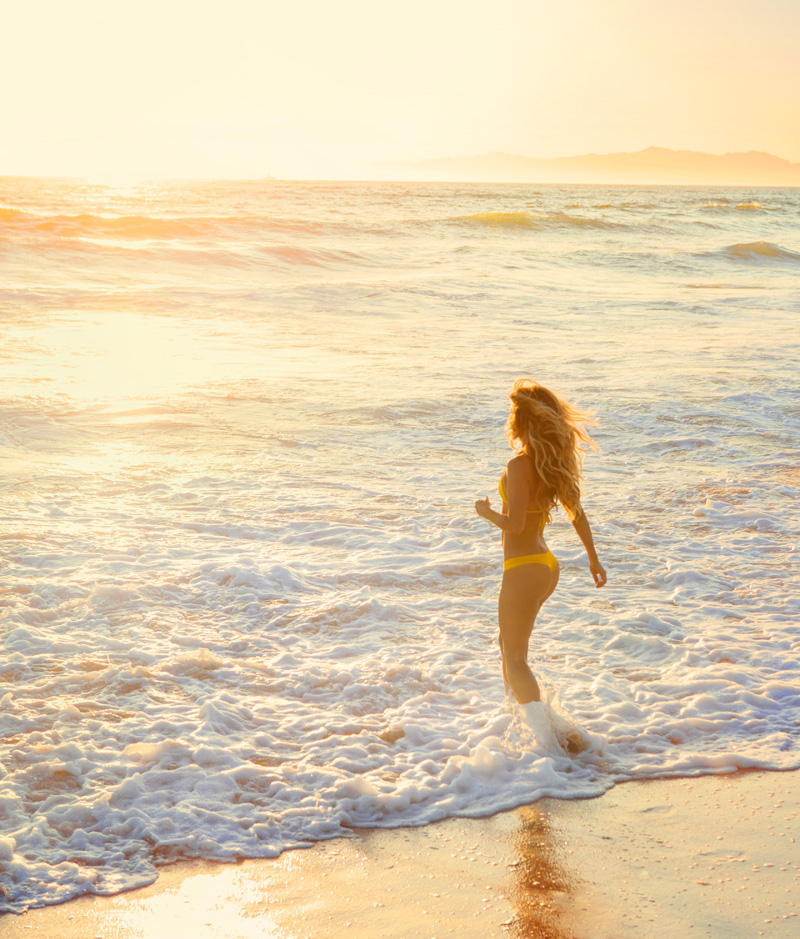
When it comes to lighting, this is really only the beginning! These tips and tricks are the perfect place for you to start, but they do not even begin to scratch the surface of all the nuances and potential that the mysterious world of natural lighting has to offer. Mastering the art of lighting (yes, it’s totally an art!) means exploring all of its limits and opportunities and figuring out how they relate to the images you want to take. As photographers, we’re so blessed because we see light differently than most people do and appreciate all of the little details so much. So, give yourself a gift and spend some time in the coming days really appreciating the colors in the sunrise, the harshness of the mid-day sun, and the soft blues that come out of the shadows at sunset. And imagine all the ways that you can capture and emphasize them with the help of the right lighting.
If you’re looking to take your photography to the next level and master your lighting skills our course The Photographer’s Path will be reopening the doors this spring! You can sign up for the waitlist here to be the first to be notified! I can’t wait to help you on your photography journey!

















COMMENTS